How to Decorate a Skinny Frankenstein Cookie for Halloween
Learn how to decorate this charming skinny Frankenstein cookie, then dress it up with coordinating Halloween packaging for a fun, ready-to-gift treat.
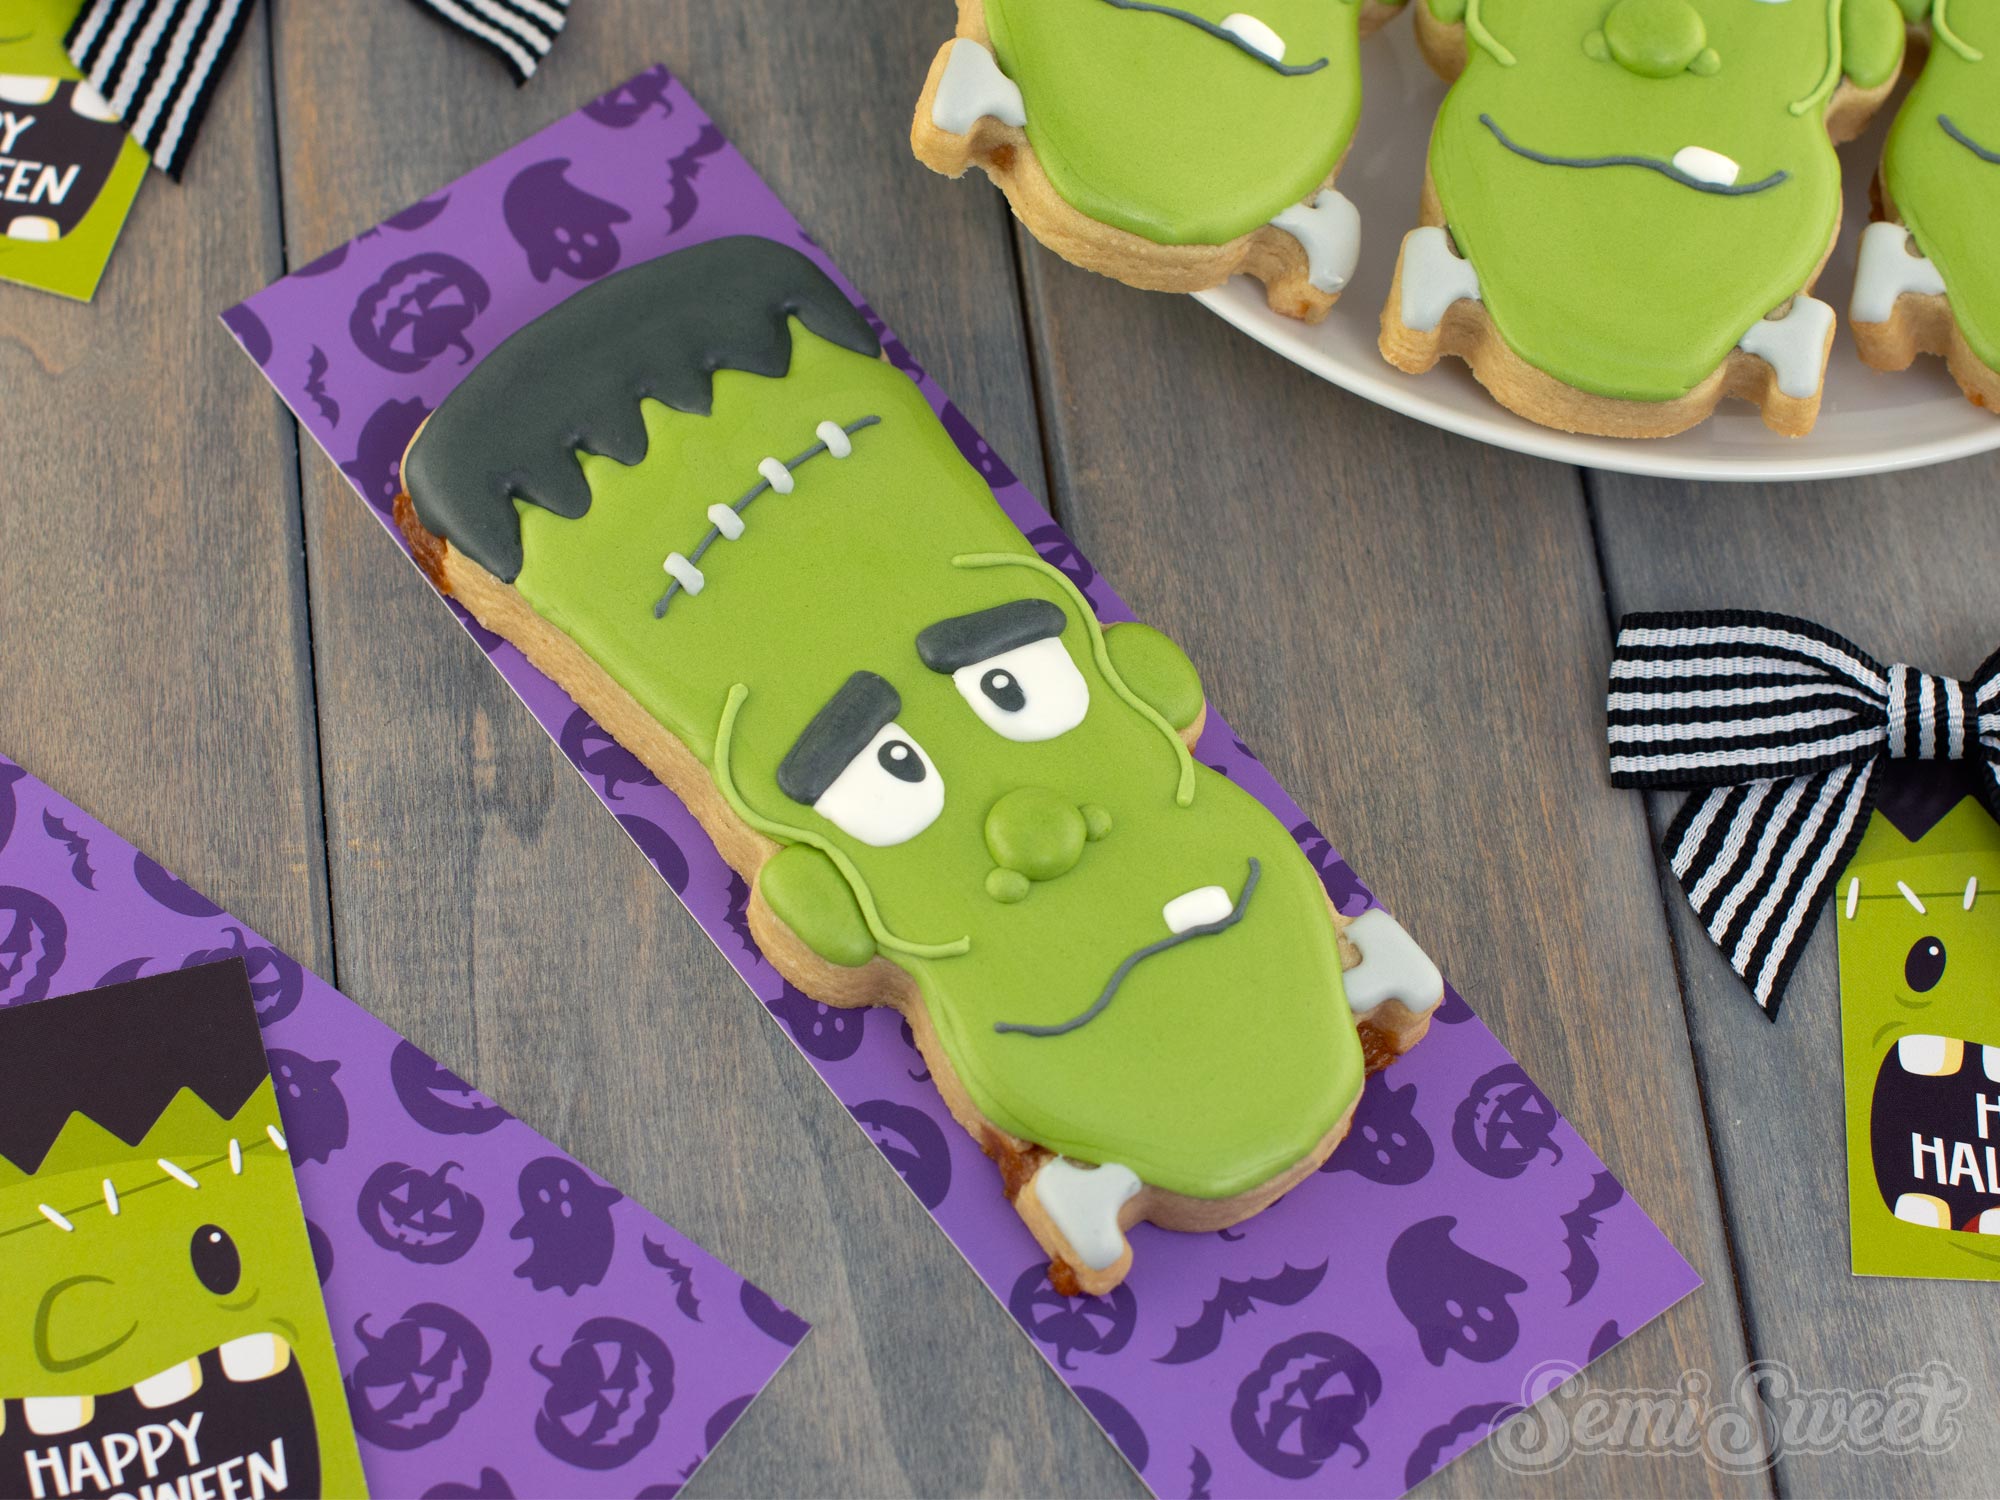
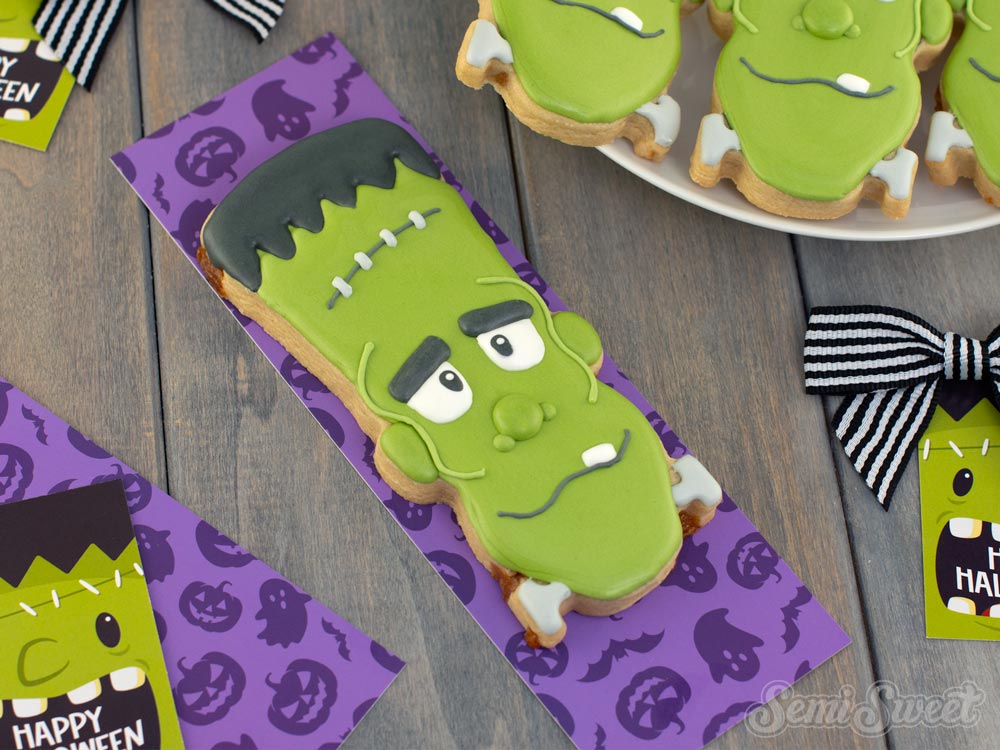
This skinny Frankenstein cookie is a fun Halloween design that packs plenty of personality into one long, narrow cookie! Its tall, slim shape is designed to fit perfectly inside a skinny cookie bag, making it an especially cute option for Halloween treats, party favors, or gifts. The decorating is fairly simple and beginner-friendly, with just enough details to give Frankenstein his classic monster charm.
And if you want to take the presentation a step further, we also have coordinating Halloween packaging that turns the finished cookie into a polished, ready-to-gift treat. In this tutorial, I’ll walk you through how to decorate this skinny Frankenstein cookie from start to finish.
My Essential Cookie Tools for Cookie Decorating


My Essential Cookie Tools for Baking Cookies


My Essential Baking Tools for Royal Icing


Essential Decorating Tools for Royal Icing

Skinny Frankenstein Halloween Cookie Cutter
Just added to the shop for the upcoming Halloween season is this Skinny Frankenstein cookie cutter.
This cookie cutter will fit in our 3" x 12" bag sleeves.
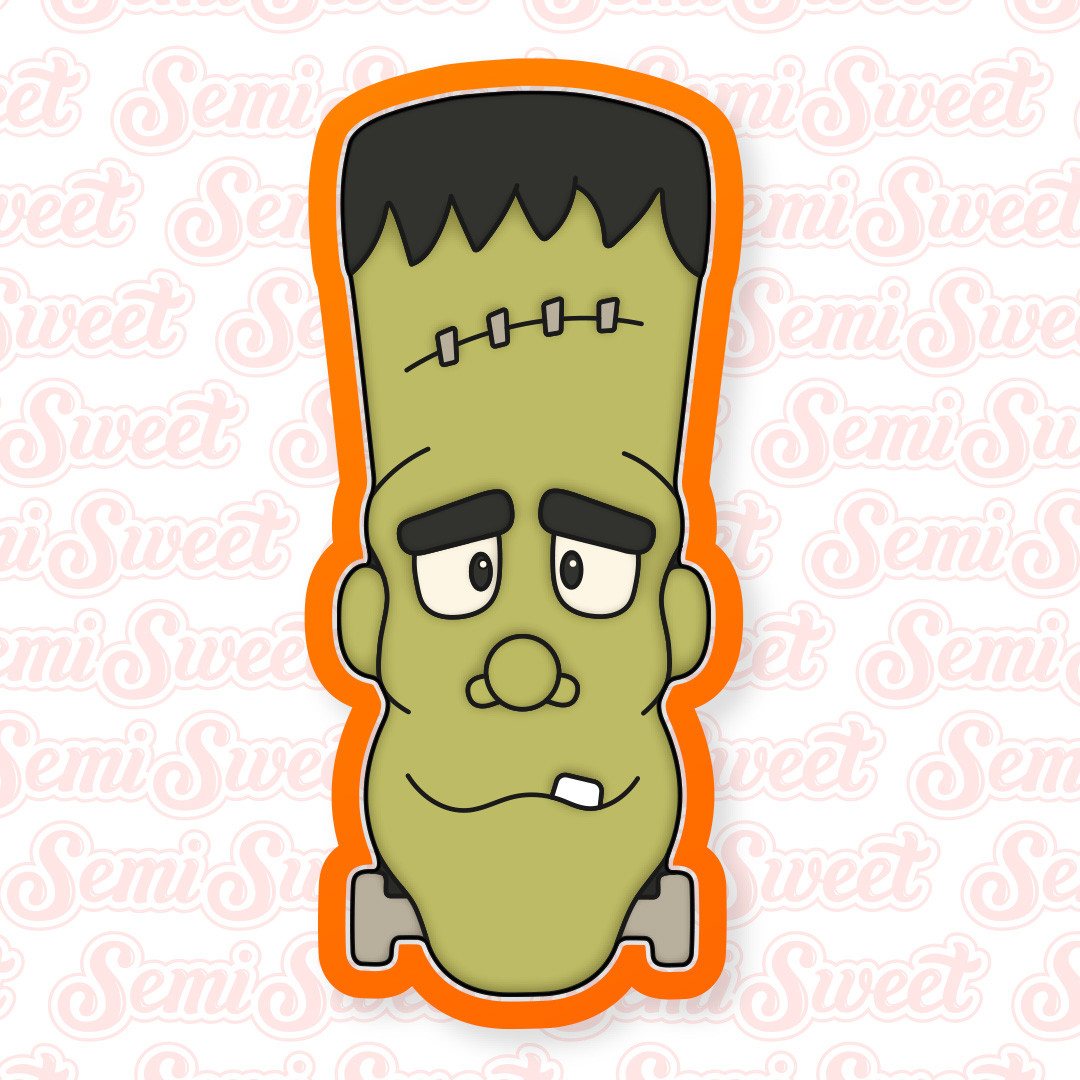
Template for the Skinny Frankenstein Cookies
To help with the decorating process, I made a PDF template of all the designs of this year's Halloween collection, including this Halloween Frankenstein cookie.
Click the link below for the downloadable template PDF file.
This file is rather large in data size. Just a warning, it might take a moment before the file opens in your browser.
If you have a Kopykake or Pico projector, just print it out (or pull it up on your mobile device) and you are good to go. For those without a projector, follow the suggested steps below by tracing the design onto the cookie with an edible food marker.
Step-By-Step Cookie Decorating Guide
Decorating cookies always starts with a good royal icing recipe. This is my easy royal icing recipe for decorating sugar cookies that I always use.
For the colors used for these Skinny Frankenstein cookies, you will need the following suggested colors:
- White icing (I used Americolor Bright White.)
- Black icing (I used Americolor Super Black.)
- Green icing (I mixed Americolor Egg Yellow with Mint Green, and a touch of Super Black.)
- Gray icing (I used a touch of Super Black.)
Step 1
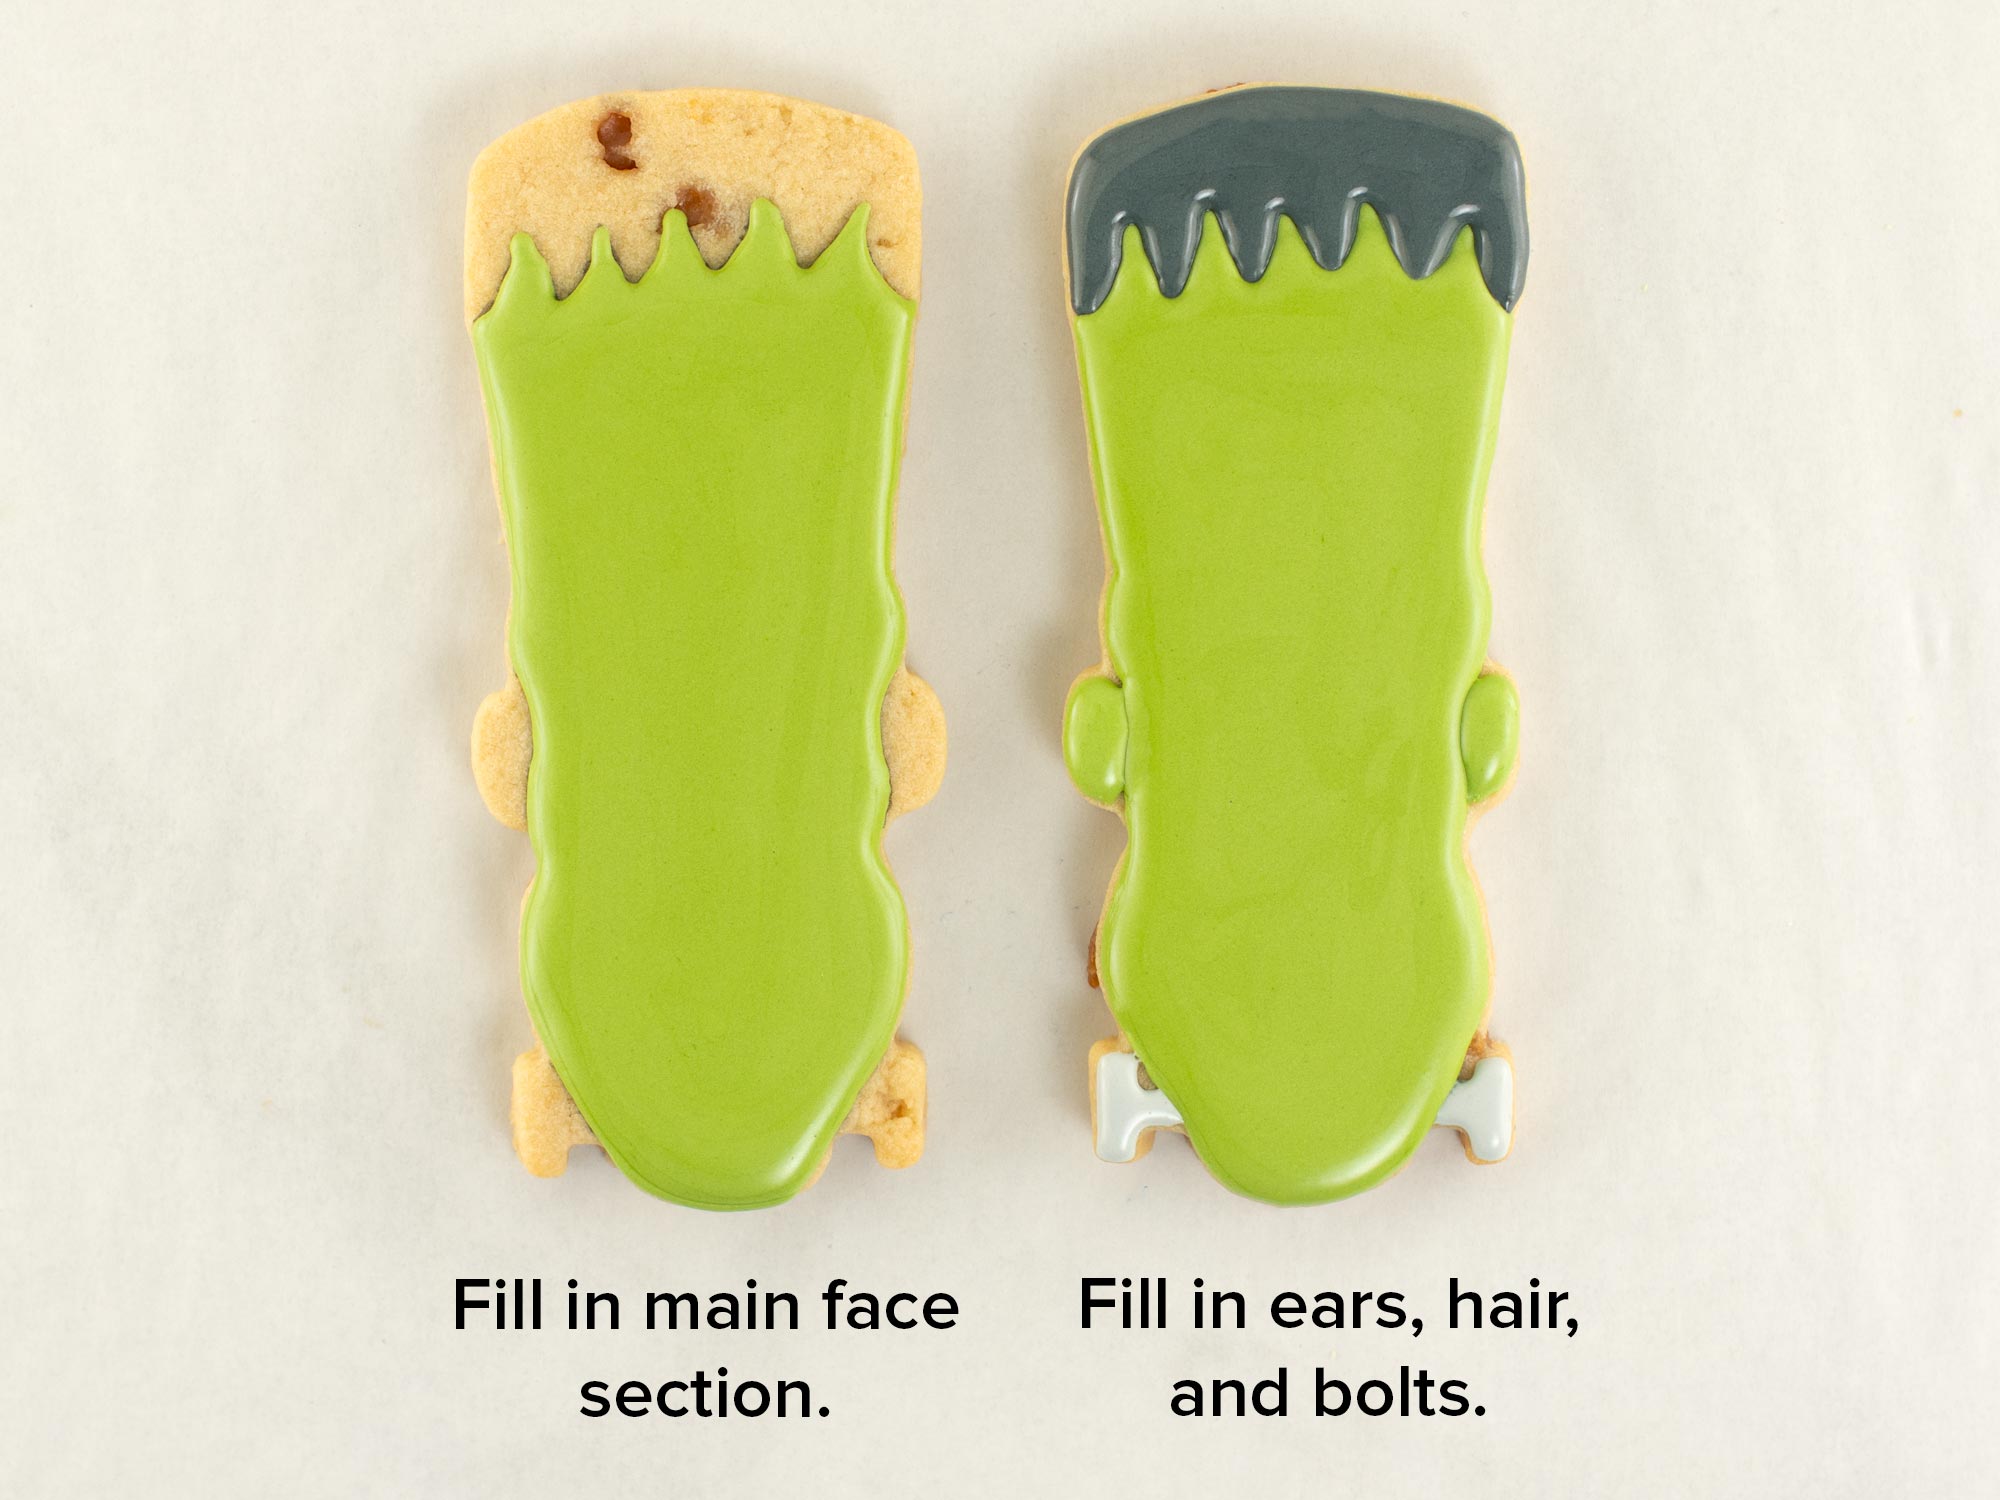
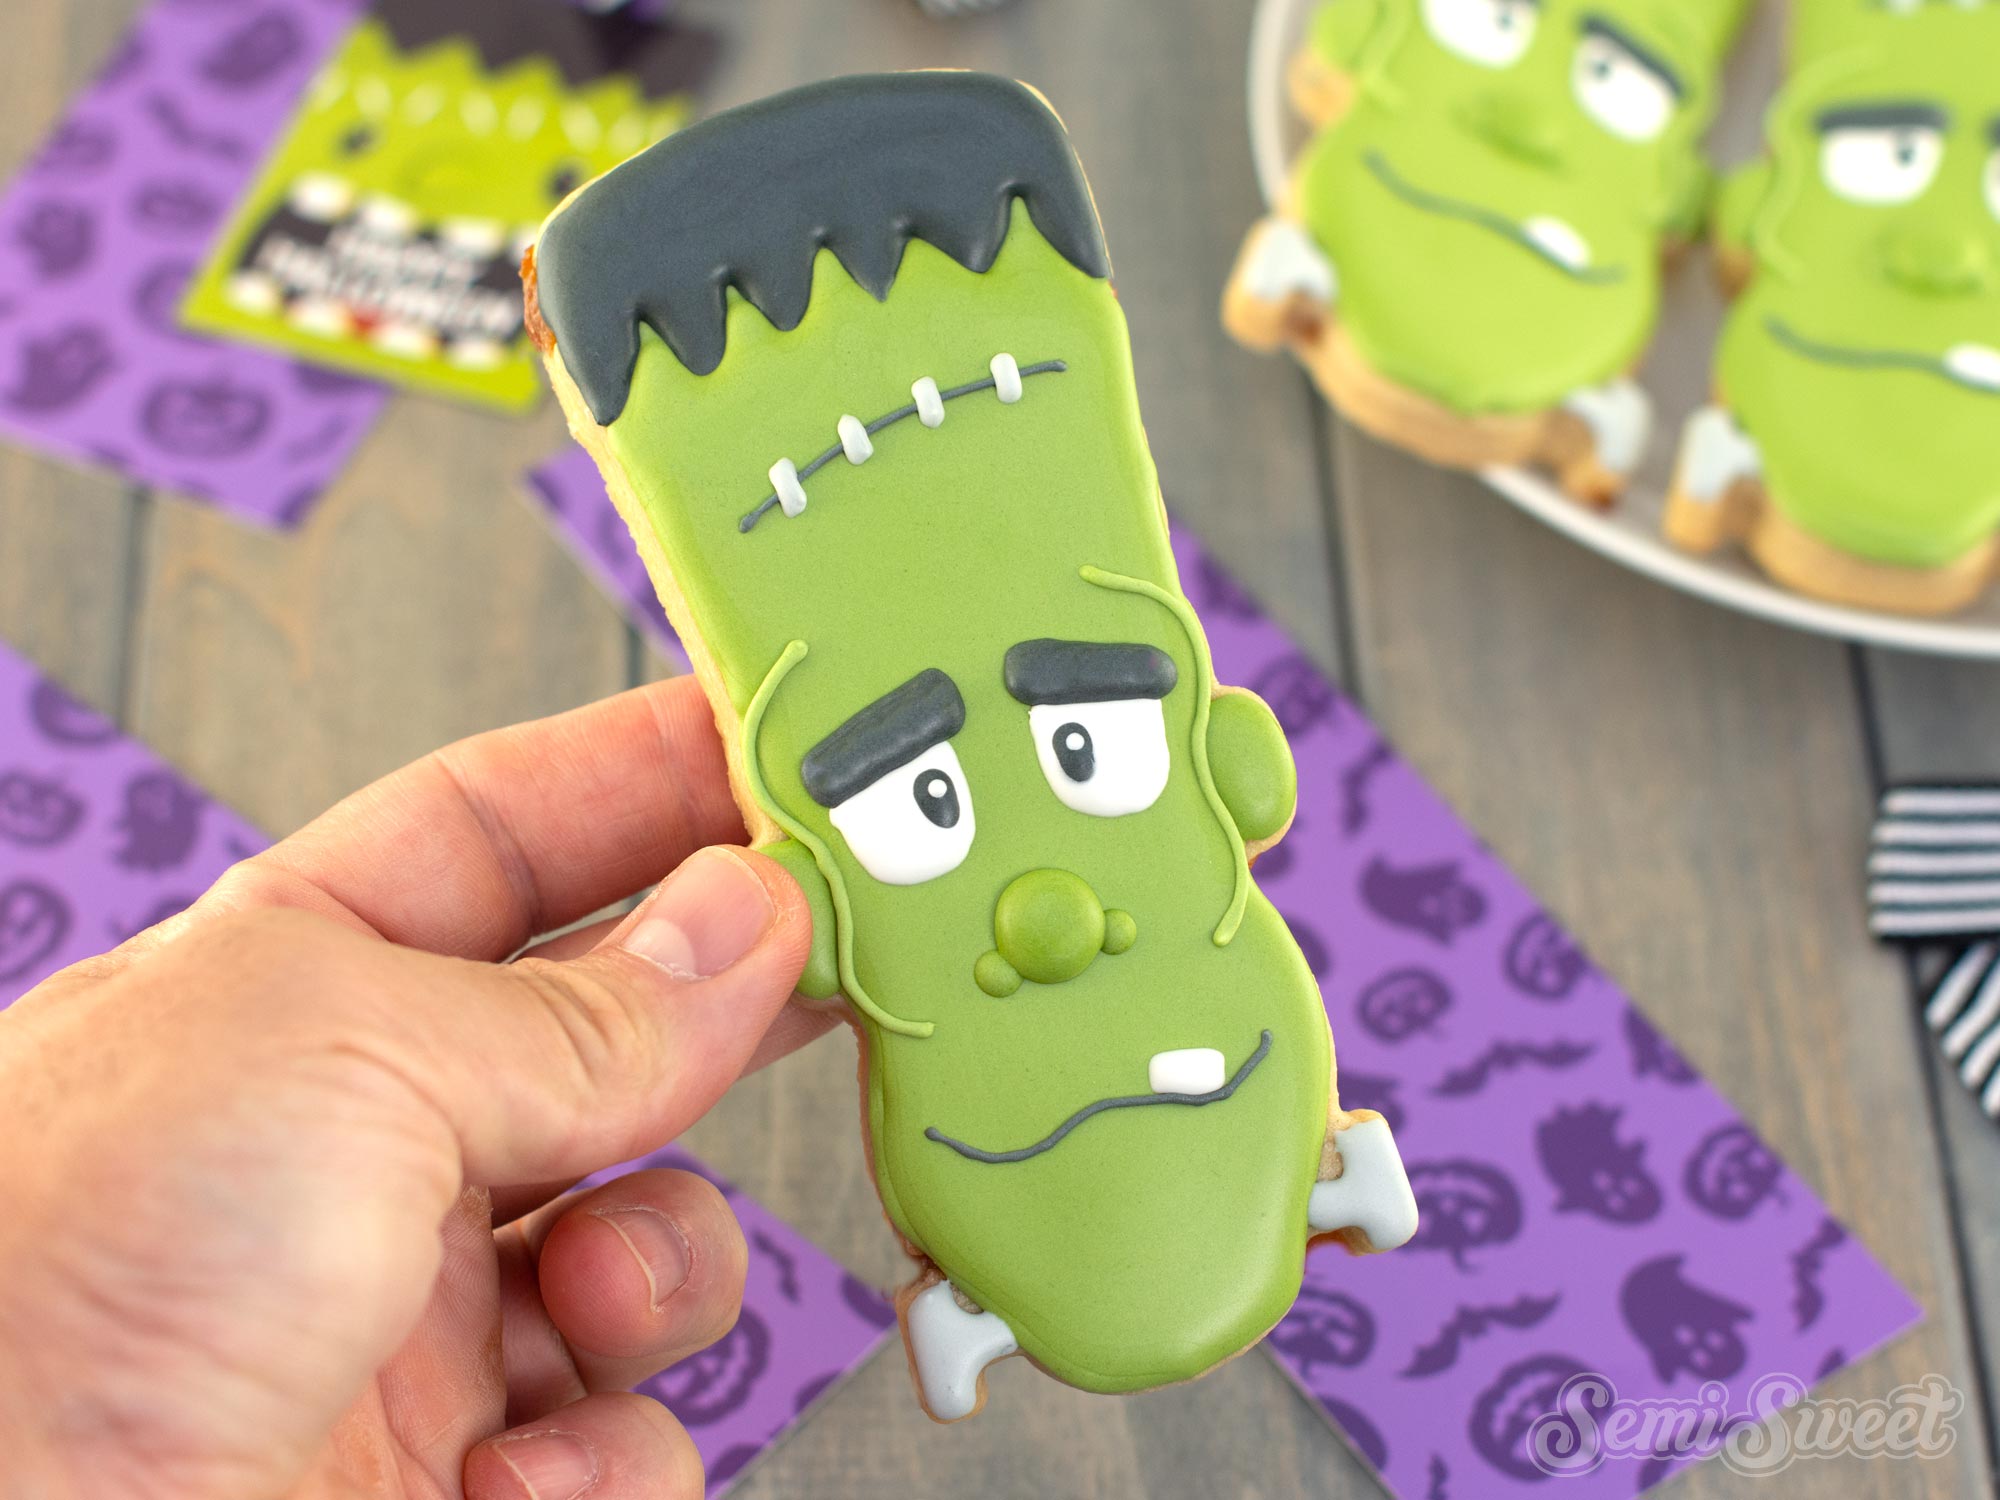
Begin by filling in the main face section with green icing. Let this icing set up for a bit (about 30 minutes).
Then add the black hair section, the green ears, and the gray bolts on the neck.
Step 2
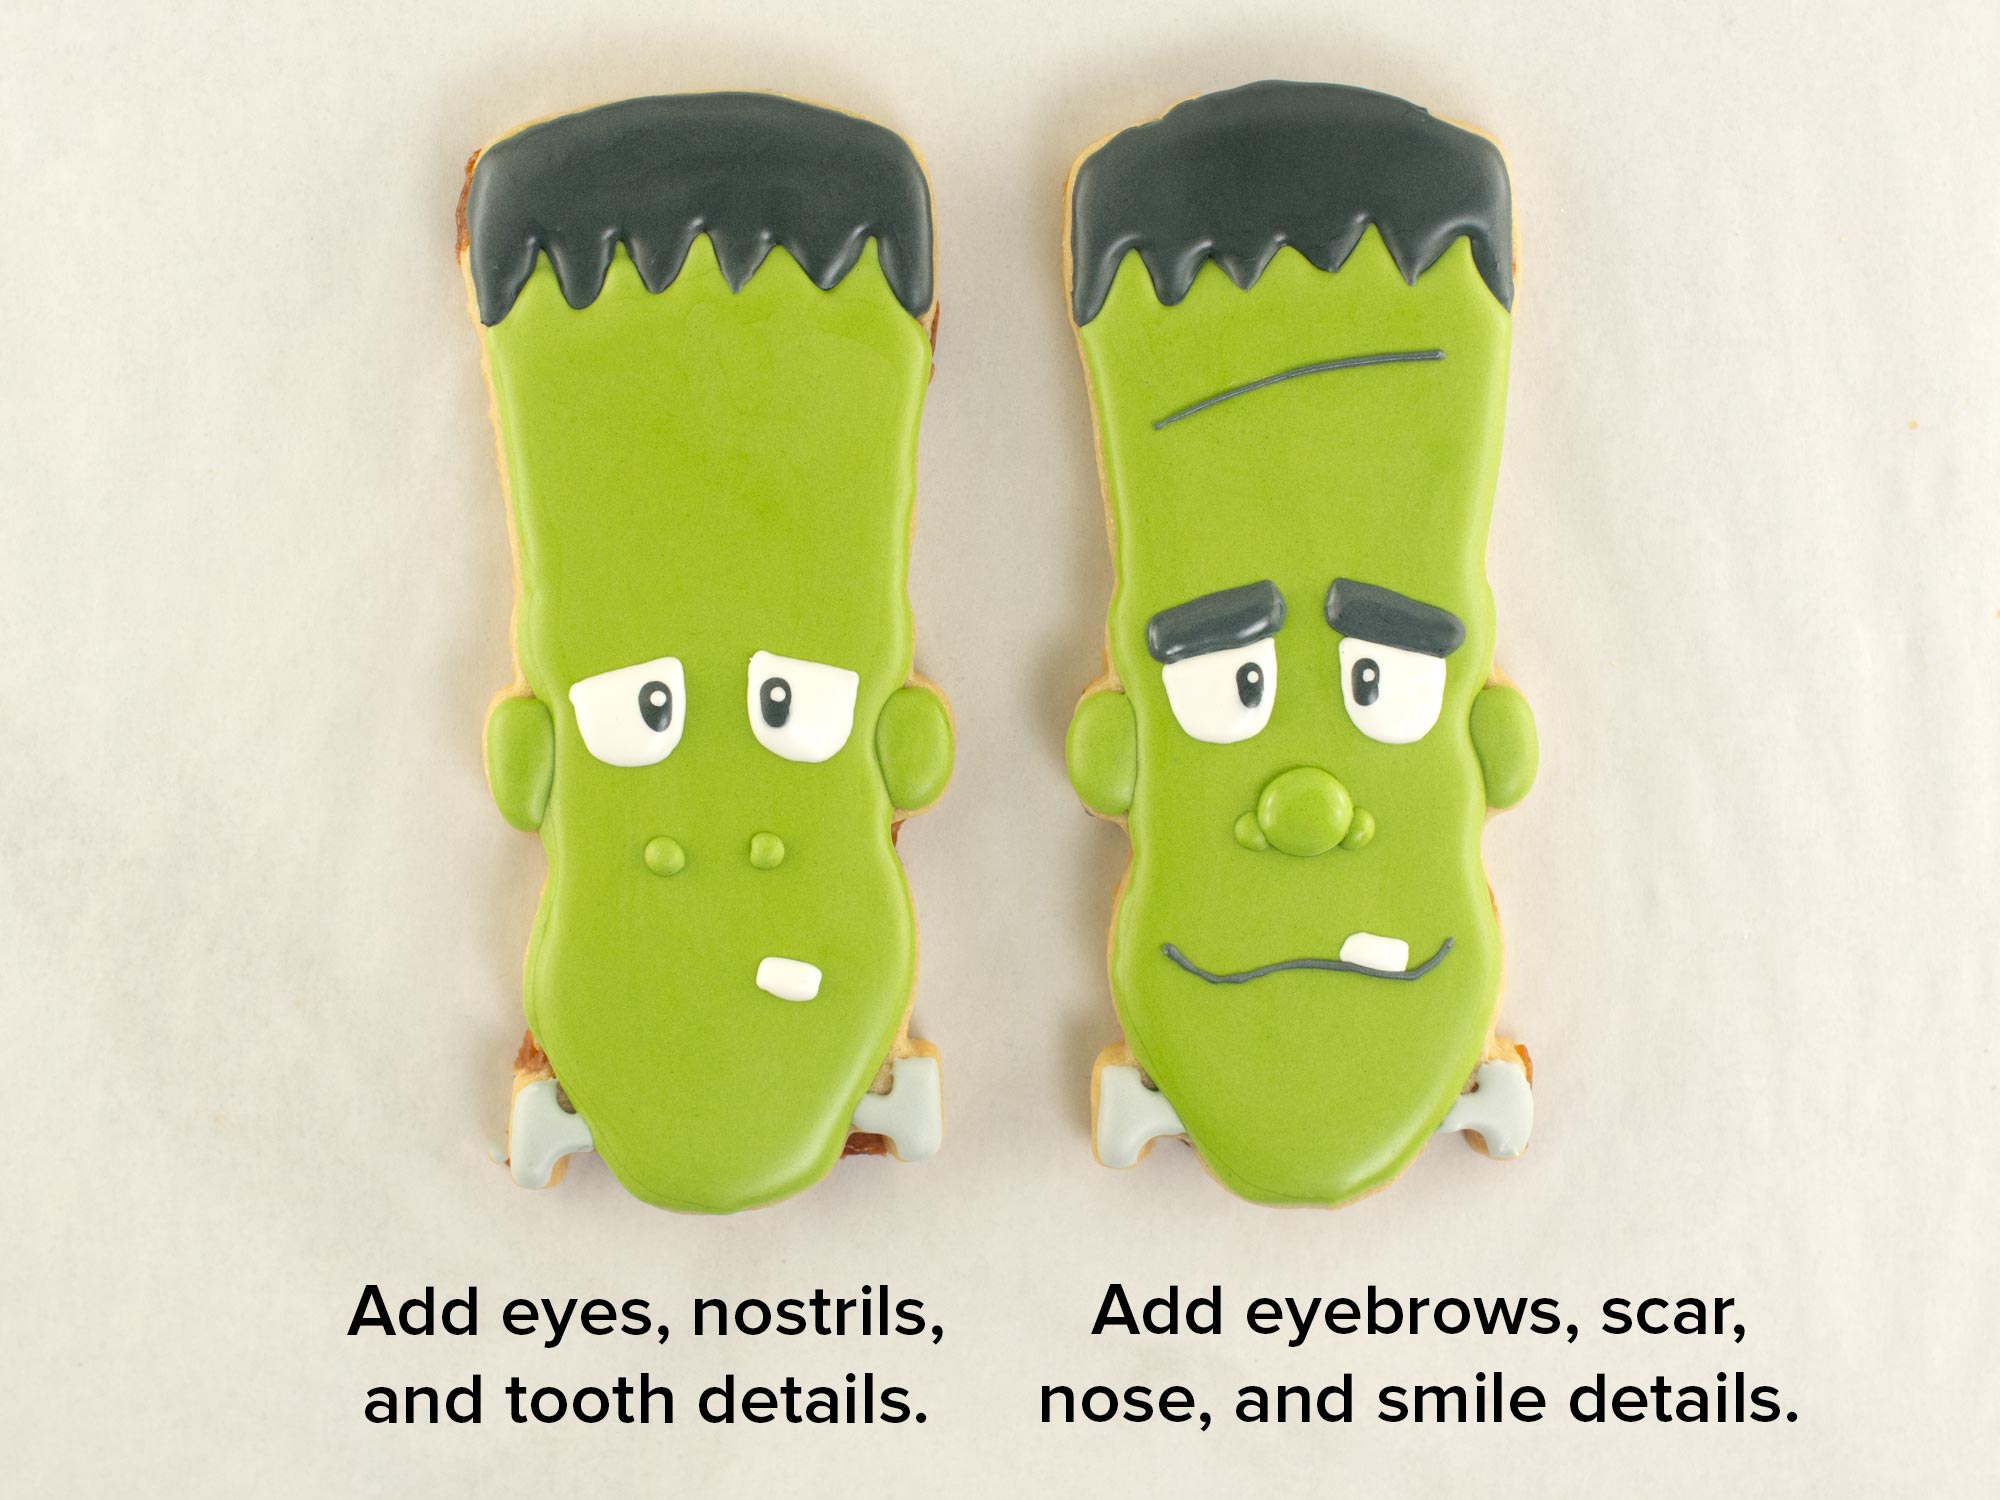
Once the base layer had time to dry add the eye details, the side nostrils of the nose, and the white tooth.
Then move on to adding the black eyebrows, the middle nose, and the scar and smile lines.
Step 3
Add the finishing details like the gray staples over the scar line, and the cheek bone line details on the face.
Skinny Frankenstein Cookie Decorating Video Tutorial
The steps above are summarized in the time-lapsed video below.
To give the finished Frankenstein cookie a polished, ready-to-gift look, I packaged it in a 3" x 12" cellophane bag sleeve, which is the perfect size for this long and skinny design. I placed a purple cookie backer behind the cookie to add a festive pop of Halloween color and help the green Frankenstein design stand out. To finish the package, I added a coordinating Frankenstein “Happy Halloween” cookie tag and tied everything together with a black-and-white striped bow. The matching tag, bold purple backer, and striped bow make this simple cookie feel like a complete Halloween gift that's perfect for party favors, classroom treats, or handing out to friends and family.
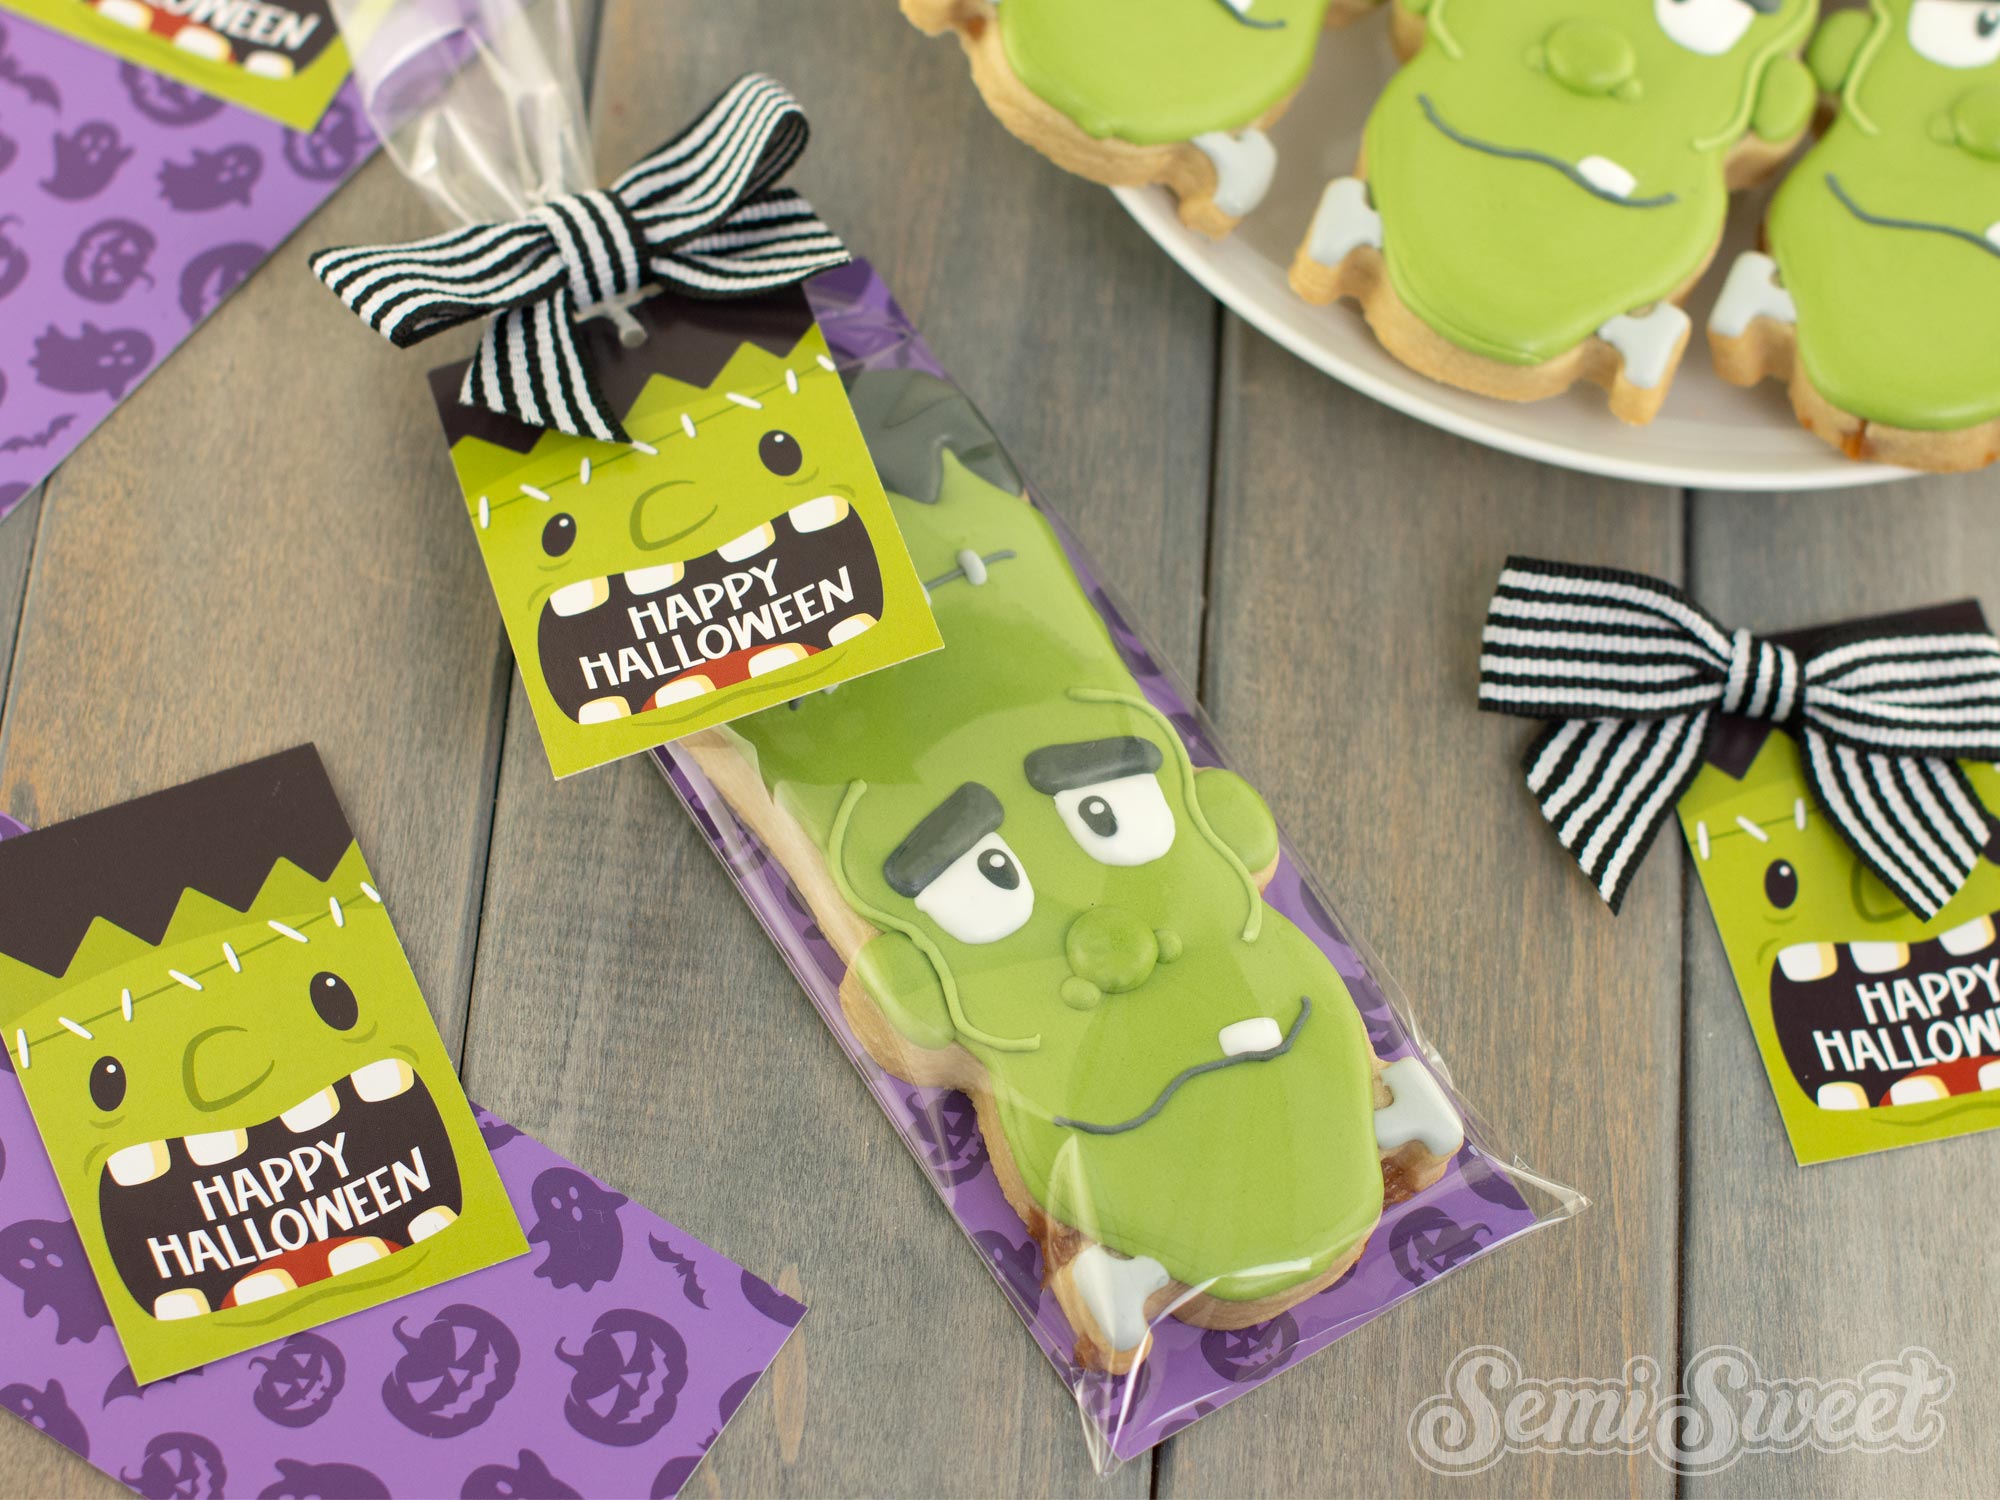
And that’s all it takes to bring this skinny Frankenstein cookie to life! With his long, playful shape and simple icing details, he’s a fun Halloween design that’s approachable for decorators of just about any skill level. Pair him with the coordinating tag, purple backer, skinny cellophane bag, and striped bow for a finished treat that looks just as special packaged as it does decorated. I hope this tutorial inspires you to add a few of these charming little monsters to your Halloween cookie lineup this season!
Add Vibrant Colors with Americolor Food Coloring

To make your decorated cookies pop, use Americolor Food Coloring for bold, consistent colors. It’s my go-to brand for achieving vibrant shades without altering the consistency of the royal icing.
Buy NowTags:
You may also like...



Mike Tamplin
Hi, I’m Mike, the cookie decorator behind Semi Sweet Designs! Since 2011, I’ve been sharing recipes, tips, and tutorials to help beginners gain confidence and give experts fresh inspiration. Along with my brother, Billy, we design and offer hundreds of cookie cutters, stencils, and apparel—all made with decorators in mind.
Whether you're just starting or a seasoned pro, we’re here to make cookie decorating easier and more fun!
Read more