How to Decorate a Personalized Apple Name Cookie for Back-to-School
Learn how to decorate an adorable personalized apple cookie holding a chalkboard name plate with royal icing in this step-by-step back-to-school tutorial, perfect for first-day celebrations, teacher gifts, and custom cookie orders.
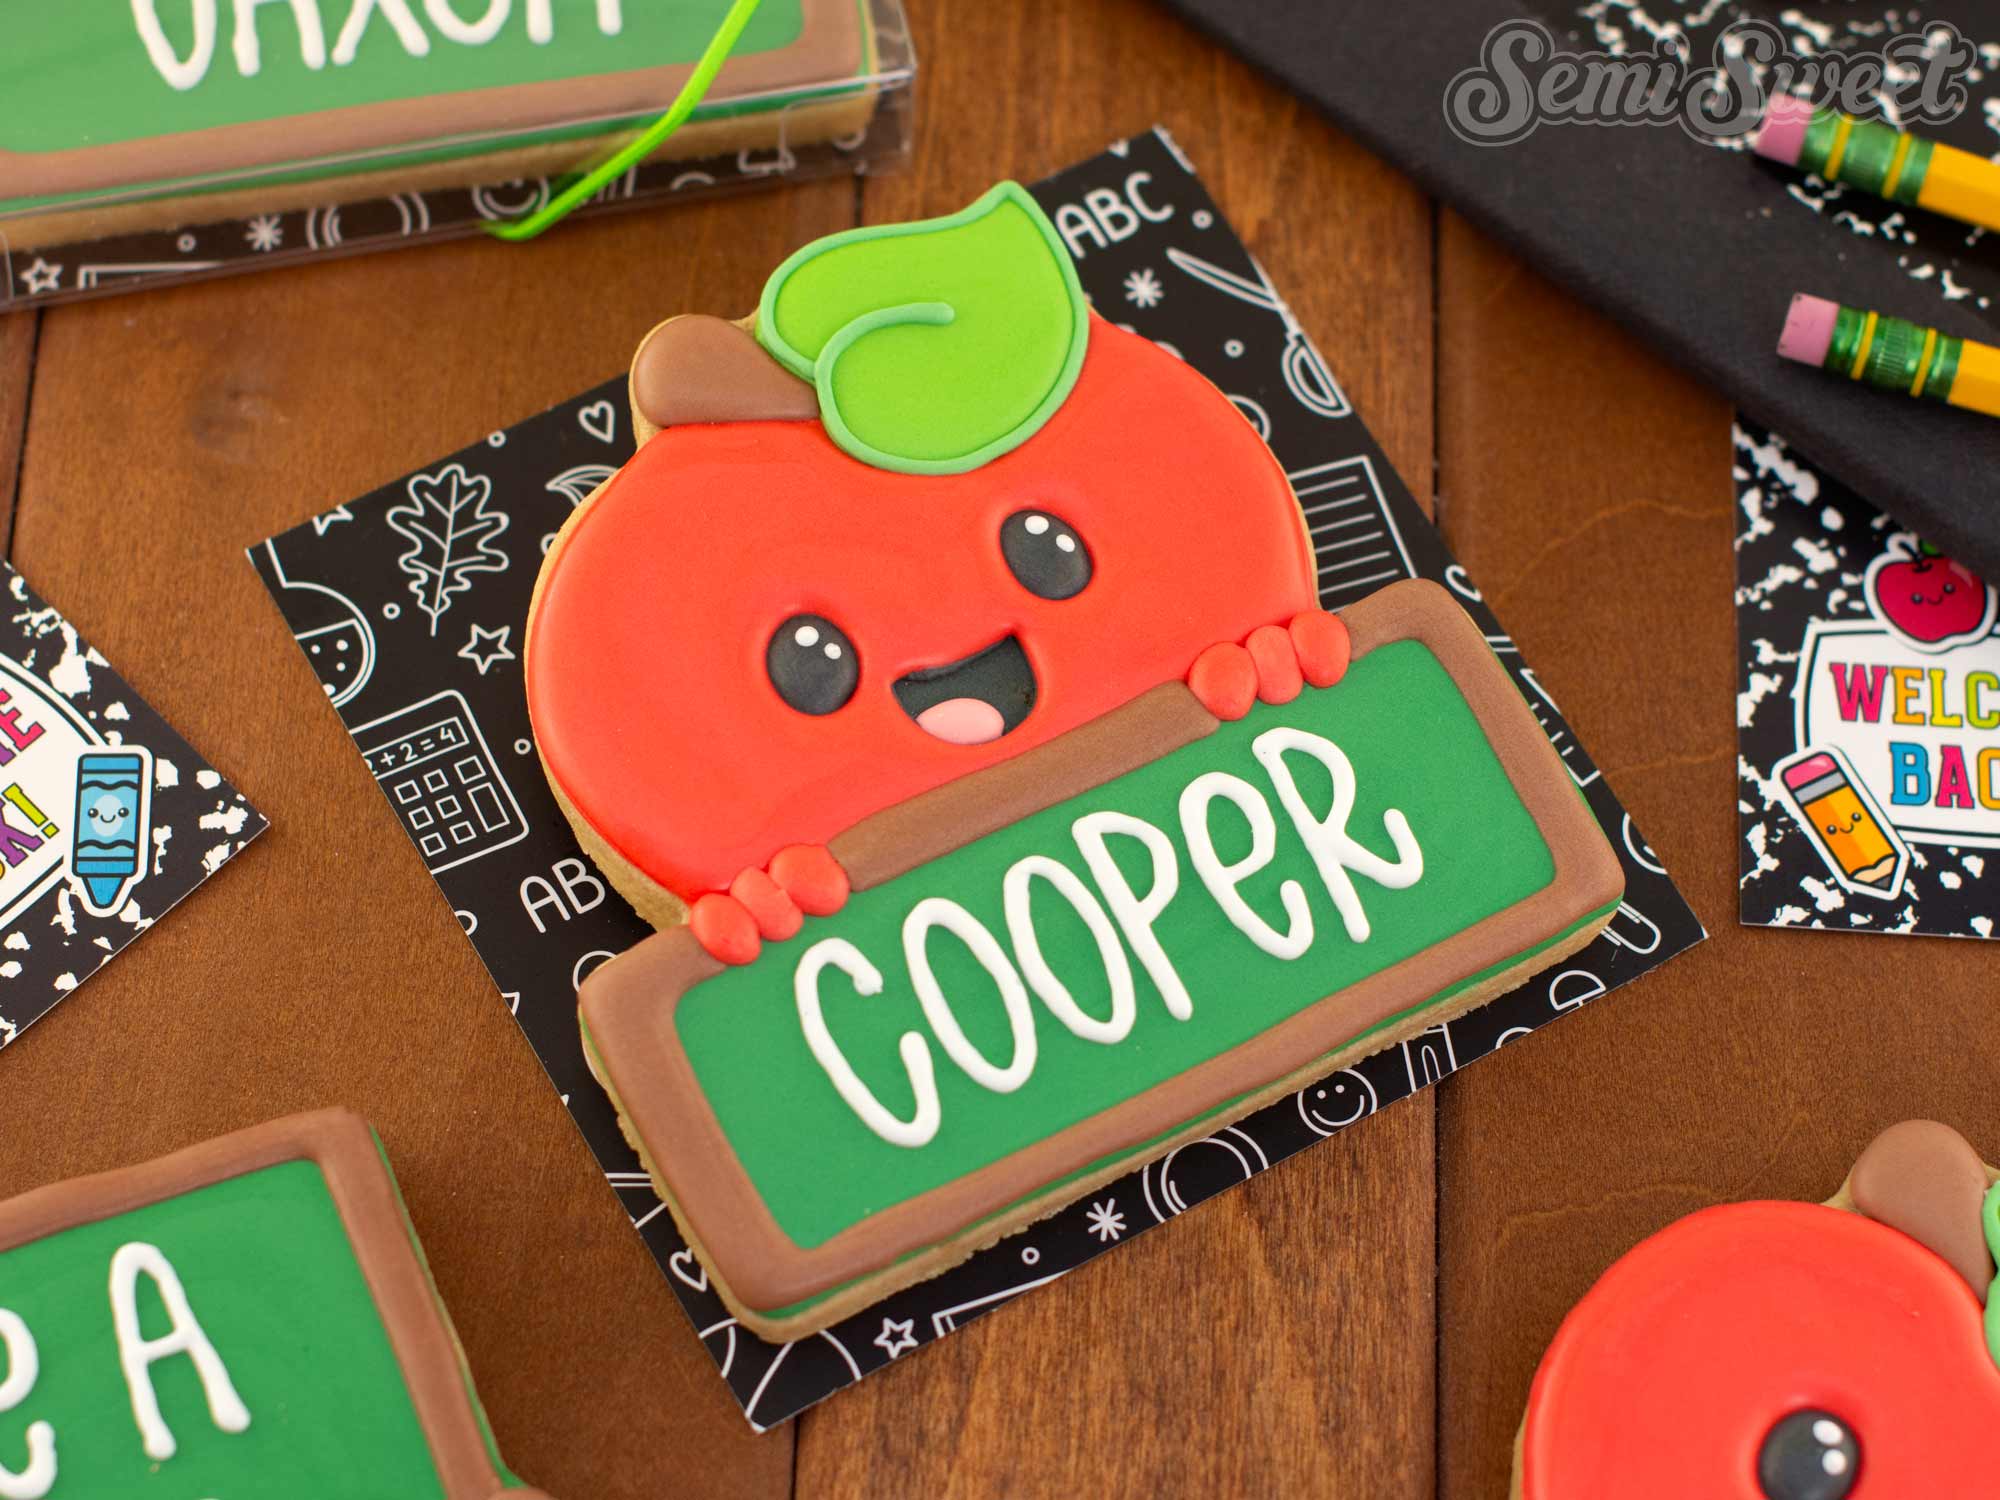
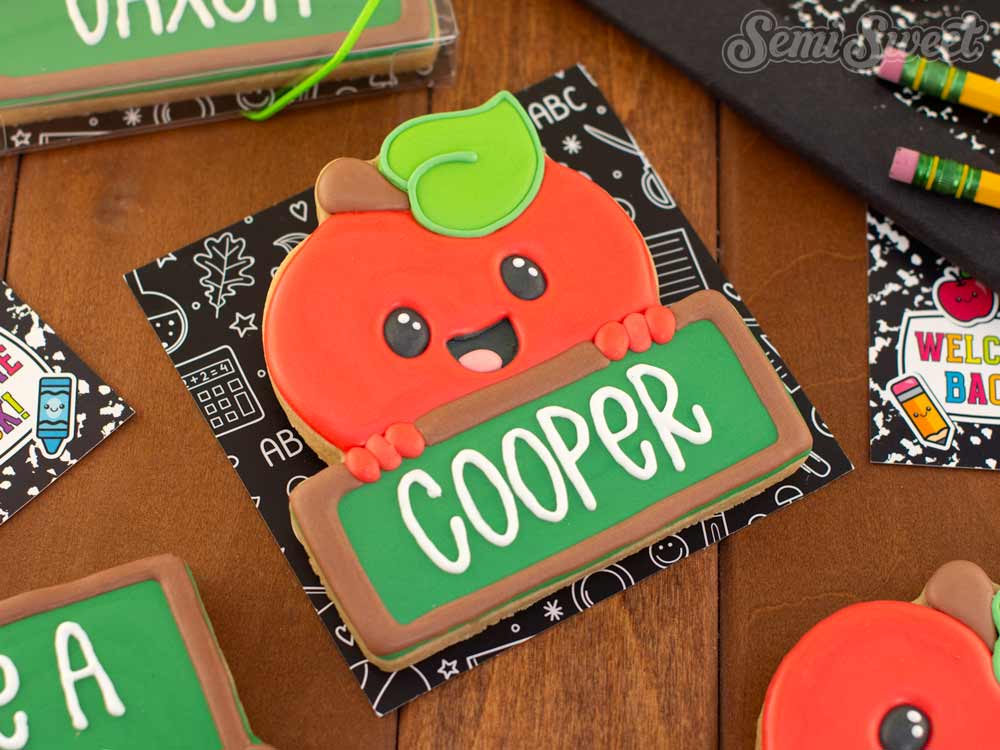
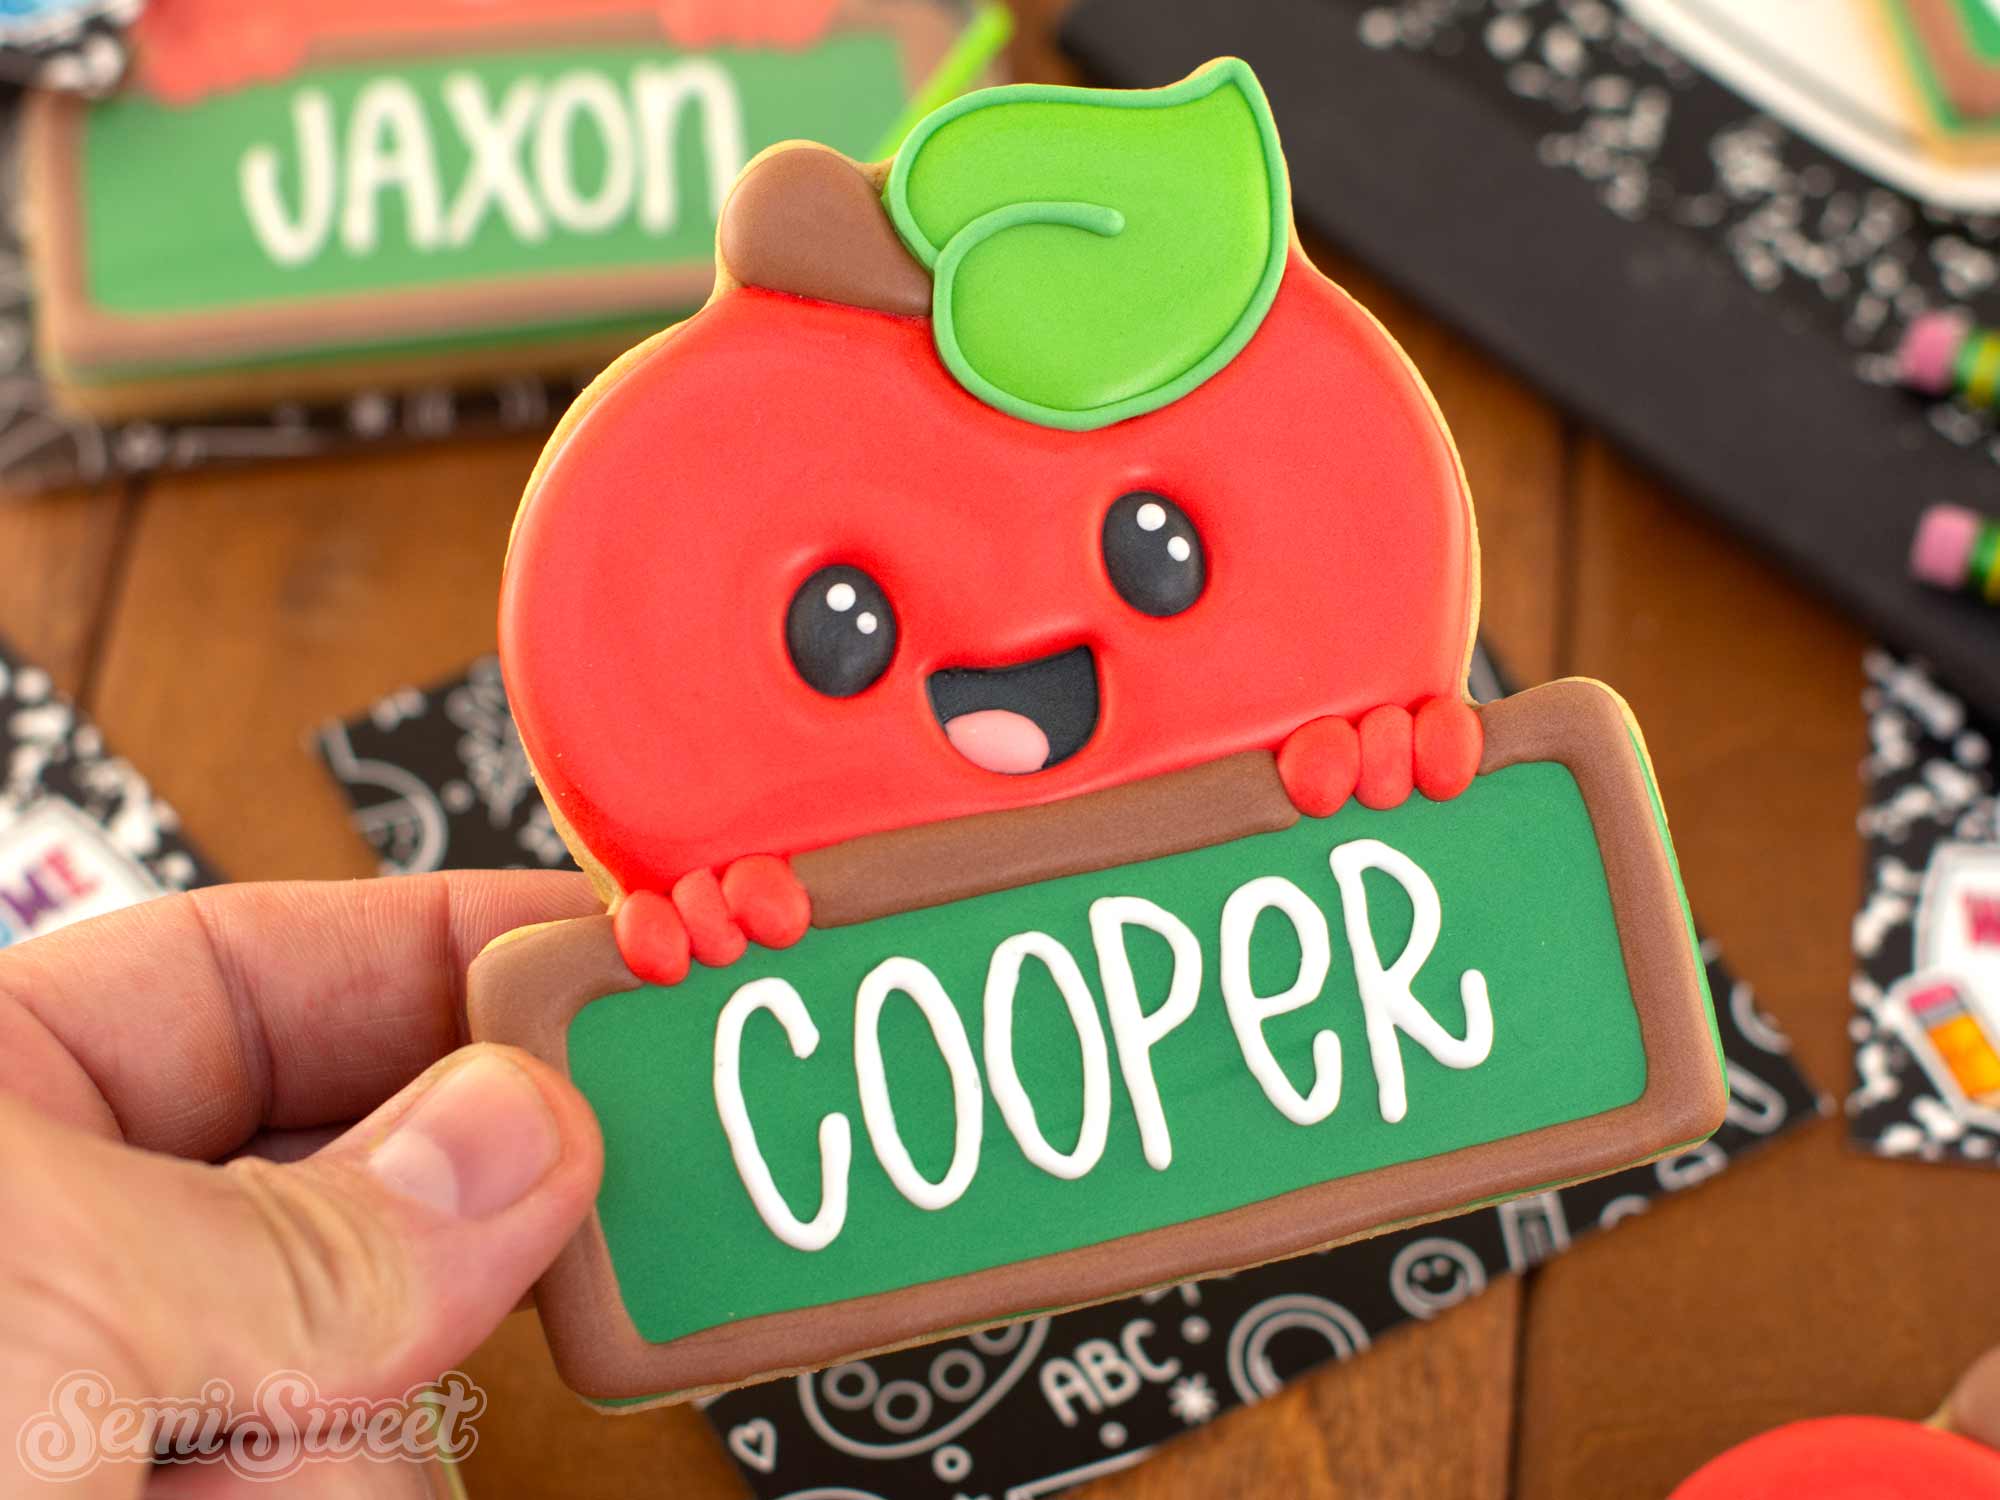
Back-to-school cookie season is the perfect excuse to create sweet treats that make the first day of school even more memorable! In this tutorial, I'll show you how to decorate an adorable smiling apple cookie holding a chalkboard that can be personalized with any student's name. It's a fun, beginner-friendly design that's perfect for teacher gifts, classroom treats, first-day-of-school celebrations, or custom cookie orders. Follow along step by step to learn how to recreate this cheerful cookie, and if you'd like to decorate one yourself, you can find the coordinating cookie cutter in our shop.
My Essential Cookie Tools for Cookie Decorating


My Essential Cookie Tools for Baking Cookies


My Essential Baking Tools for Royal Icing


Essential Decorating Tools for Royal Icing

Apple Name Plate Cookie Cutter
Added to the shop for the back-to-school season is this apple name plate cookie cutter.
For this tutorial, I'm decorated the LARGE size cookie cutter option.
This cookie cutter will fit in our 4.5" x 4.5" cookie box, as well as our 5" x 8" bags (for the LARGE size).

Template for the Apple Name Plate Cookie
To help with the decorating process, I made a PDF template for this apple name plate design.
Click the link below for the downloadable template PDF file.
If you have a Kopykake or Pico projector, just print it out (or pull it up on your mobile device) and you are good to go. For those without a projector, follow the suggested steps below by tracing the design onto the cookie with an edible food marker.
The Cookie Decorating Process
Decorating cookies always starts with a good royal icing recipe. This is my easy royal icing recipe for sugar cookies that I always use.
For this apple cookie, you will need the following suggested colors:
- Green icing (I mixed Americolor Leaf Green with Forest Green, and a touch of Super Black.)
- Light Green icing (I mixed Americolor Mint Green with Egg Yellow.)
- Red icing (I used Americolor Super Red.)
- Pink icing (I mixed a little of the red icing above with fresh icing.)
- Brown icing (I mixed Americolor Chocolate Brown with a touch of Super Black.)
- Black icing (I used Americolor Super Black.)
- White icing (I used Americolor Bright White.)
Step 1
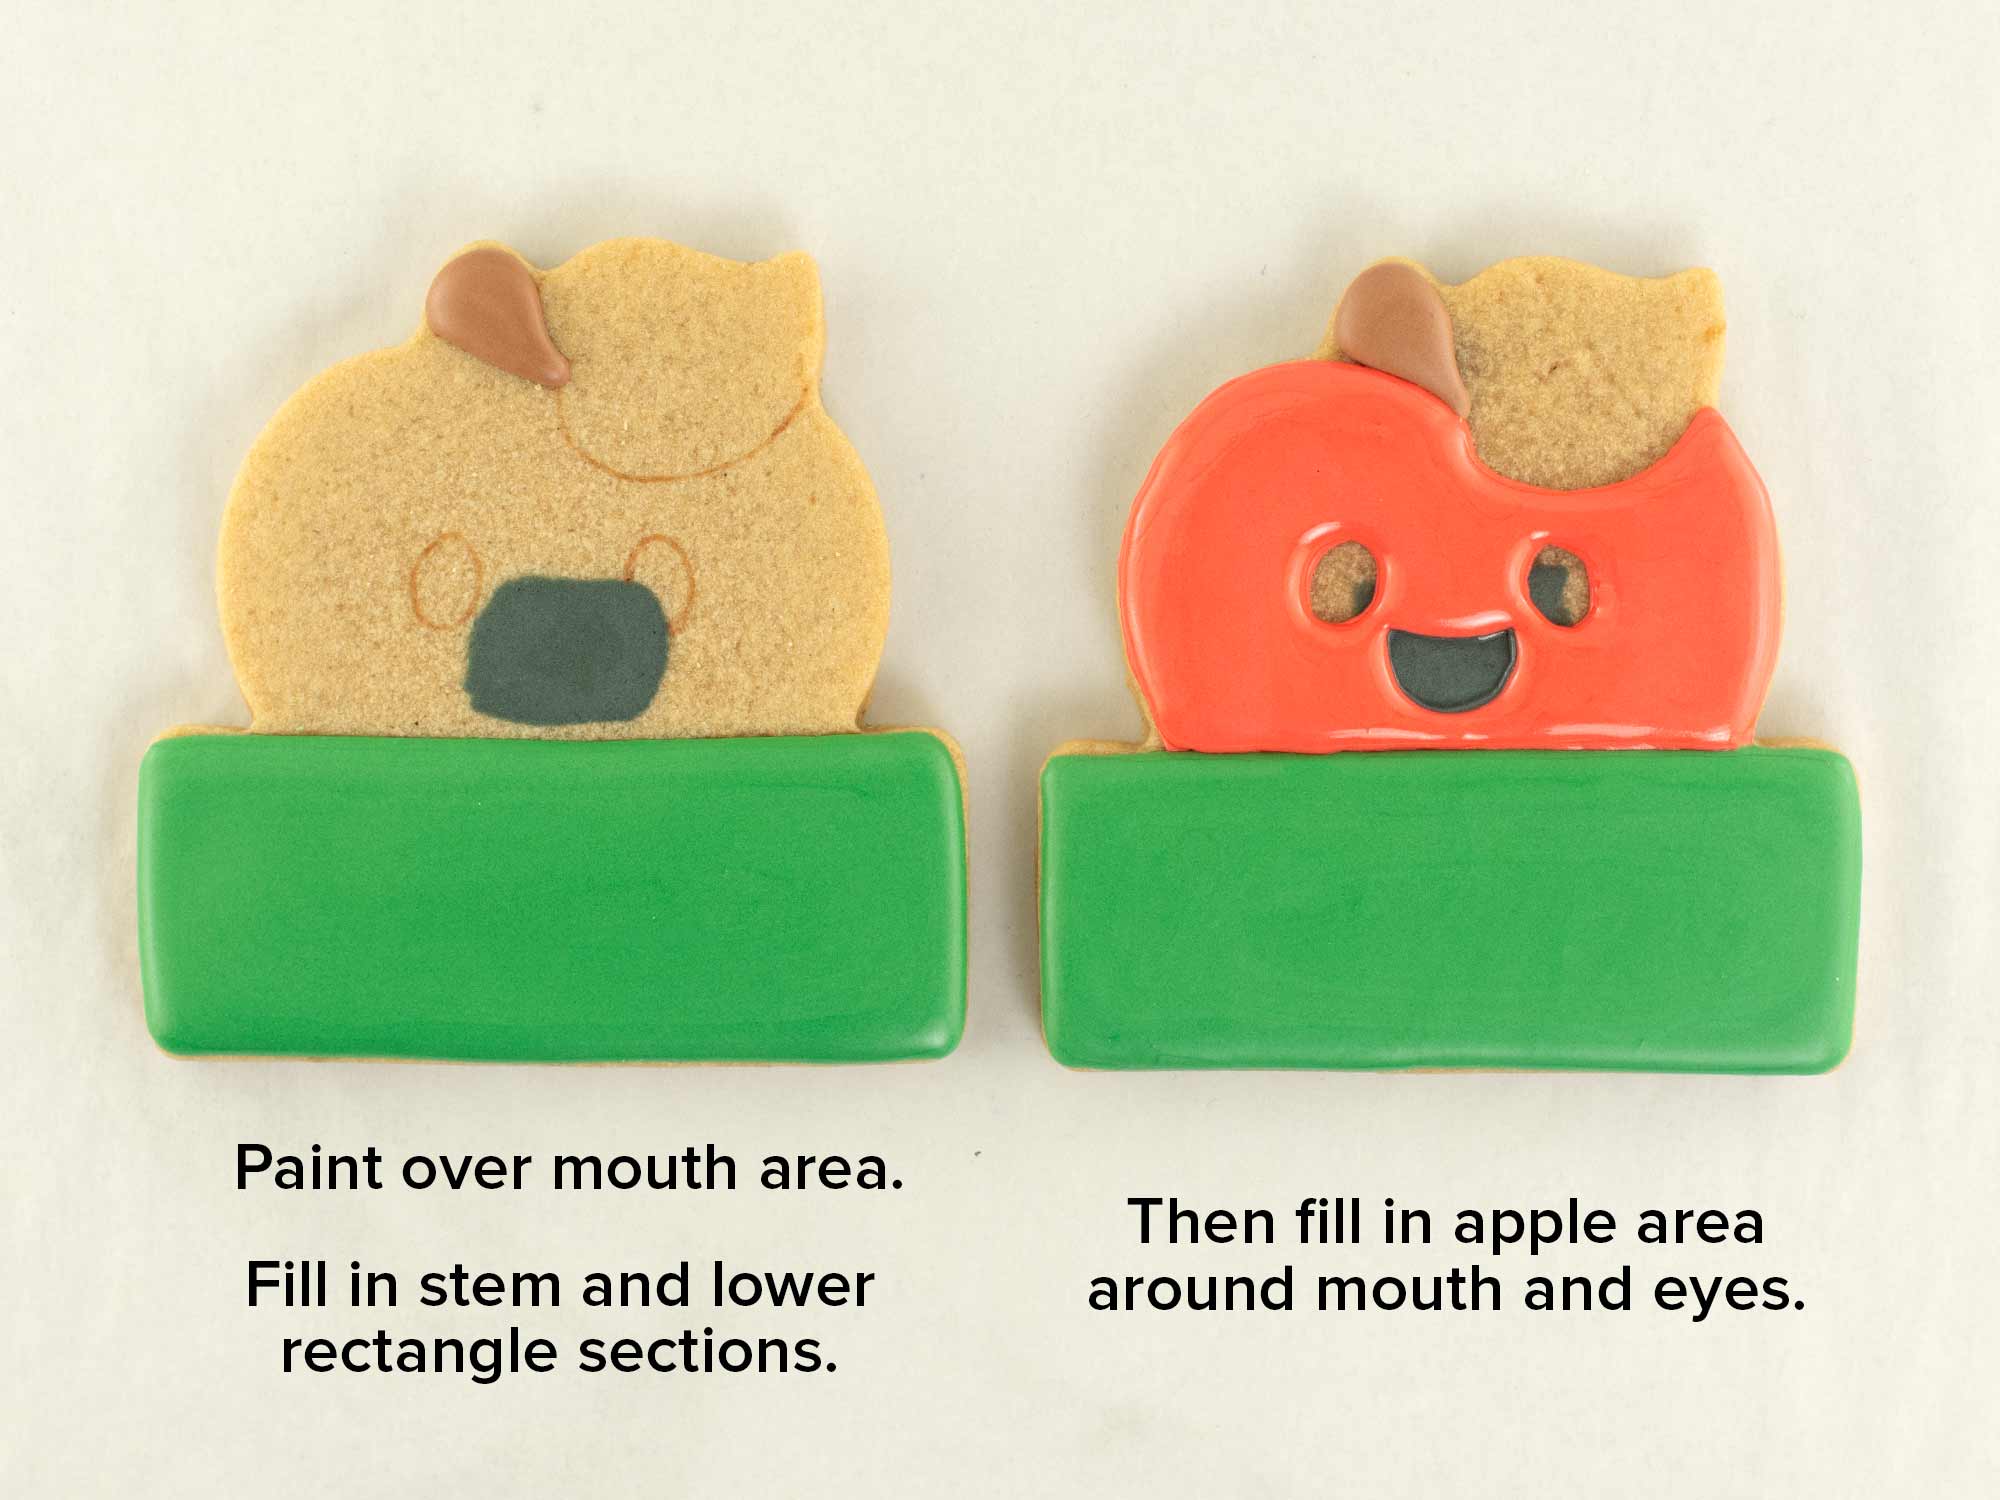
Begin by painting (with a food-only paintbrush) a thin layer of black icing where the mouth will be. Also, fill in the brown stem and the lower green rectangle sections. Let that icing set.
Then outline around the eyes and mouth opening and fill in the red apple section, as shown. (I outlined the mouth with black icing and the eyes with red icing.)
Step 2
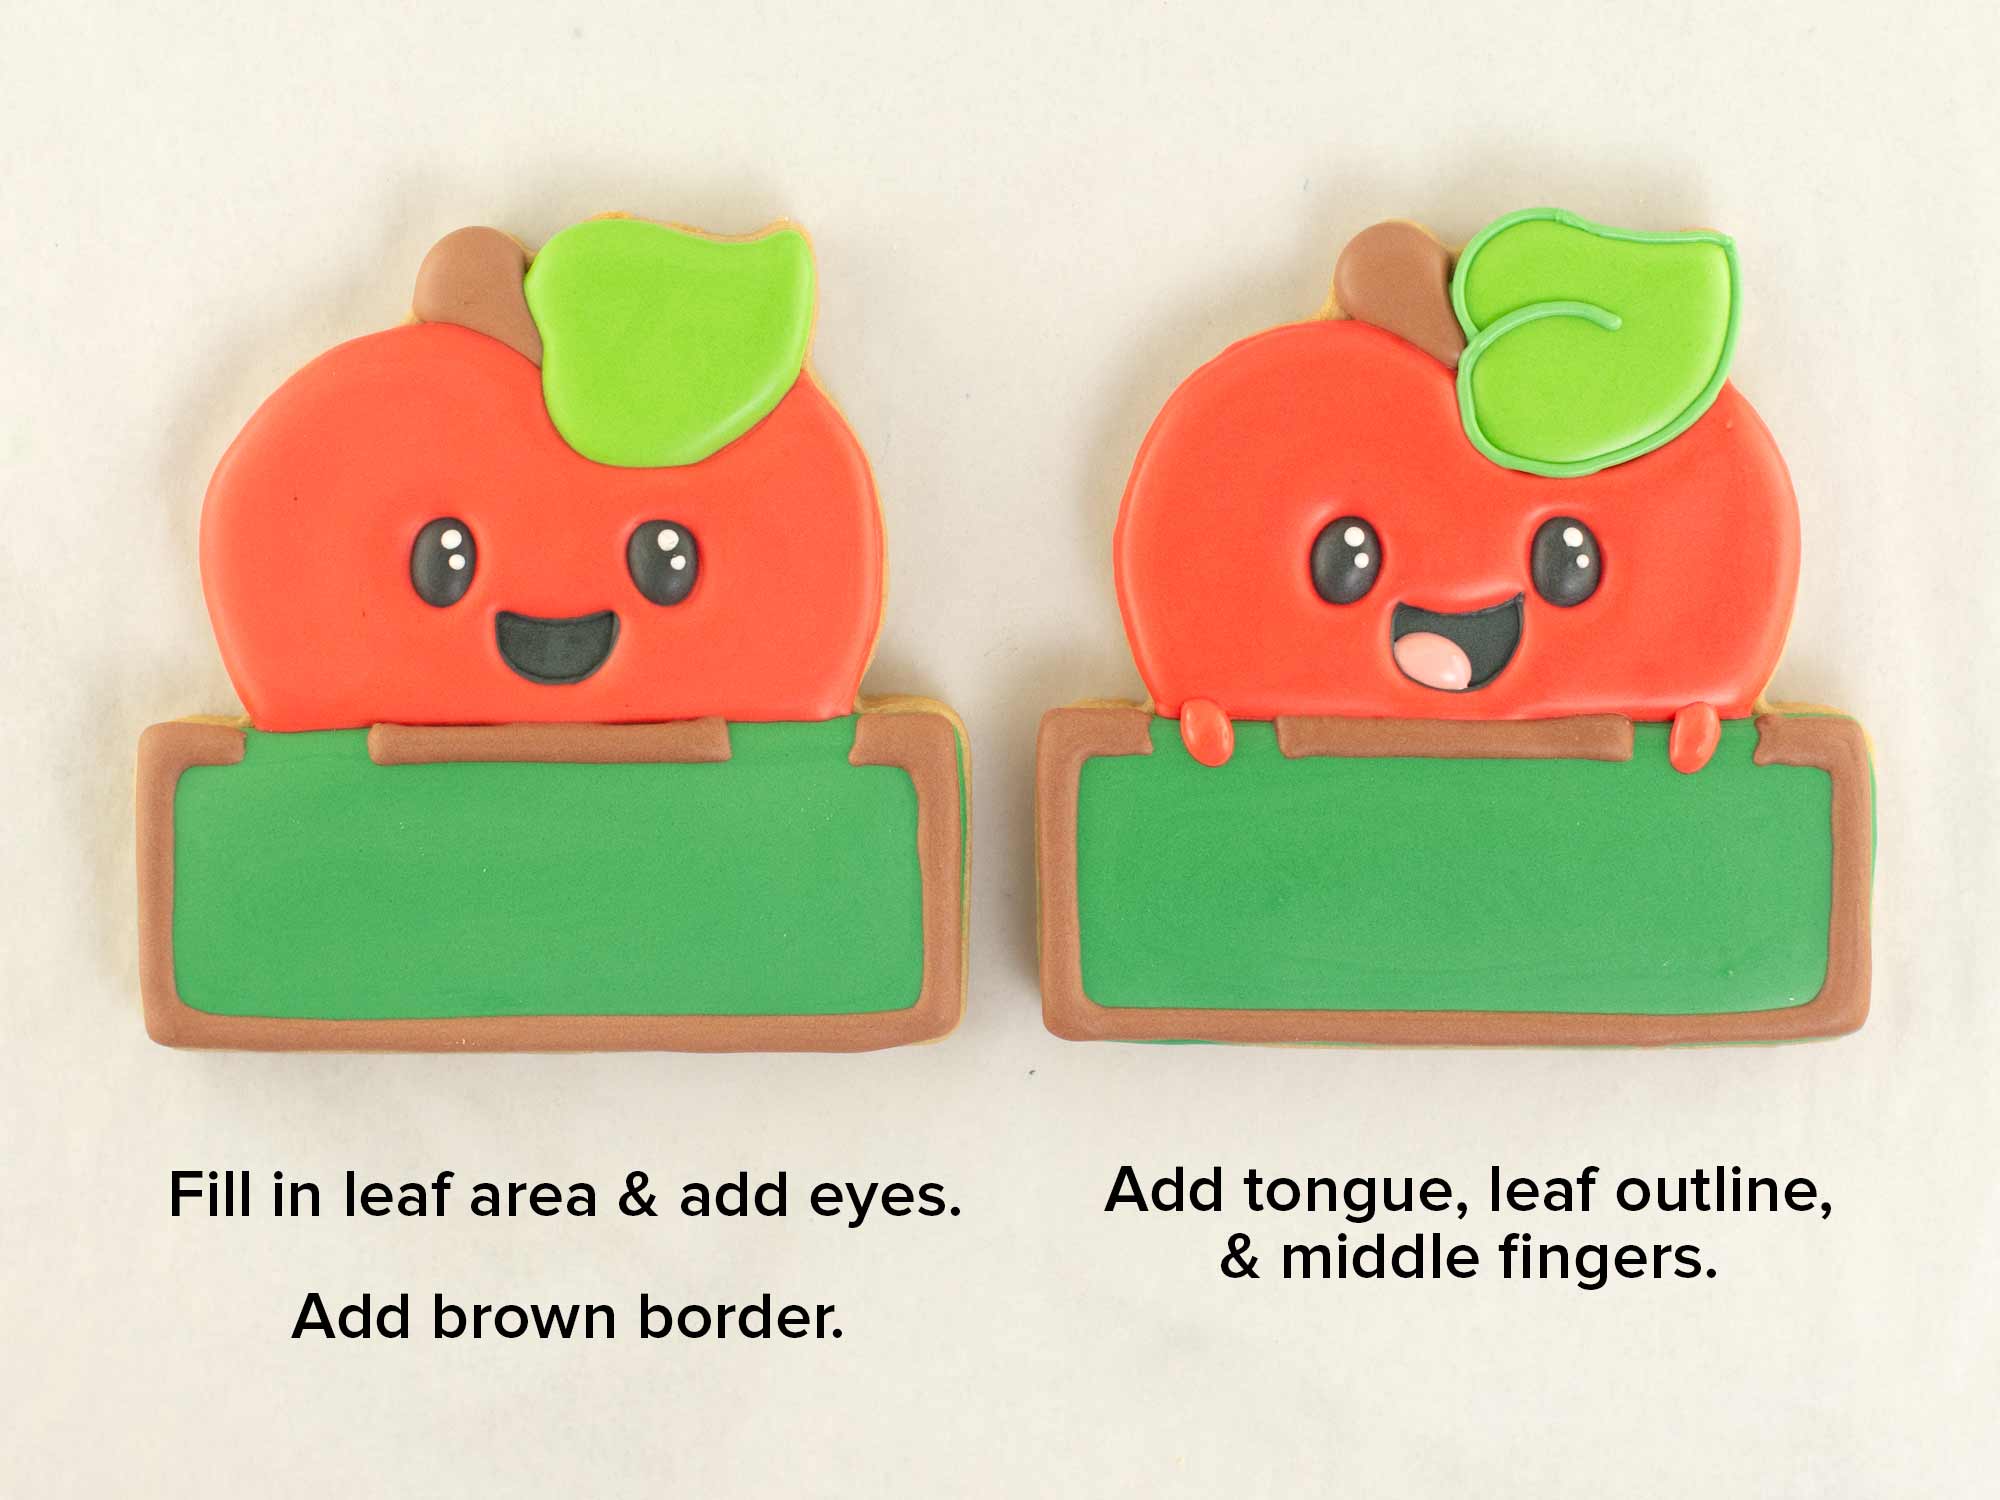
Next, fill in the leaf area with light green icing. Add the eyes with black icing followed by white accent dots, as shown. Add a brown border around the green rectangle. Leave space where the fingers will go.
Then add a pink tongue, the outline of the leaf, and the middle fingers of the hands.
Step 3
Using a cookie projector, add the name to the name plate chalkboard. (The font I used is called Girls Rule.)

Step 4
Add the remaining fingers to the cookie to complete the design.
Apple Name Plate Cookie Decorating Video Tutorial
The steps above are summarized in this time-lapsed video I put together below.
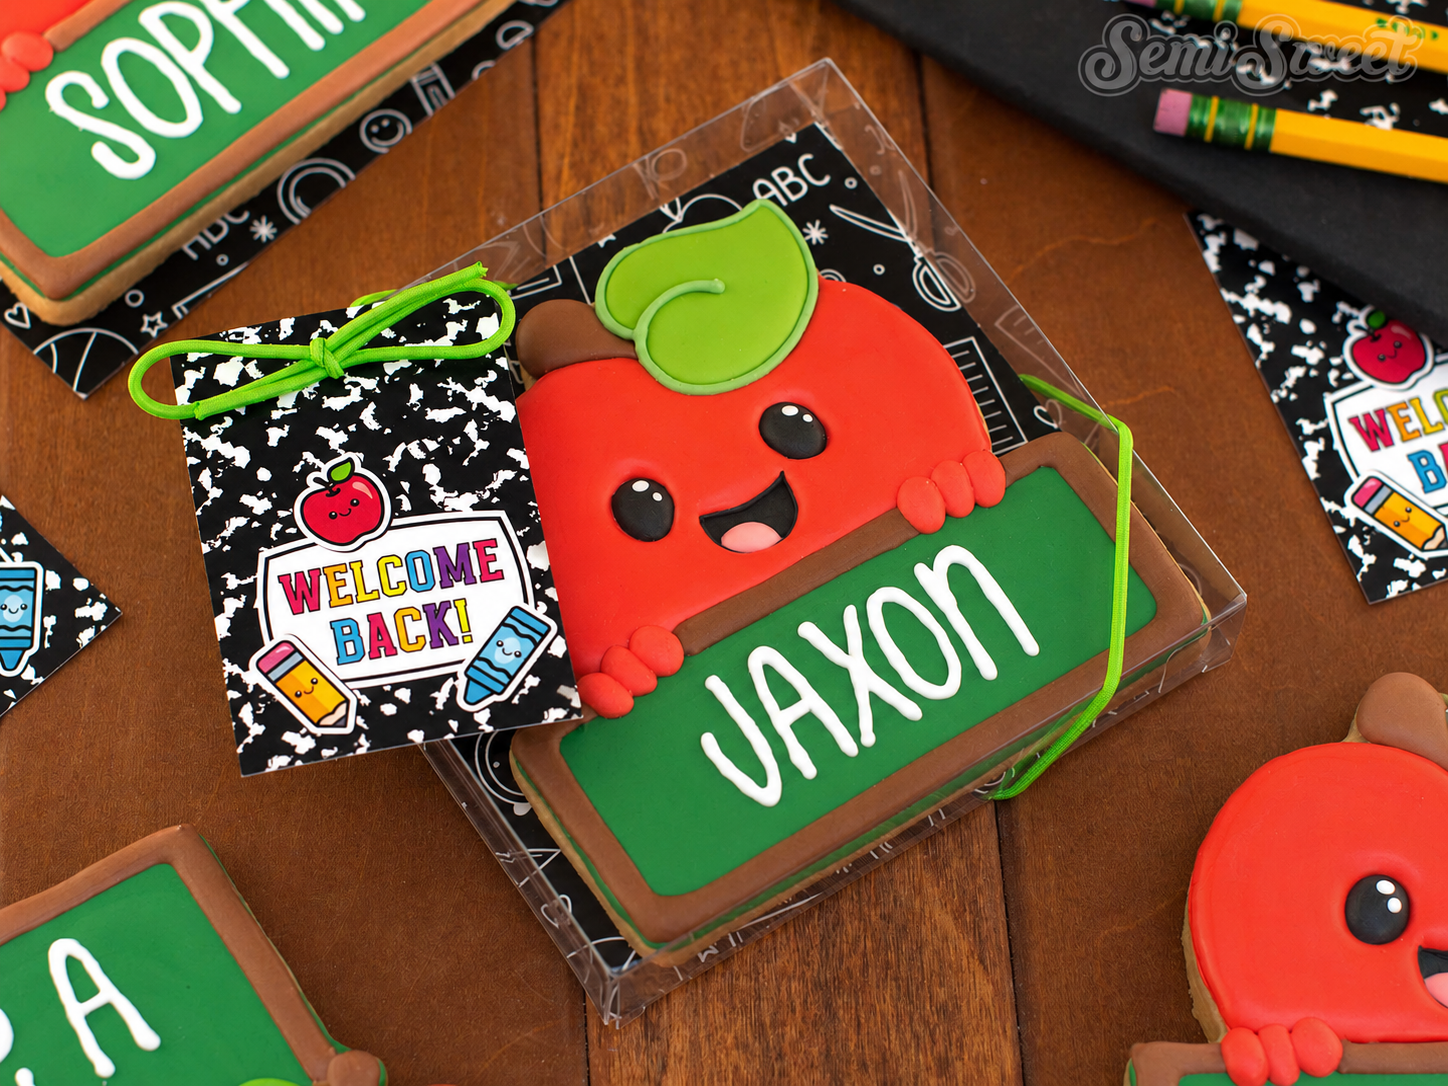
Once your cookie is completely dry, package it in one of our 4.5" × 4.5" clear cookie boxes for a polished, professional presentation.
Pair it with one of our coordinating back-to-school cookie card backers to add a festive touch, then seal the bag with a stretch loop and finish it with a matching back-to-school gift tag. This simple packaging combination makes your personalized apple cookie perfect for classroom gifts, teacher surprises, student welcome treats, or first-day-of-school celebrations while keeping it protected and ready to gift.
Looking for more writing space? We also offer an alternate version of this cookie cutter featuring a larger chalkboard and a smaller apple, giving you extra room for longer names, teacher messages, classroom greetings, or custom text. It's a great option if you want more flexibility while keeping the same cute back-to-school look.

I hope this tutorial inspires you to create your own personalized apple name cookies for the first day of school! Whether you're making treats for your children, gifting a favorite teacher, or filling custom cookie orders, this cheerful design is sure to bring plenty of smiles. If you recreate this cookie, I'd love to see it! Be sure to tag us on social media so we can share your beautiful work! And if you're ready to make your own, you can find the coordinating cookie cutter, along with matching stencils and packaging supplies, in our shop to help you create a polished, gift-ready finished cookie.
Add Vibrant Colors with Americolor Food Coloring

To make your decorated cookies pop, use Americolor Food Coloring for bold, consistent colors. It’s my go-to brand for achieving vibrant shades without altering the consistency of the royal icing.
Buy NowTags:
You may also like...


Mike Tamplin
Hi, I’m Mike, the cookie decorator behind Semi Sweet Designs! Since 2011, I’ve been sharing recipes, tips, and tutorials to help beginners gain confidence and give experts fresh inspiration. Along with my brother, Billy, we design and offer hundreds of cookie cutters, stencils, and apparel—all made with decorators in mind.
Whether you're just starting or a seasoned pro, we’re here to make cookie decorating easier and more fun!
Read more