How to Decorate a Halloween Flying Ghosts Cookie Platter
Learn how to decorate an easy but impressive Halloween cookie platter with royal icing featuring flying ghost cookies swirling around a spooky haunted house centerpiece.
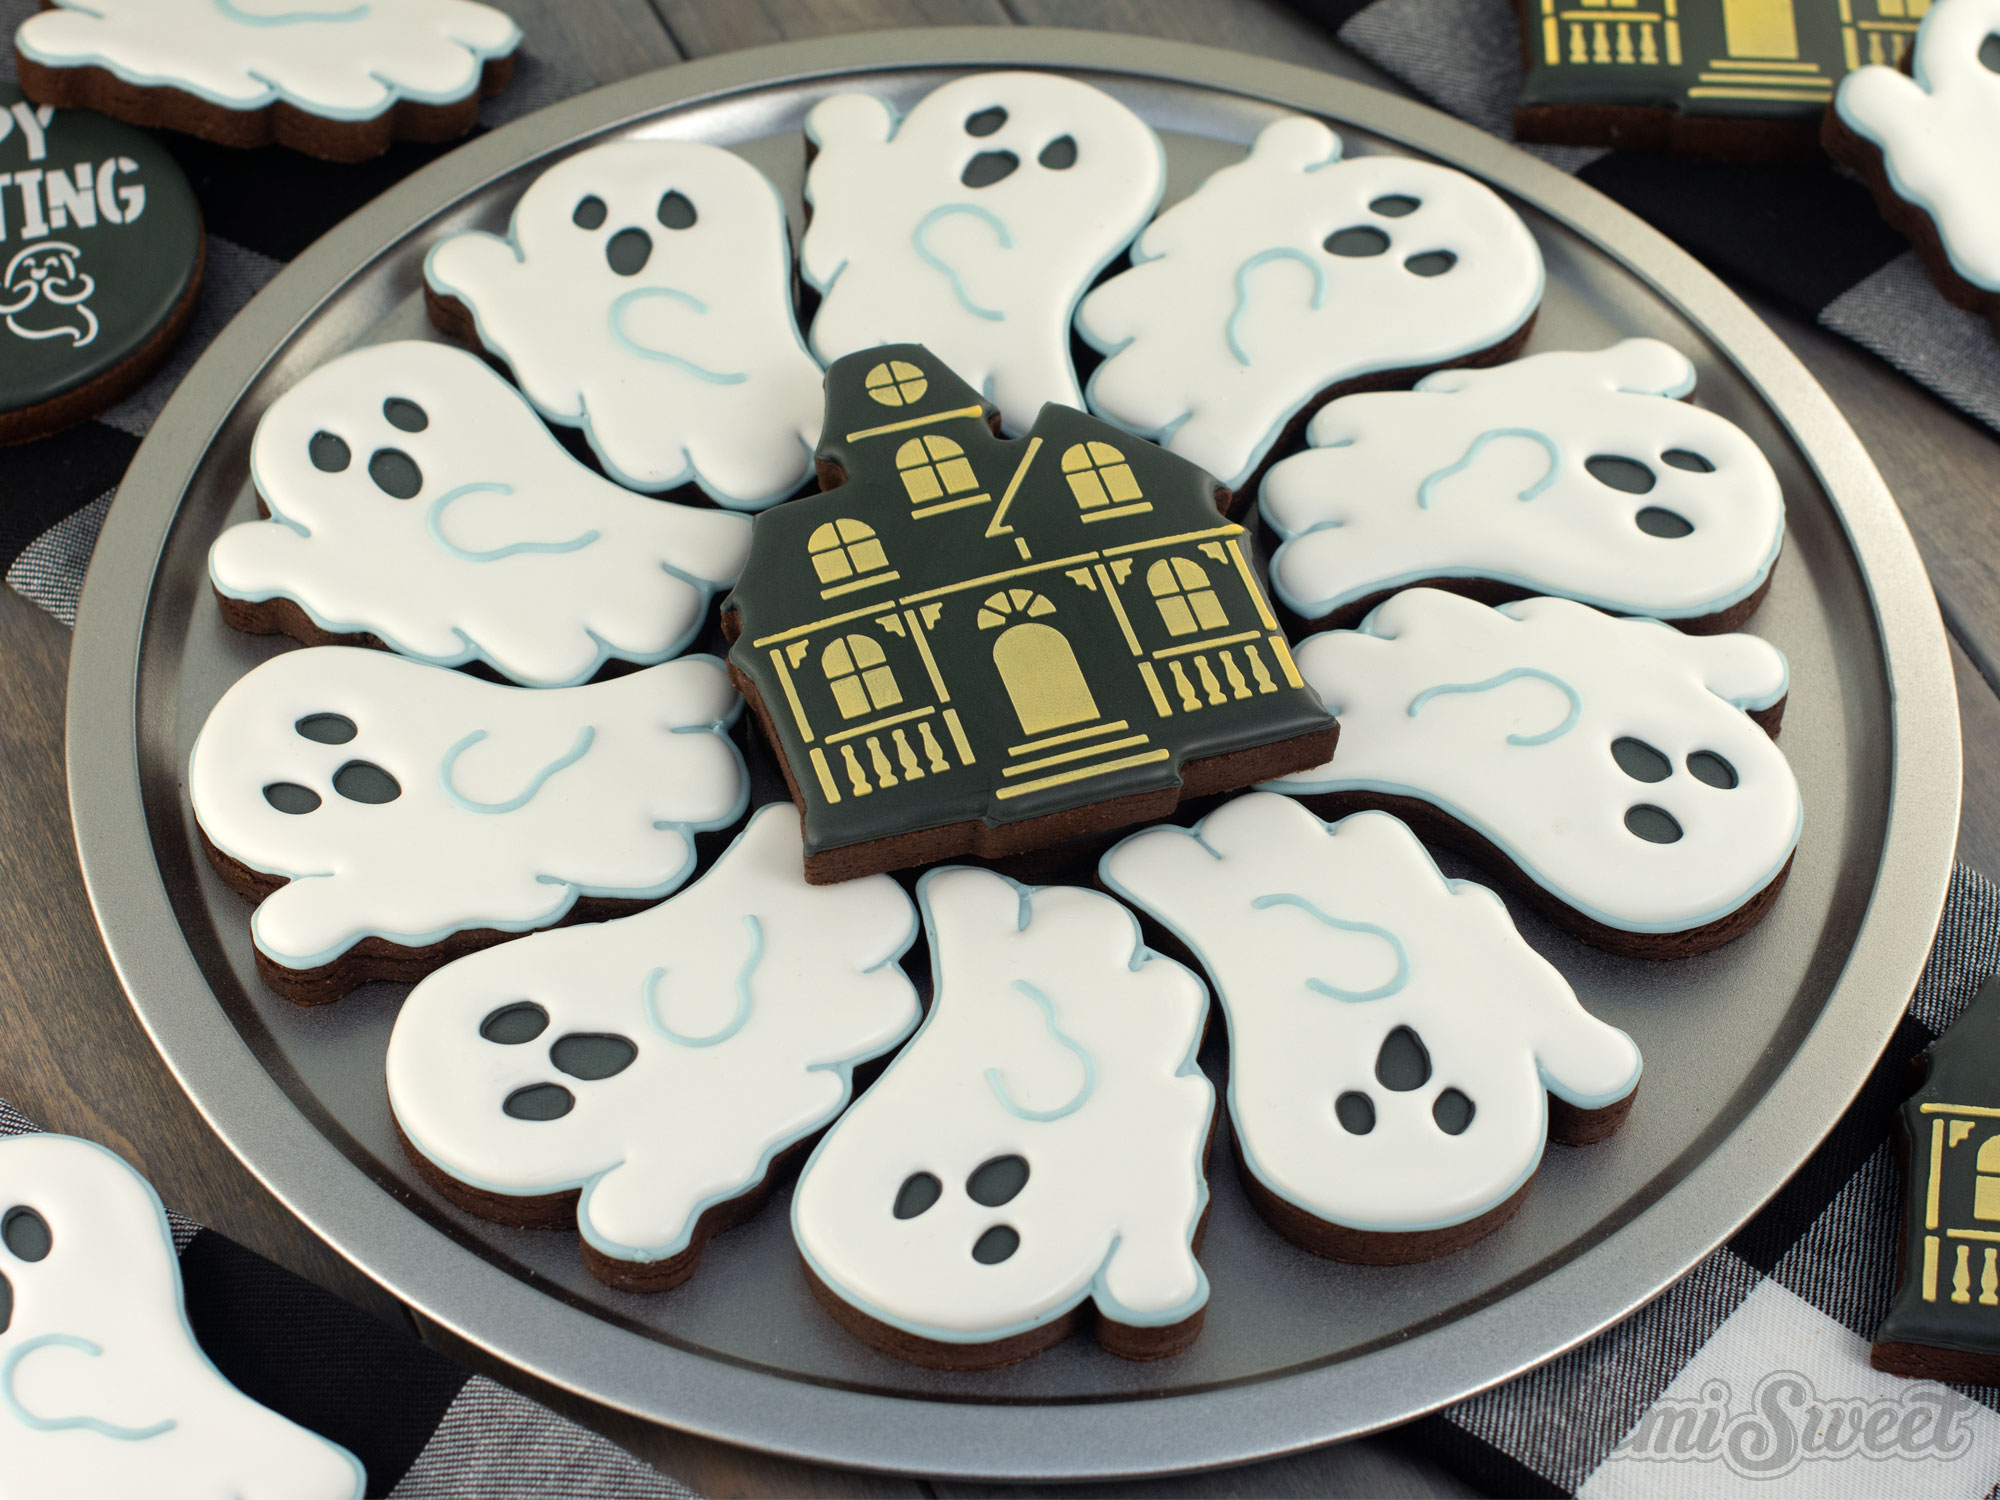
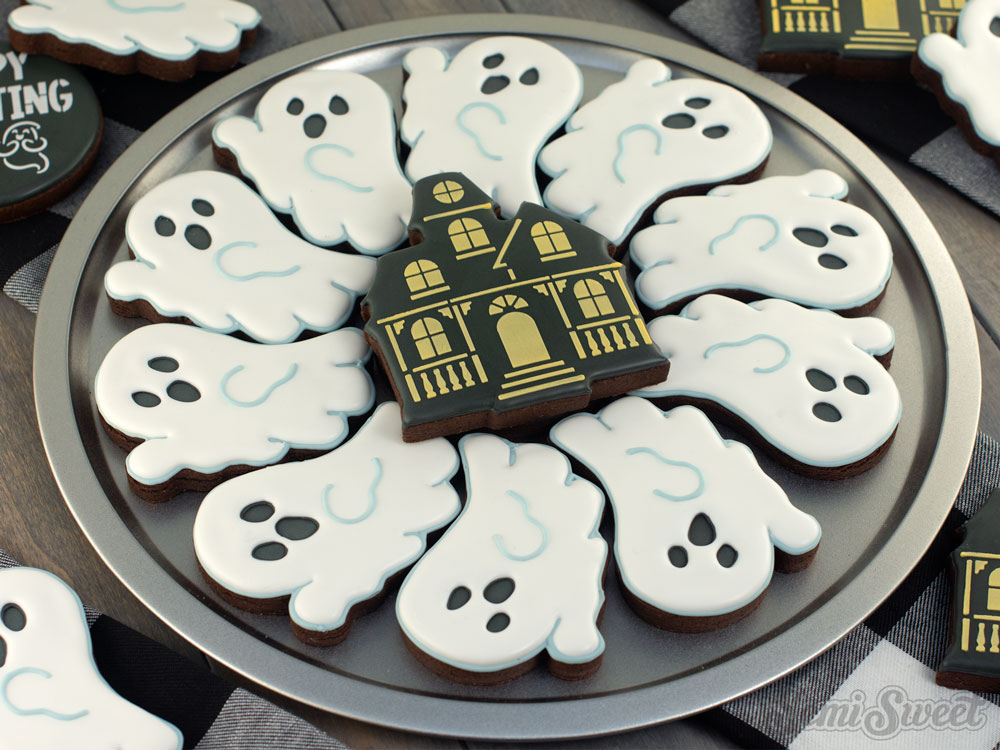
Get ready to create a Halloween cookie platter that looks impressive but is surprisingly simple to decorate! In this tutorial, I’ll show you how to decorate a spooky flying ghost cookie platter with royal icing, featuring playful ghosts swirling around a center haunted house cookie. This beginner-friendly design uses easy decorating techniques that still create a dramatic finished platter perfect for Halloween parties, cookie boxes, or dessert tables. I’ll also share tips for using the coordinating cookie cutters, projector templates, and matching stencils available in our shop to make decorating even faster and easier.
My Essential Cookie Tools for Cookie Decorating


My Essential Cookie Tools for Baking Cookies


My Essential Baking Tools for Royal Icing


Essential Decorating Tools for Royal Icing

Halloween Flying Ghosts & Haunted House Platter Cookie Cutters
This flying ghosts cookie cutter set includes a flying ghost cookie cutter and a center circle cutter. You can purchase cookie cutters together as a 2-piece set, or as a single cutter without the center circle.
(This is the same circle cutter used in all my platter sets, like this ghost and candy corn cookie platter, and cat & witch cookie platter, etc.)
Also, I added this Easy haunted house cookie cutter & stencil bundle to the center of this platter.
There are two sizes available. When arranged as a platter, as shown in the example picture, the platter measures:
LARGE- 12 inches in diameter.
SMALL- 9 inches in diameter.
For this tutorial, I'll be decorating the large size.

Template for the Halloween Flying Ghosts Cookie Platter
To help with the decorating process, I made a PDF template of this Halloween cookie platter design.
You can download all the platter cookie template HERE.
If you have a Kopykake or Pico projector, just print it out (or pull it up on your mobile device) and you are good to go. For those without a projector, follow the suggested steps below by tracing the design onto the cookie with an edible food marker.
The Cookie Decorating Process
Decorating cookies always starts with a good royal icing recipe. This is my favorite royal icing recipe that I use to decorate sugar cookies.
For this Halloween cookie platter, you will need the following suggested colors:
- White icing (I used Americolor Bright White.)
- Black icing (I used Americolor Super Black.)
- Yellow icing (I mixed Americolor Gold with Americolor Egg Yellow.)
- Light Blue icing (I mixed a tiny amount of Americolor Wedgewood and Americolor Super Black.)
Step 1
For the flying ghost cookie, begin by painting (with a food-only paintbrush) on a thin layer of black icing where the facial details are going to be. Let this icing set up for about an hour.

Step 2
Next, outline the face details with black icing (I used a #1 tip), and outline the body details with light blue icing (I used a #2 tip). Let this icing set for about 15 minutes.
Then flood around the outlines with white icing. Be careful not to flood over the outlines too much.

Step 3
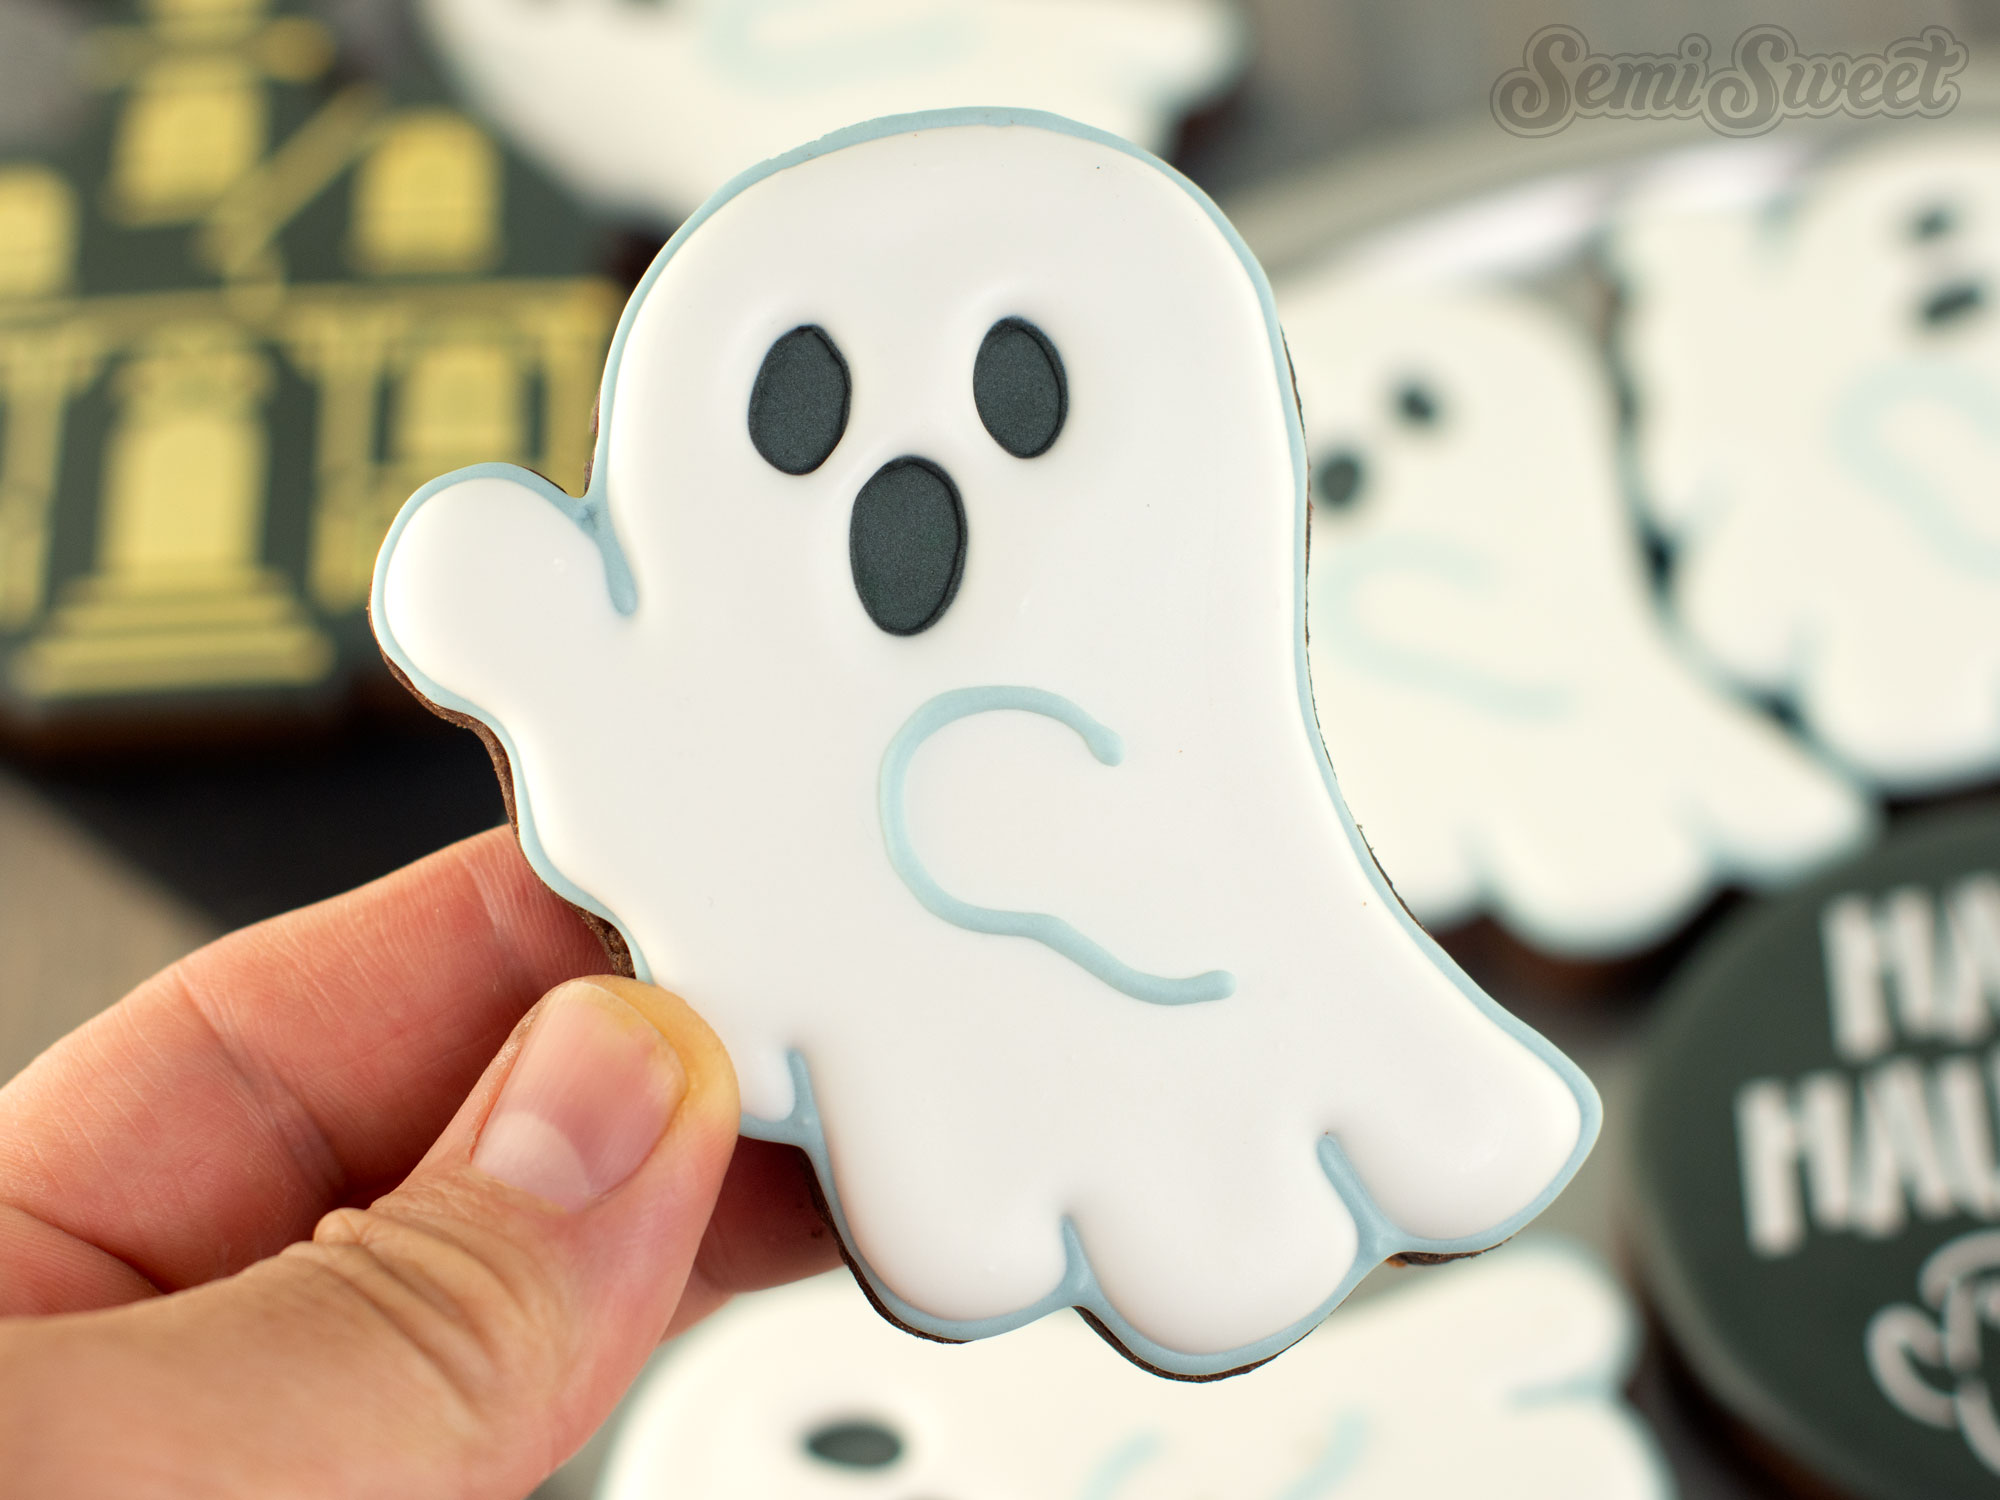
For the final step, pipe on the arm detail in the middle, as shown.
Step 4
For the haunted house cookie, begin by outlining and flooding the entire cookie with black icing. Let this icing dry completely (at least 6 hours).

Step 5
Once the base layer of icing had time to dry, stencil on the haunted house details with yellow icing, as shown. I used a Stencil Genie to help hold the stencil in place while applying the icing.

Step 6
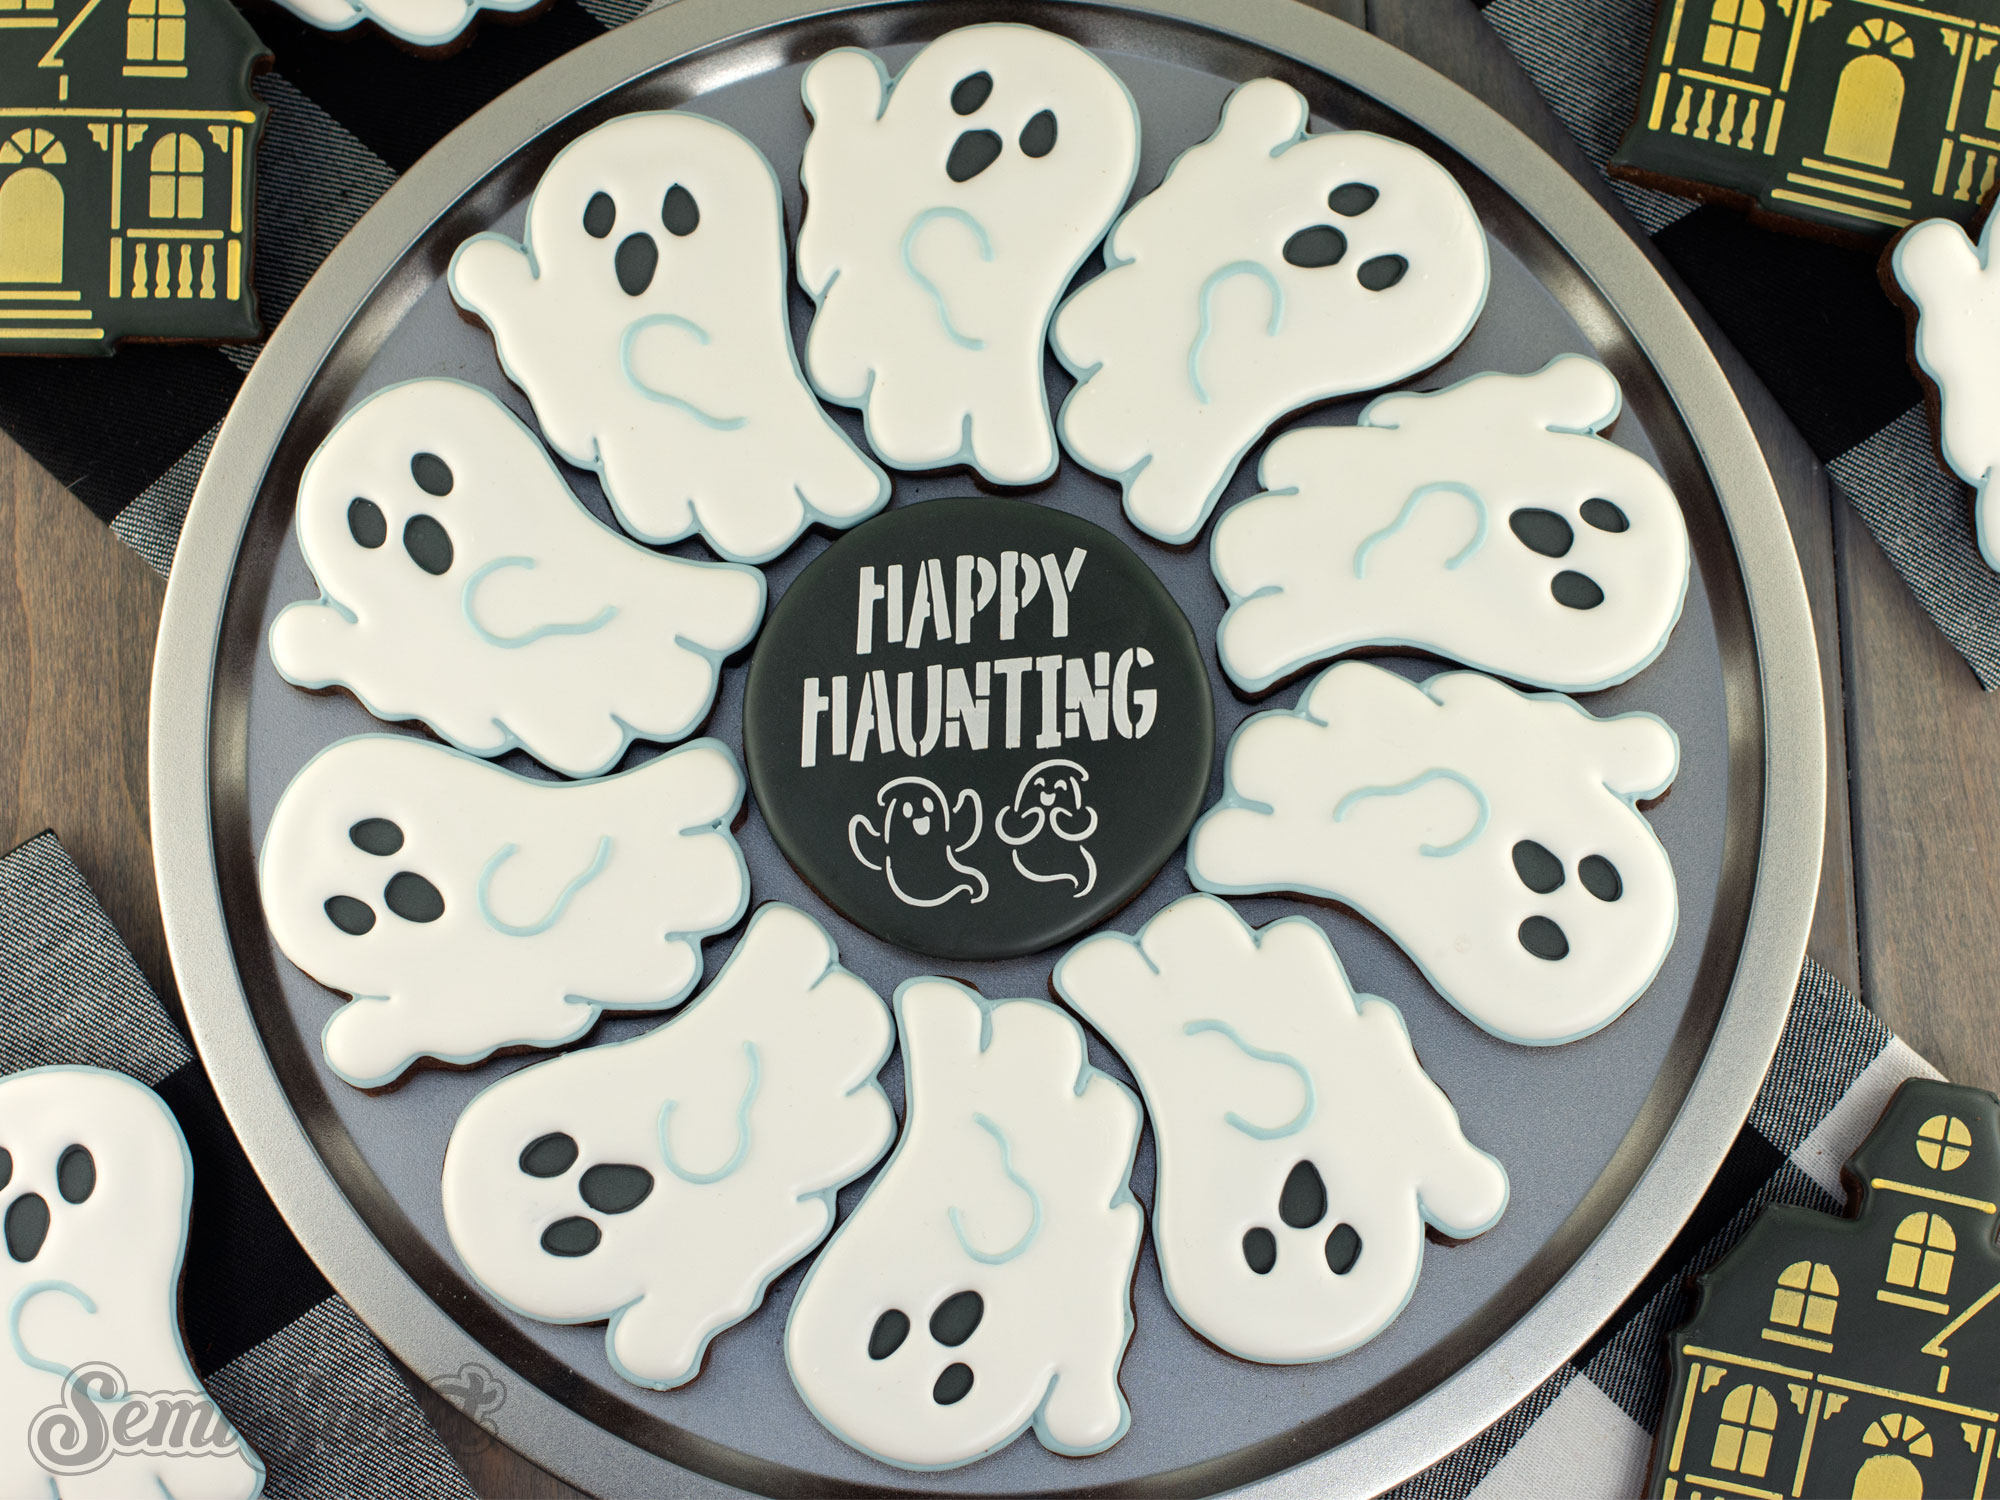
As an alternative center cookie, I love this "Happy Haunting" cookie stencil. I stenciled white icing on a black base.

Halloween Ghost Cookie Platter Decorating Video Tutorial
The steps above are summarized in this time-lapsed video I put together below.
Here's the final Halloween ghost-themed cookie platter all assembled. To create this entire platter required 12 cookies-- 10 ghost cookies, 1 center circle cookie, and 1 center haunted house cookie.
This is the large, 12" version. For the tray it's on, I like to use the 12" pizza pans from Dollar Tree. They are cheap and sturdy for transporting around.

If you want to leave out the house in the middle and just use the center circle, that's a great option too!
This Halloween flying ghost cookie platter is proof that beginner-friendly cookie decorating can still create a dramatic and eye-catching final design. With simple royal icing techniques, coordinating stencils, and an easy-to-arrange platter layout, you can create a spooky centerpiece perfect for Halloween parties, dessert tables, or gift boxes. If you’d like to recreate this platter, be sure to check out the matching cookie cutter set and stencils available in our cookie cutter shop, and don’t forget to explore more Halloween cookie decorating tutorials for even more spooky inspiration!

Add Vibrant Colors with Americolor Food Coloring

To make your decorated cookies pop, use Americolor Food Coloring for bold, consistent colors. It’s my go-to brand for achieving vibrant shades without altering the consistency of the royal icing.
Buy NowTags:
You may also like...


Mike Tamplin
Hi, I’m Mike, the cookie decorator behind Semi Sweet Designs! Since 2011, I’ve been sharing recipes, tips, and tutorials to help beginners gain confidence and give experts fresh inspiration. Along with my brother, Billy, we design and offer hundreds of cookie cutters, stencils, and apparel—all made with decorators in mind.
Whether you're just starting or a seasoned pro, we’re here to make cookie decorating easier and more fun!
Read more