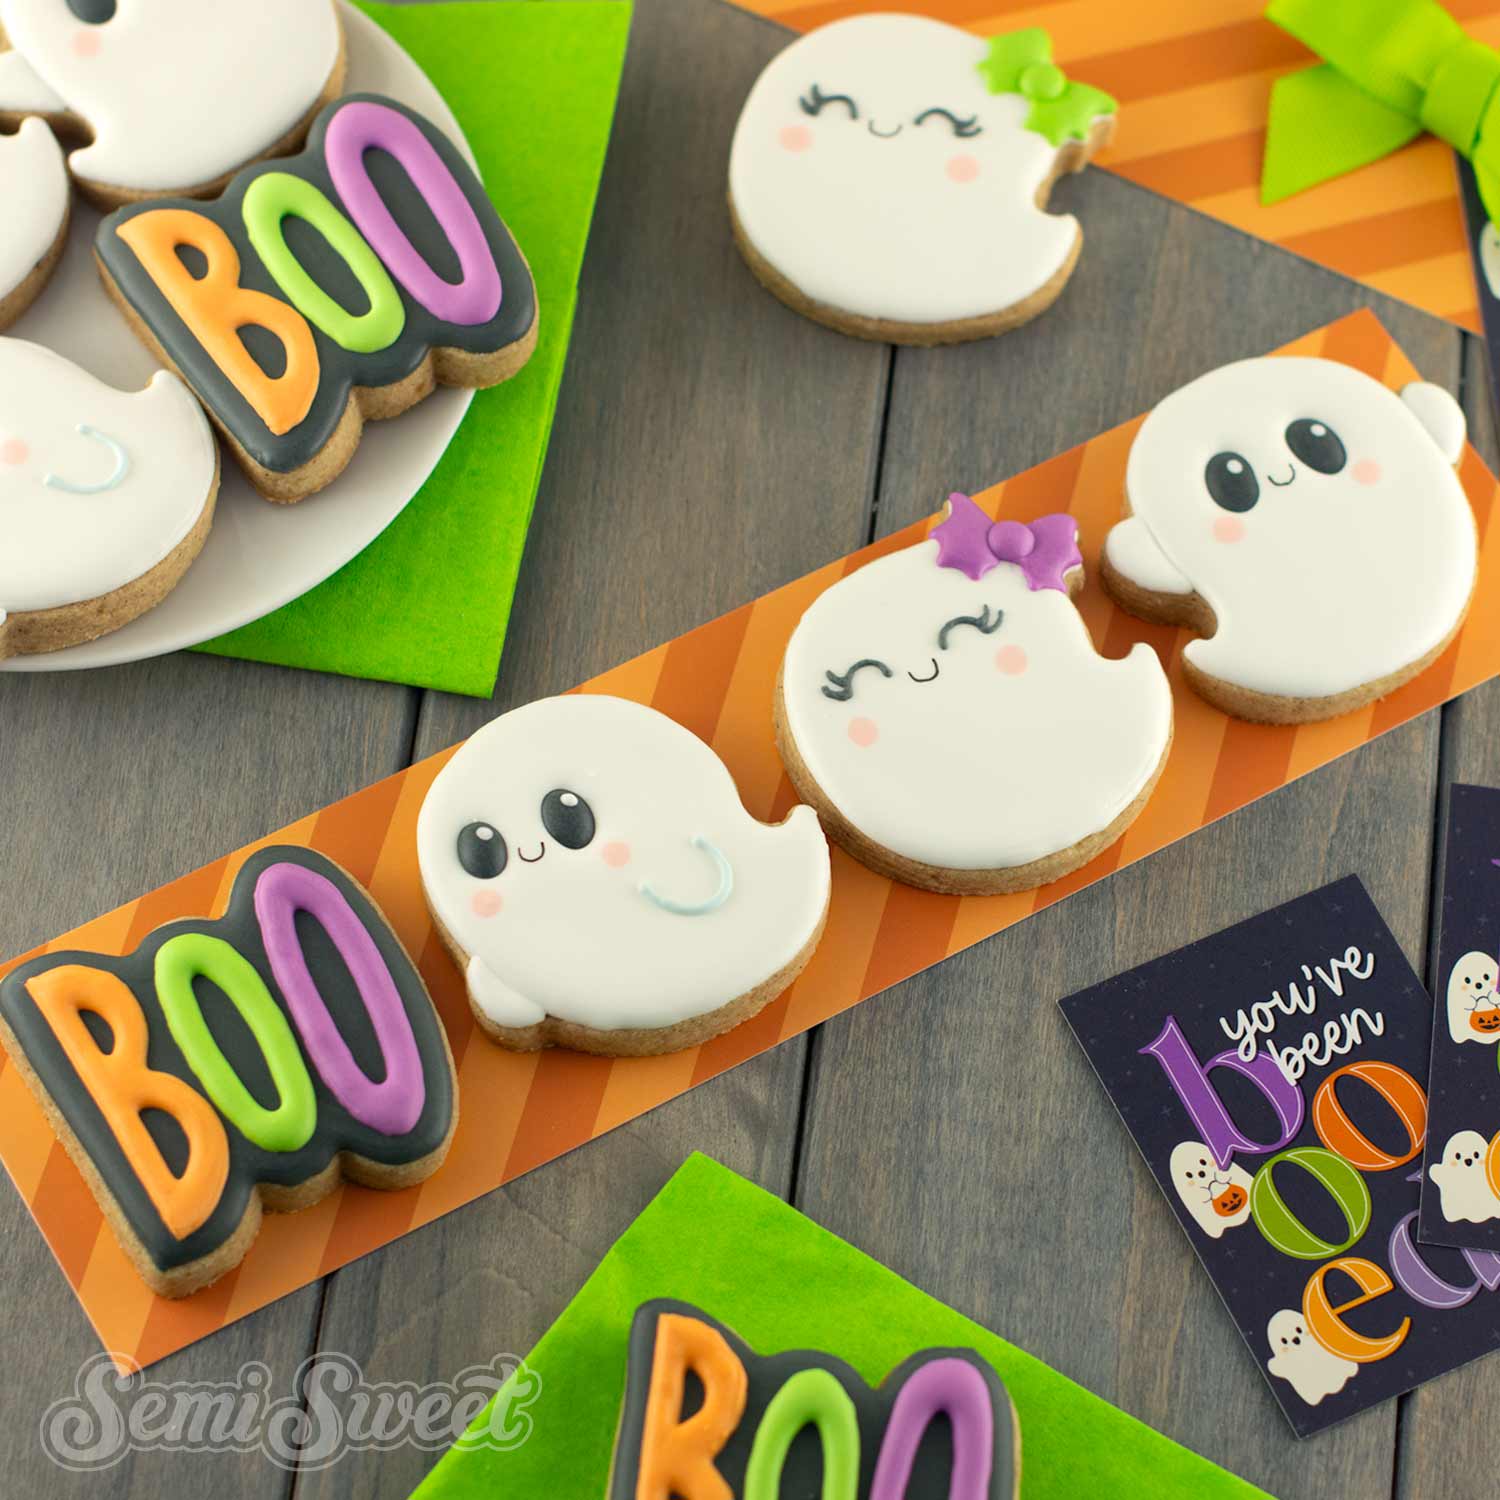
Halloween Cookie Decorating Tutorial: Spooky Word Cookie with Free Projector Template
In this Halloween cookie decorating tutorial, I’ll show you step-by-step how to decorate a spooky word cookie design, complete with eye-shaped O’s, using a free projector template to make lettering simple and stress-free.
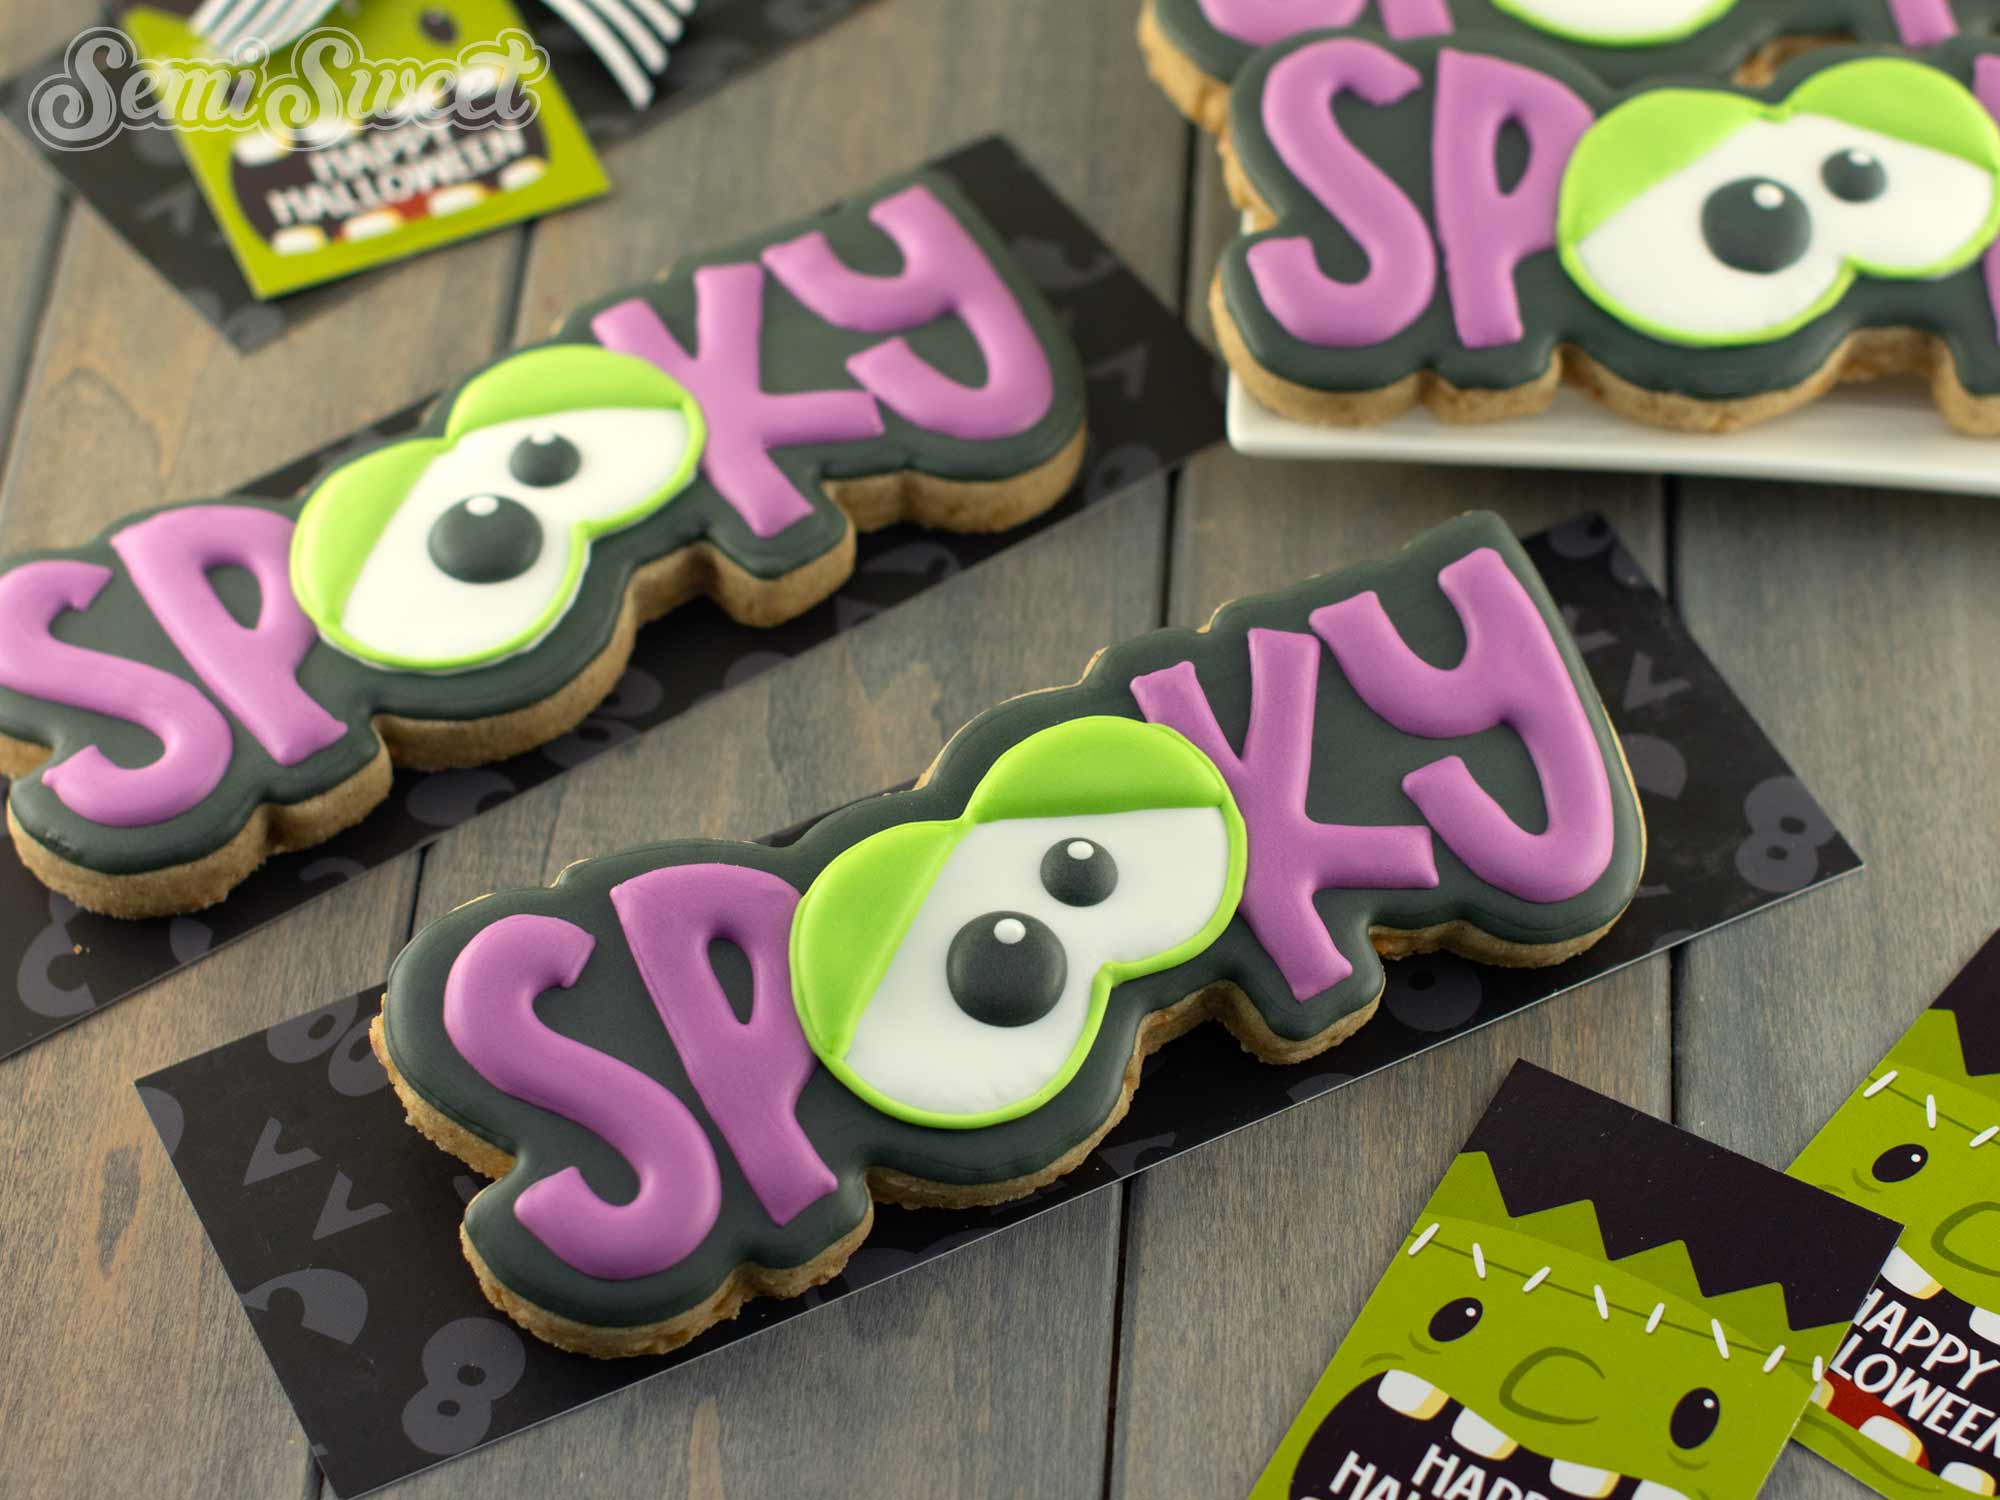
Looking for a fun and eye-catching cookie design this Halloween? In this tutorial, I’ll walk you through how to decorate a “SPOOKY” word cookie cutter, complete with two big eyes in place of the O’s for an extra creepy-cute effect. Lettering cookies can sometimes feel tricky to pipe, but don’t worry. I’ve included a free projector template to make the process much easier. With the right tools and a little guidance, you’ll be able to create a clean, professional-looking design that’s perfect for Halloween parties, cookie sets, or bakery displays. You can grab this “SPOOKY” word cookie cutter in my shop to follow along!
My Essential Baking Tools for Royal Icing
Essential Decorating Tools for Royal Icing
Spooky Word Halloween Cookie Cutter
Just added to the shop for the upcoming Halloween season is this Spooky with Eyes cookie cutter.
This cookie cutter will fit in our 3" x 12" bag sleeves.
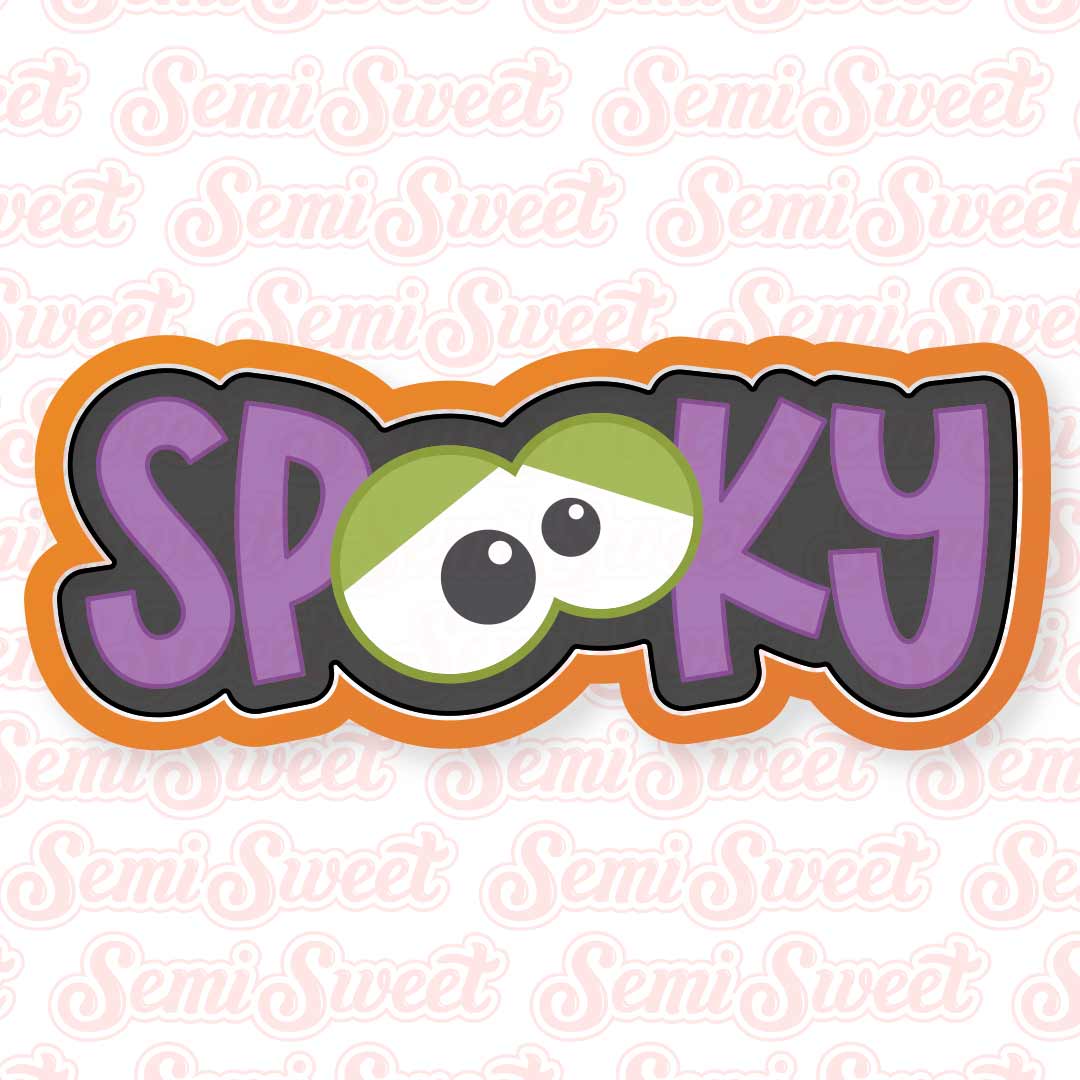
Template for the Spooky Word Halloween Cookies
To help with the decorating process, I made a PDF template of all the designs of this year's Halloween collection, including this Halloween Spooky cookie.
Click the link below for the downloadable template PDF file.
This file is rather large in data size. Just a warning, it might take a moment before the file opens in your browser.
If you have a Kopykake or Pico projector, just print it out (or pull it up on your mobile device) and you are good to go. For those without a projector, follow the suggested steps below by tracing the design onto the cookie with an edible food marker.
Step-By-Step Cookie Decorating Guide
Decorating cookies always starts with a good royal icing recipe. This is my easy royal icing recipe for decorating sugar cookies that I always use.
For the colors used for these Spooky cookies, you will need the following suggested colors:
- White icing (I used Americolor Bright White.)
- Black icing (I used Americolor Super Black.)
- Green icing (I mixed Americolor Egg Yellow with Mint Green.)
- Purple icing (I mixed Americolor Regal Purple with a touch of Deep Pink.)
Step 1
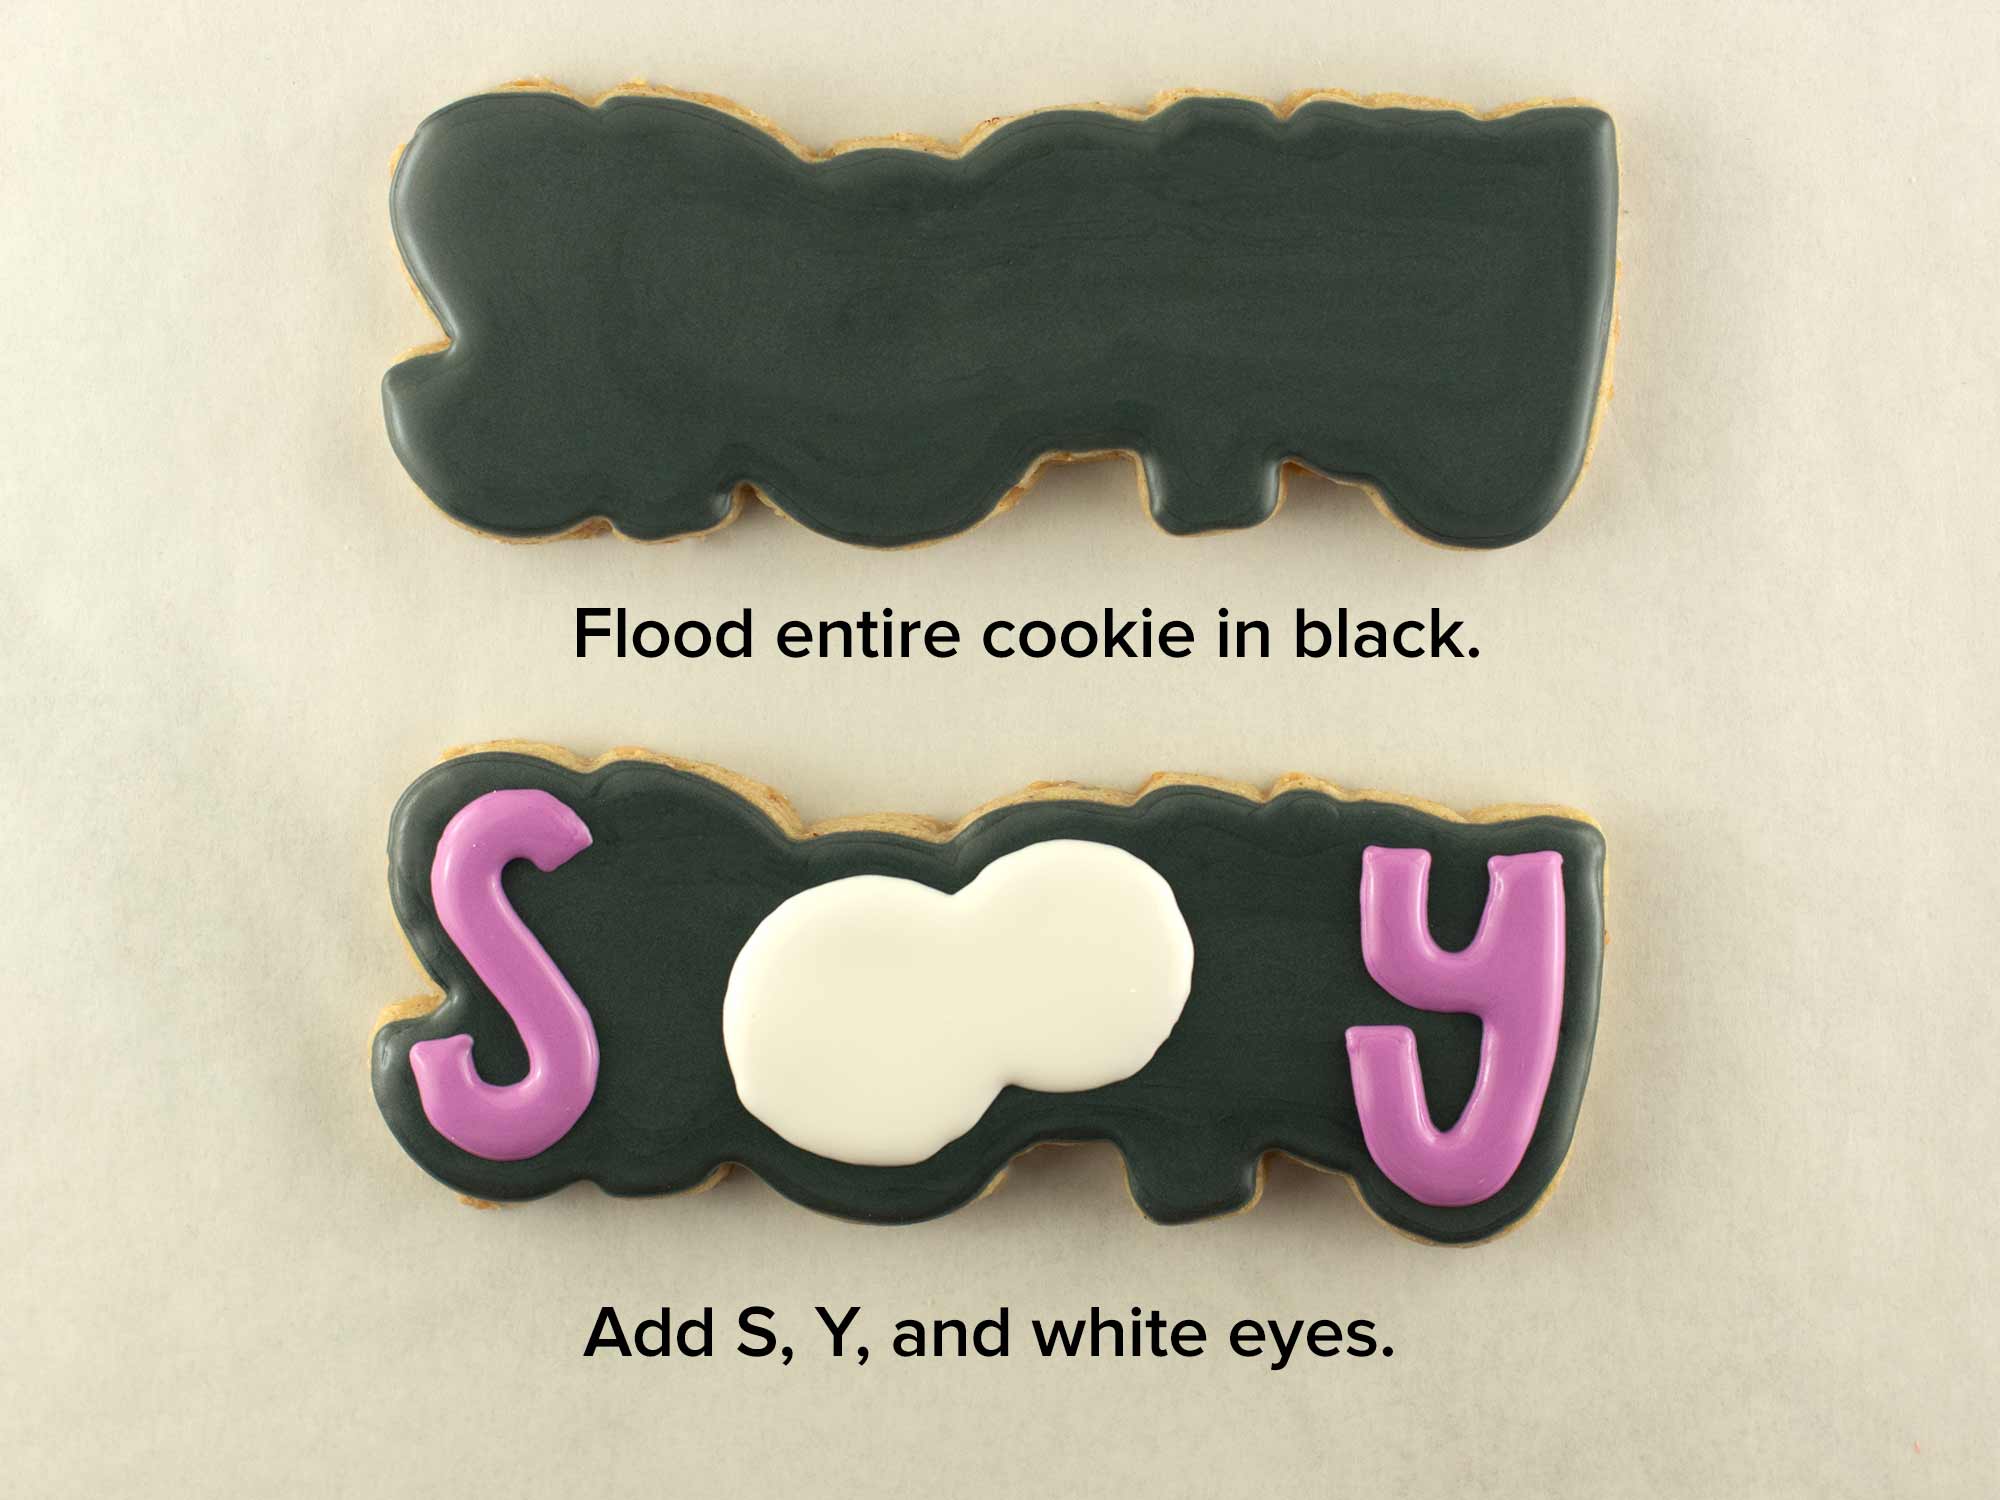
Begin by filling in the entire cookie with black icing, as shown.
Then fill in the S and the Y letters with purple icing, and the eye circles with white icing. I used a cookie projector to help with the placement of these letters.
Step 2
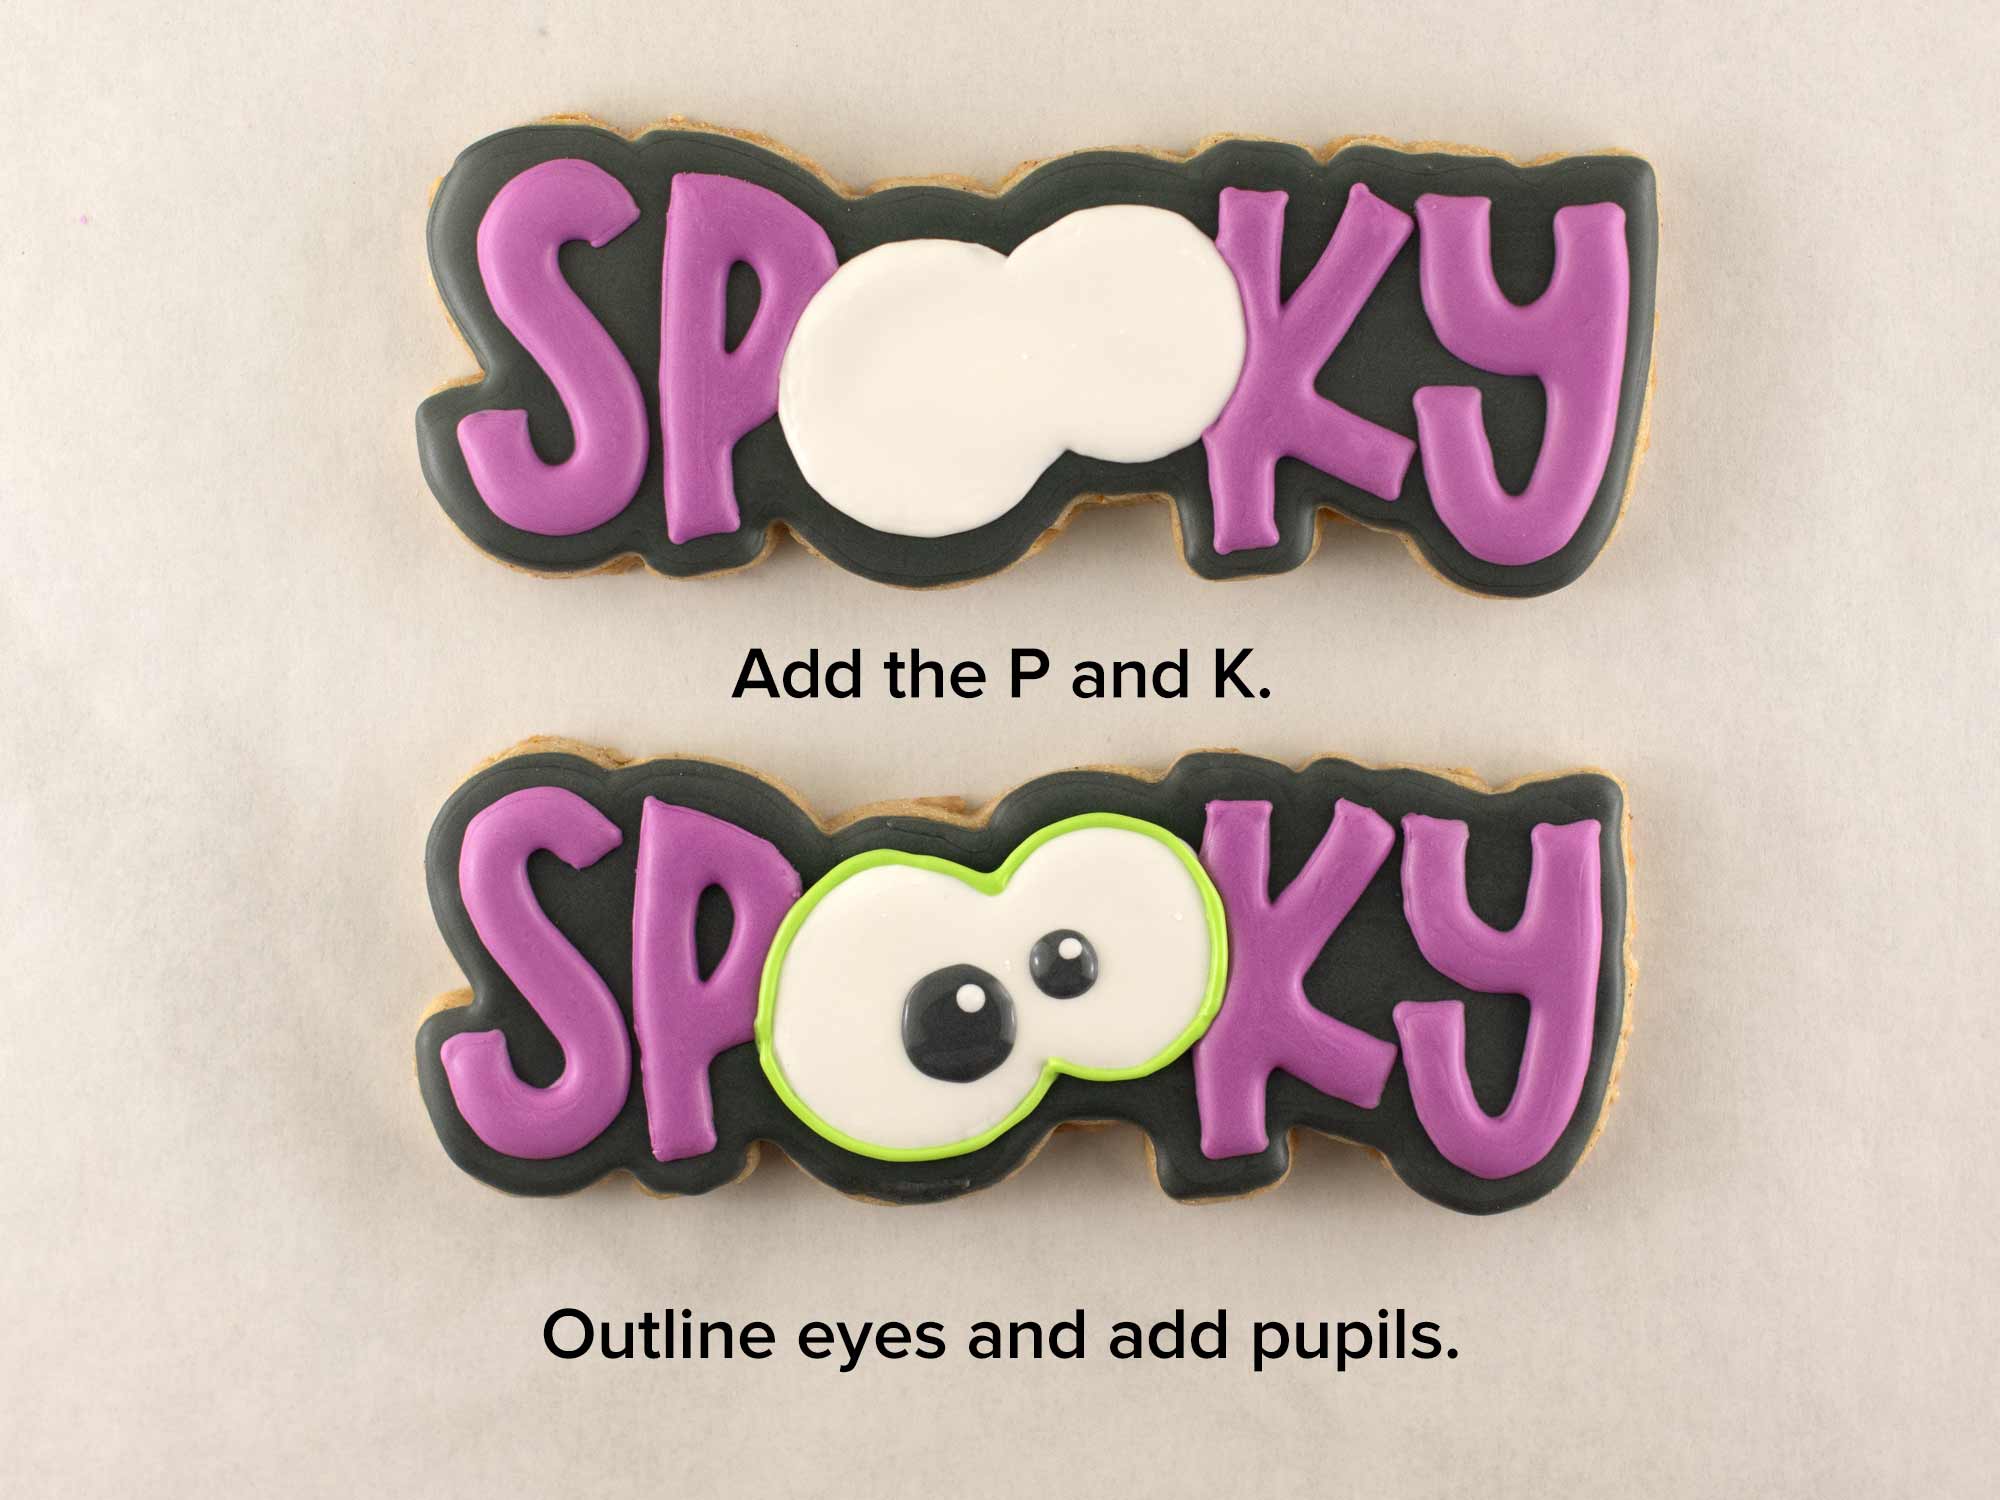
Once the icing had time to set, add the remaining P and K letters, as shown.
Next, add the black pupils and outline the eyes with green icing.
Step 3
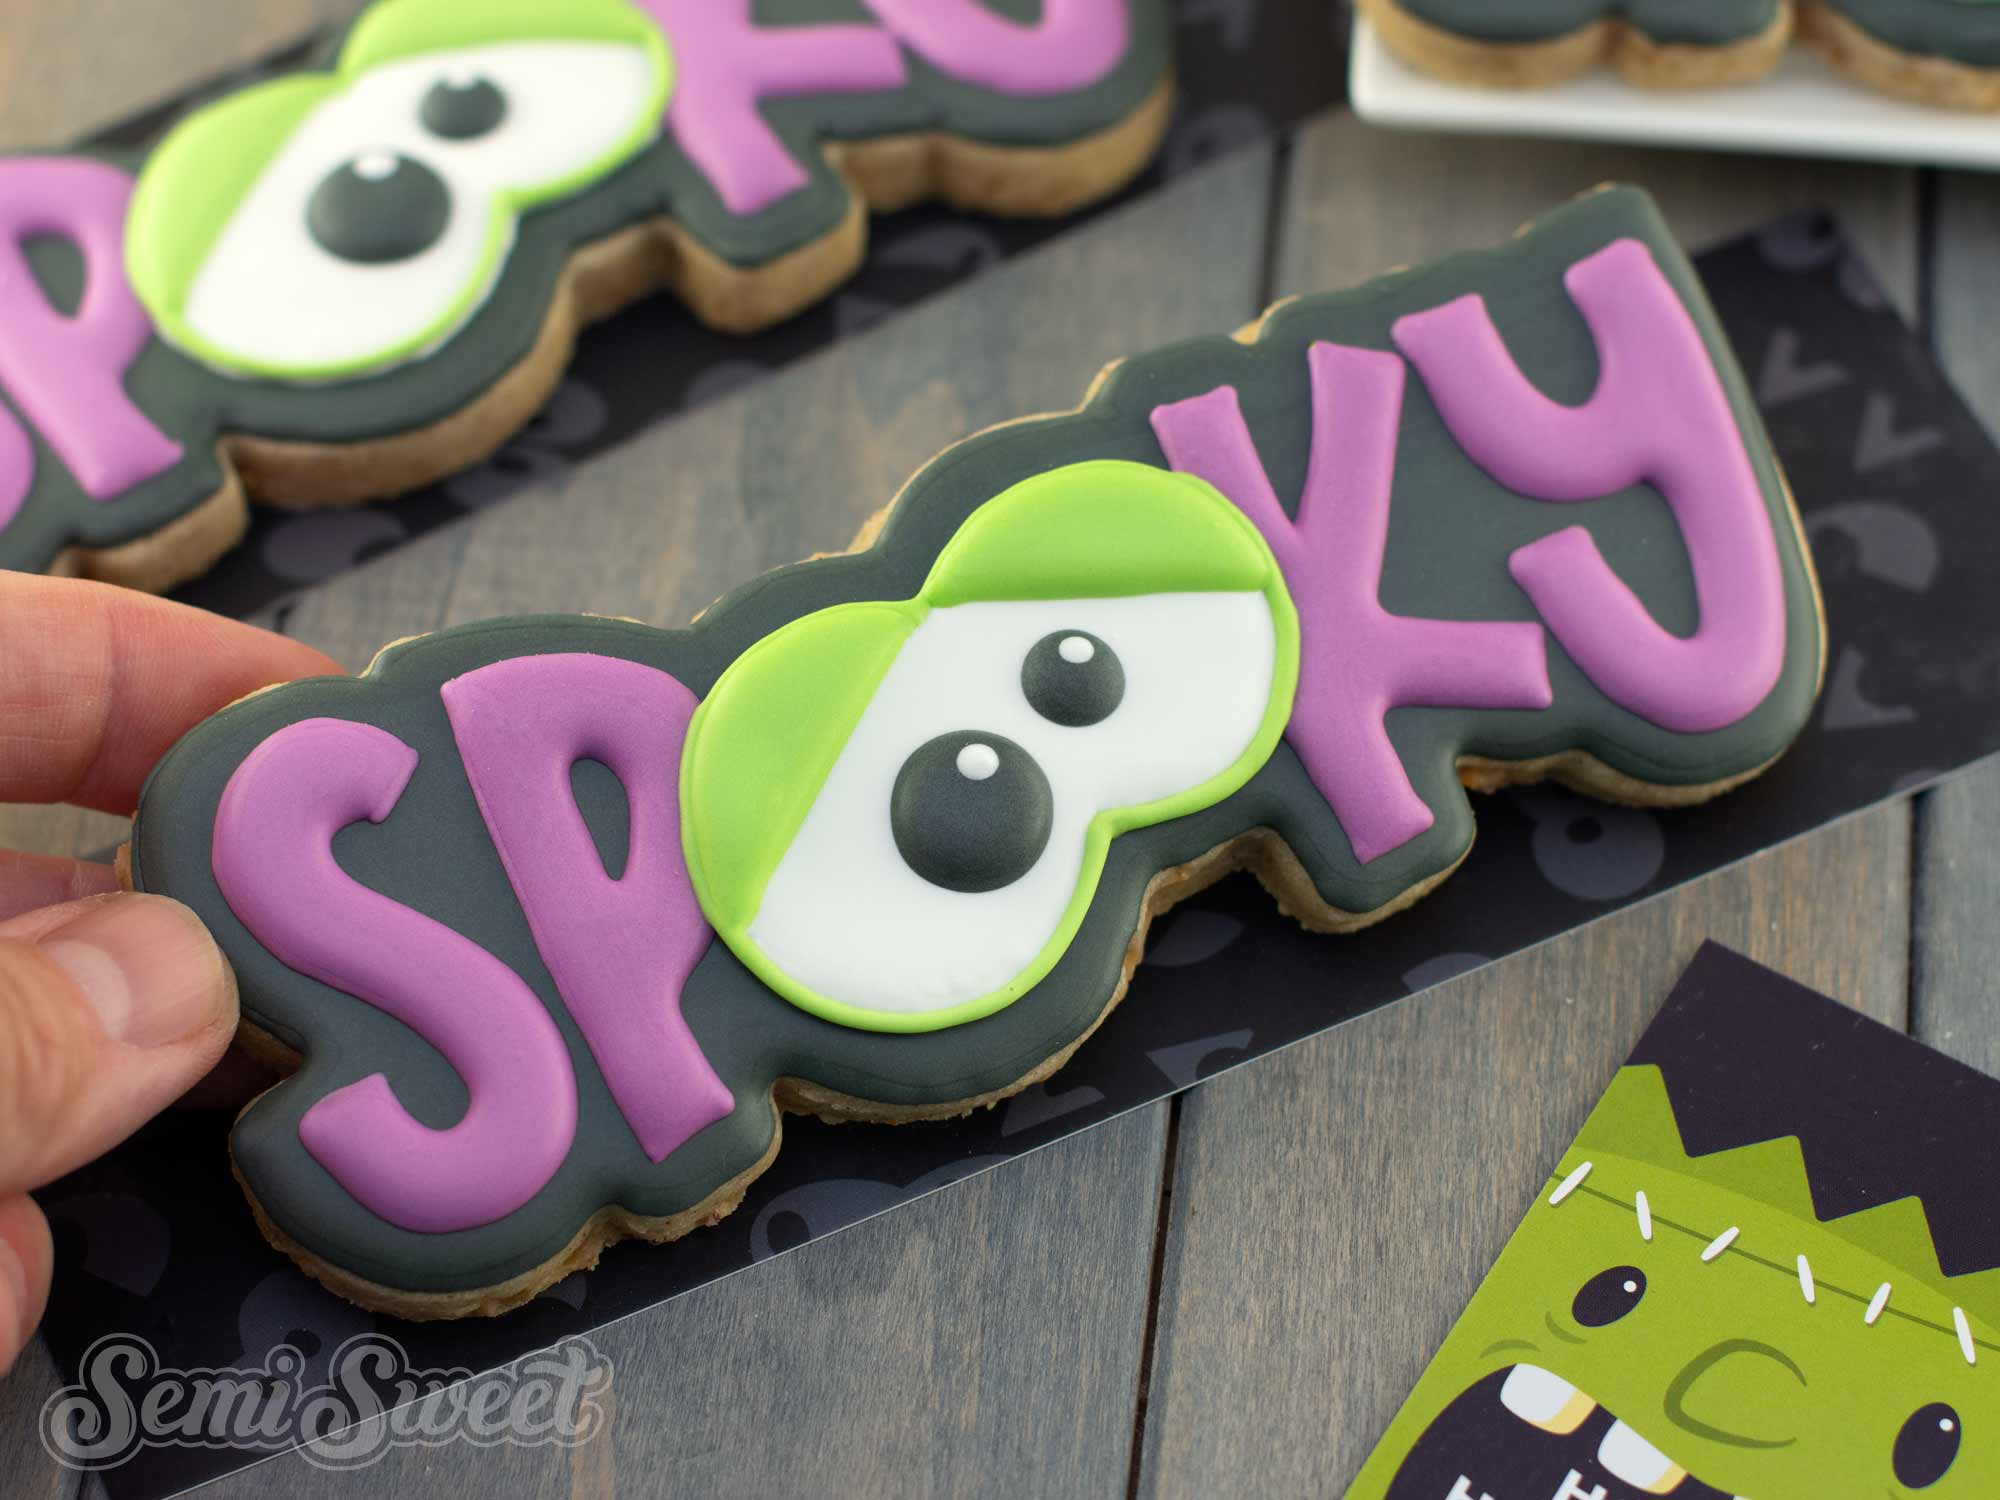
Lastly, add eye lids with green icing.
Spooky Word Halloween Cookie Decorating Video Tutorial
The steps above are summarized in the time-lapsed video below.
That’s it! This spooky word cookie is such a fun addition to any Halloween set. Grab the cutter and free projector template in my shop, and check out more Halloween cookie cutters to inspire your next spooky batch!
Add Vibrant Colors with Americolor Food Coloring

To make your decorated cookies pop, use Americolor Food Coloring for bold, consistent colors. It’s my go-to brand for achieving vibrant shades without altering the consistency of the royal icing.
Buy Now


