Decorate an Easter HOP Cookie with Royal Icing
Learn how to decorate a cute tall and skinny “HOP” Easter cookie with royal icing, featuring an adorable bunny butt design, using the matching cookie cutter available in our shop.

If you’re looking for a cute and creative Easter cookie idea, this tall and skinny “HOP” design is a fun one to add to your cookie lineup! In this step-by-step tutorial, I’ll show you how to decorate this playful Easter cookie with royal icing, featuring bold lettering and an adorable bunny butt forming the “O” in HOP. It’s a simple design that still makes a big visual impact. It's perfect for Easter baskets, spring cookie sets, or bakery orders. The matching cookie cutter used in this tutorial is available in our shop, so you can easily recreate this design at home.
My Essential Cookie Tools for Cookie Decorating


My Essential Cookie Tools for Baking Cookies


My Essential Baking Tools for Royal Icing


Essential Decorating Tools for Royal Icing

Easter HOP Cookie Cutter
Added to the cookie cutter shop are new Easter cookie designs, including this Easter HOP cookie cutter.
This cookie will fit in our 3" x 12" cellophane cookie bags.

Template for the Easter HOP Cookie Cutter
To help with the decorating process, I made a PDF template available for this season's Easter collection, including this Easter HOP design.
You can download these cookie templates HERE.
If you have a Kopykake or Pico projector, just print it out (or pull it up on your mobile device) and you are good to go. For those without a projector, follow the suggested steps below by tracing the design onto the cookie with an edible food marker.
The Cookie Decorating Process
To decorate these cookies, my icing of choice is royal icing. Here's how to make royal icing for cookie decorating.
For the colors used for this Easter cookie, you will need the following suggested colors:
- Pink icing (I used Americolor Deep Pink.)
- White icing. (I used Americolor Bright White.)
- Blue icing (I mixed Americolor Sky Blue with Americolor Teal.)
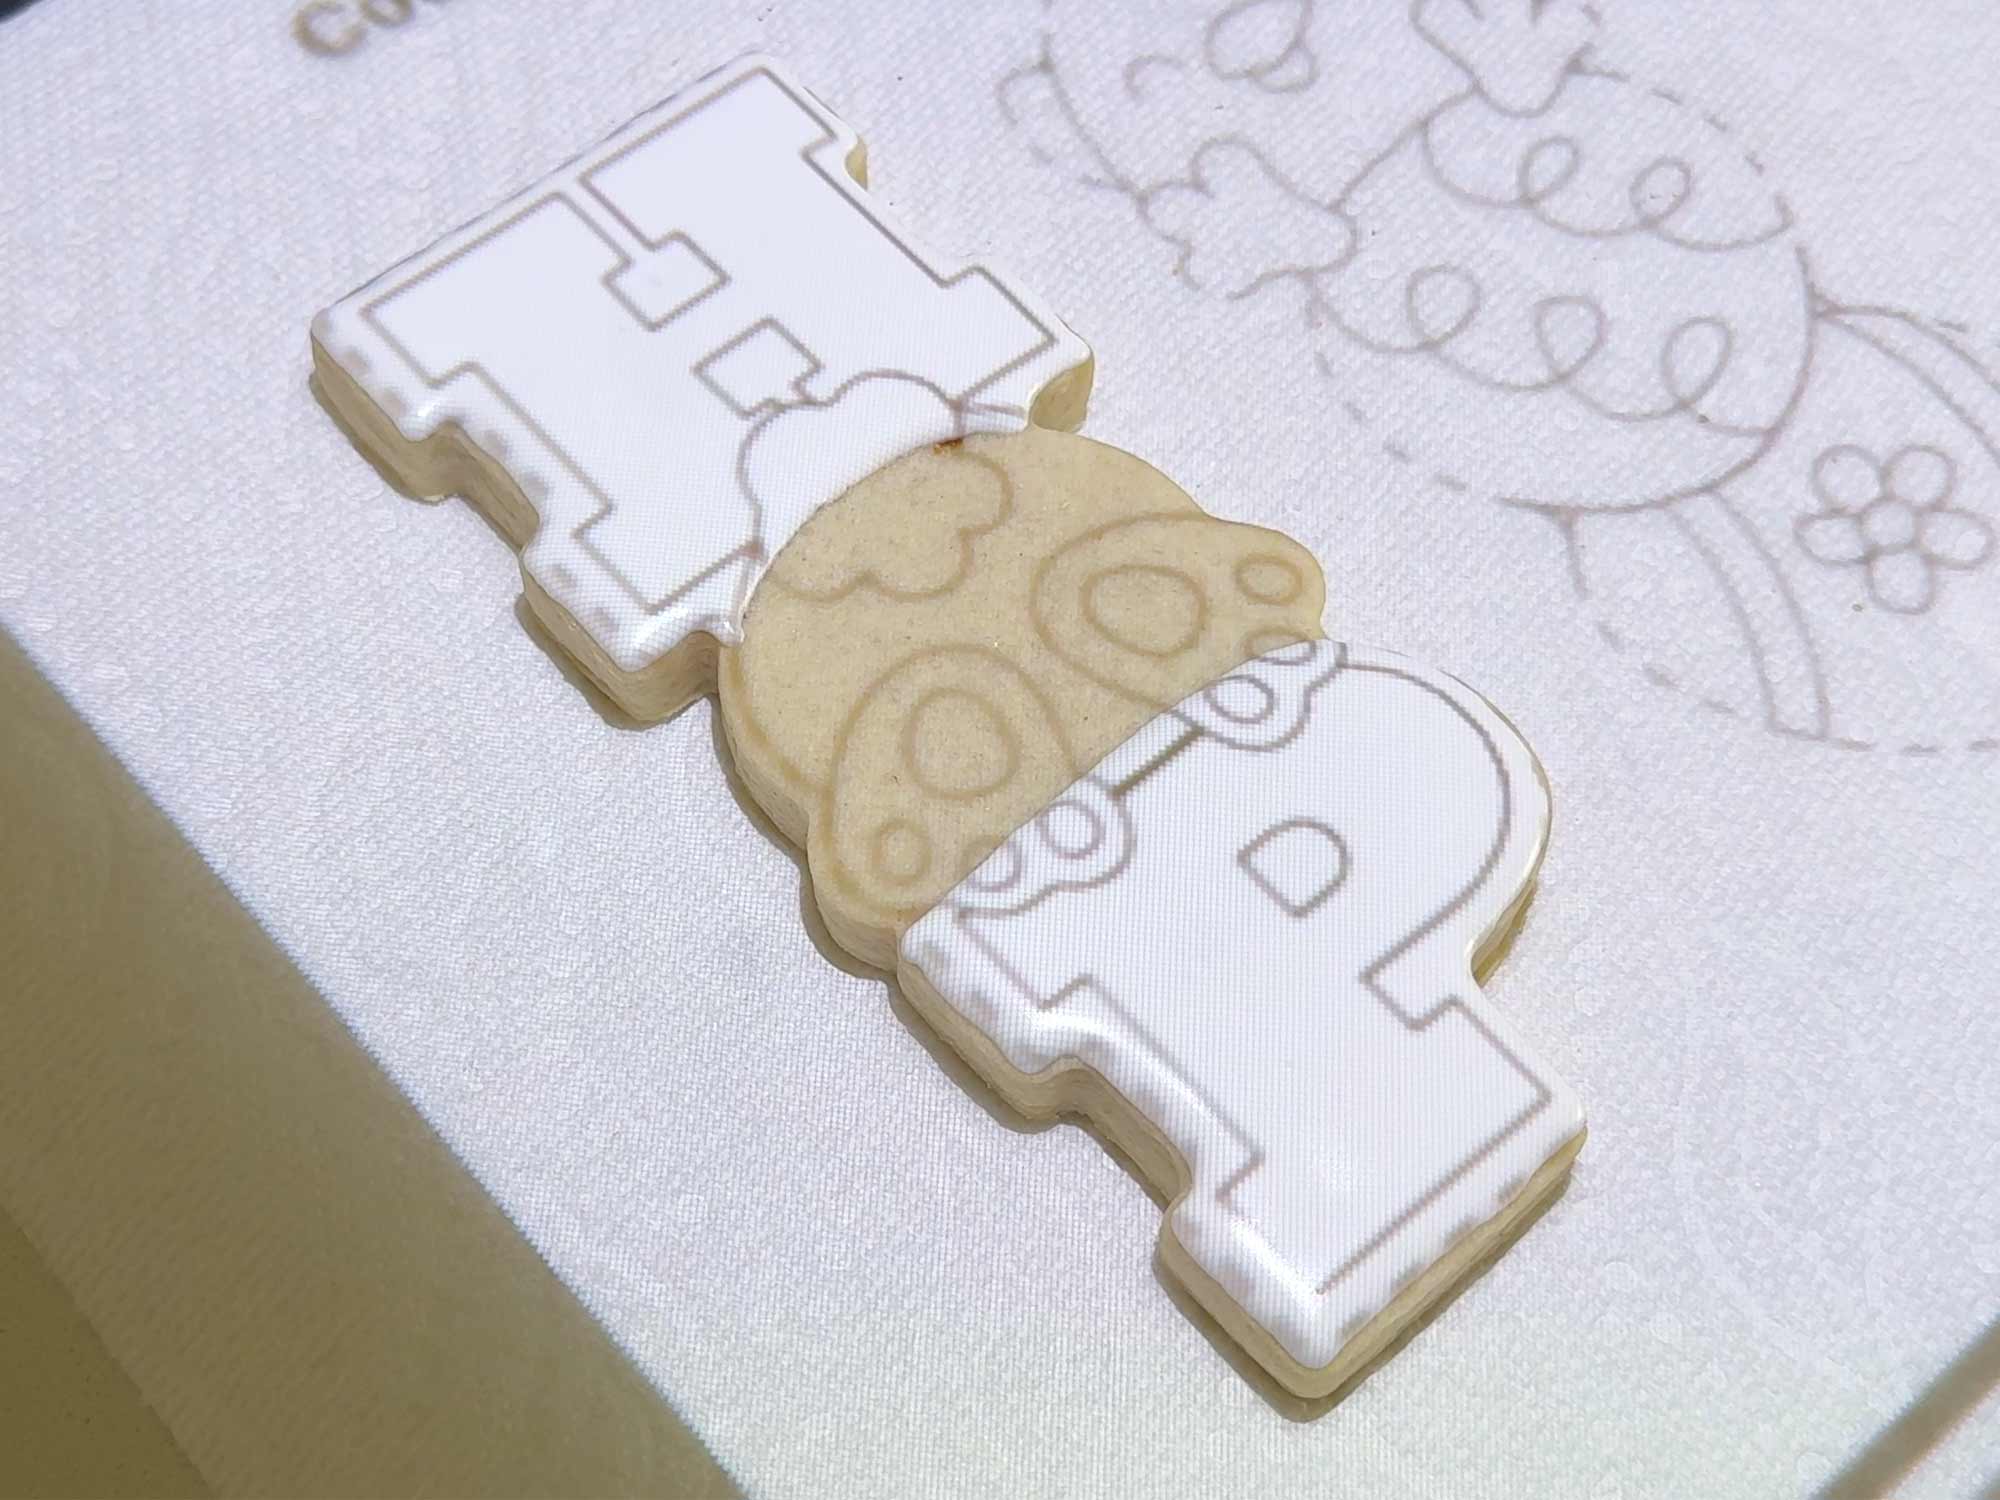
Step 1
Begin by flooding the background of the letter sections with a thin layer of white icing. (I'm using a pico cookie projector to get the letter shapes right.) Let this icing set for an hour.
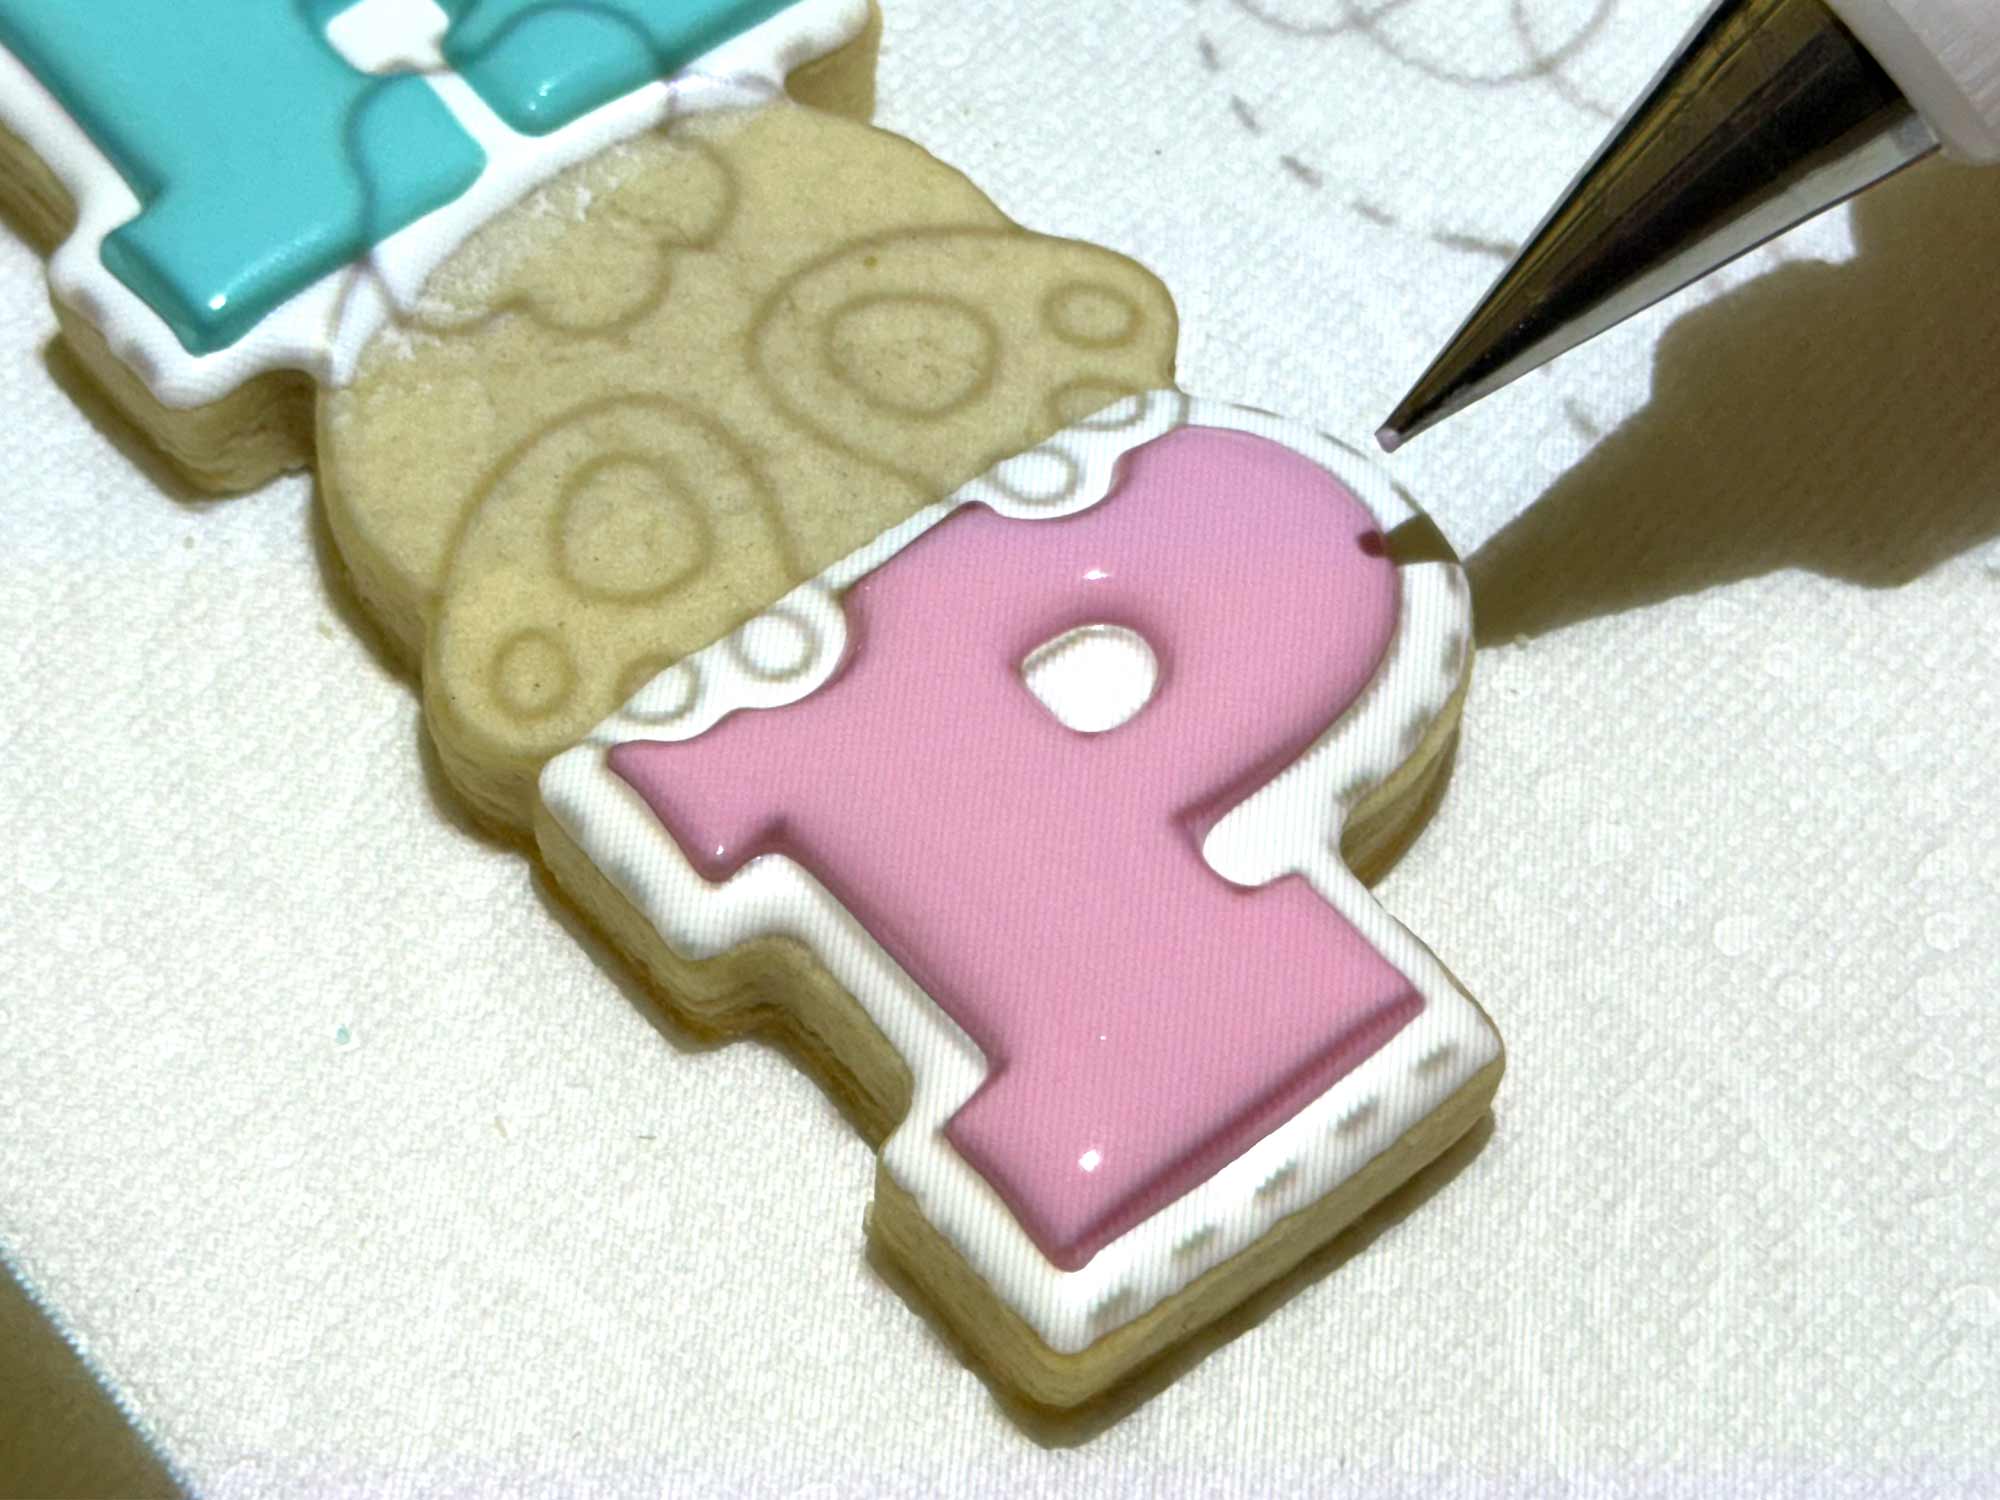
Step 2
Next, outline and fill the H and P letters with royal icing. I used teal blue icing for the H and pink icing for the P. Let this icing set for another hour.
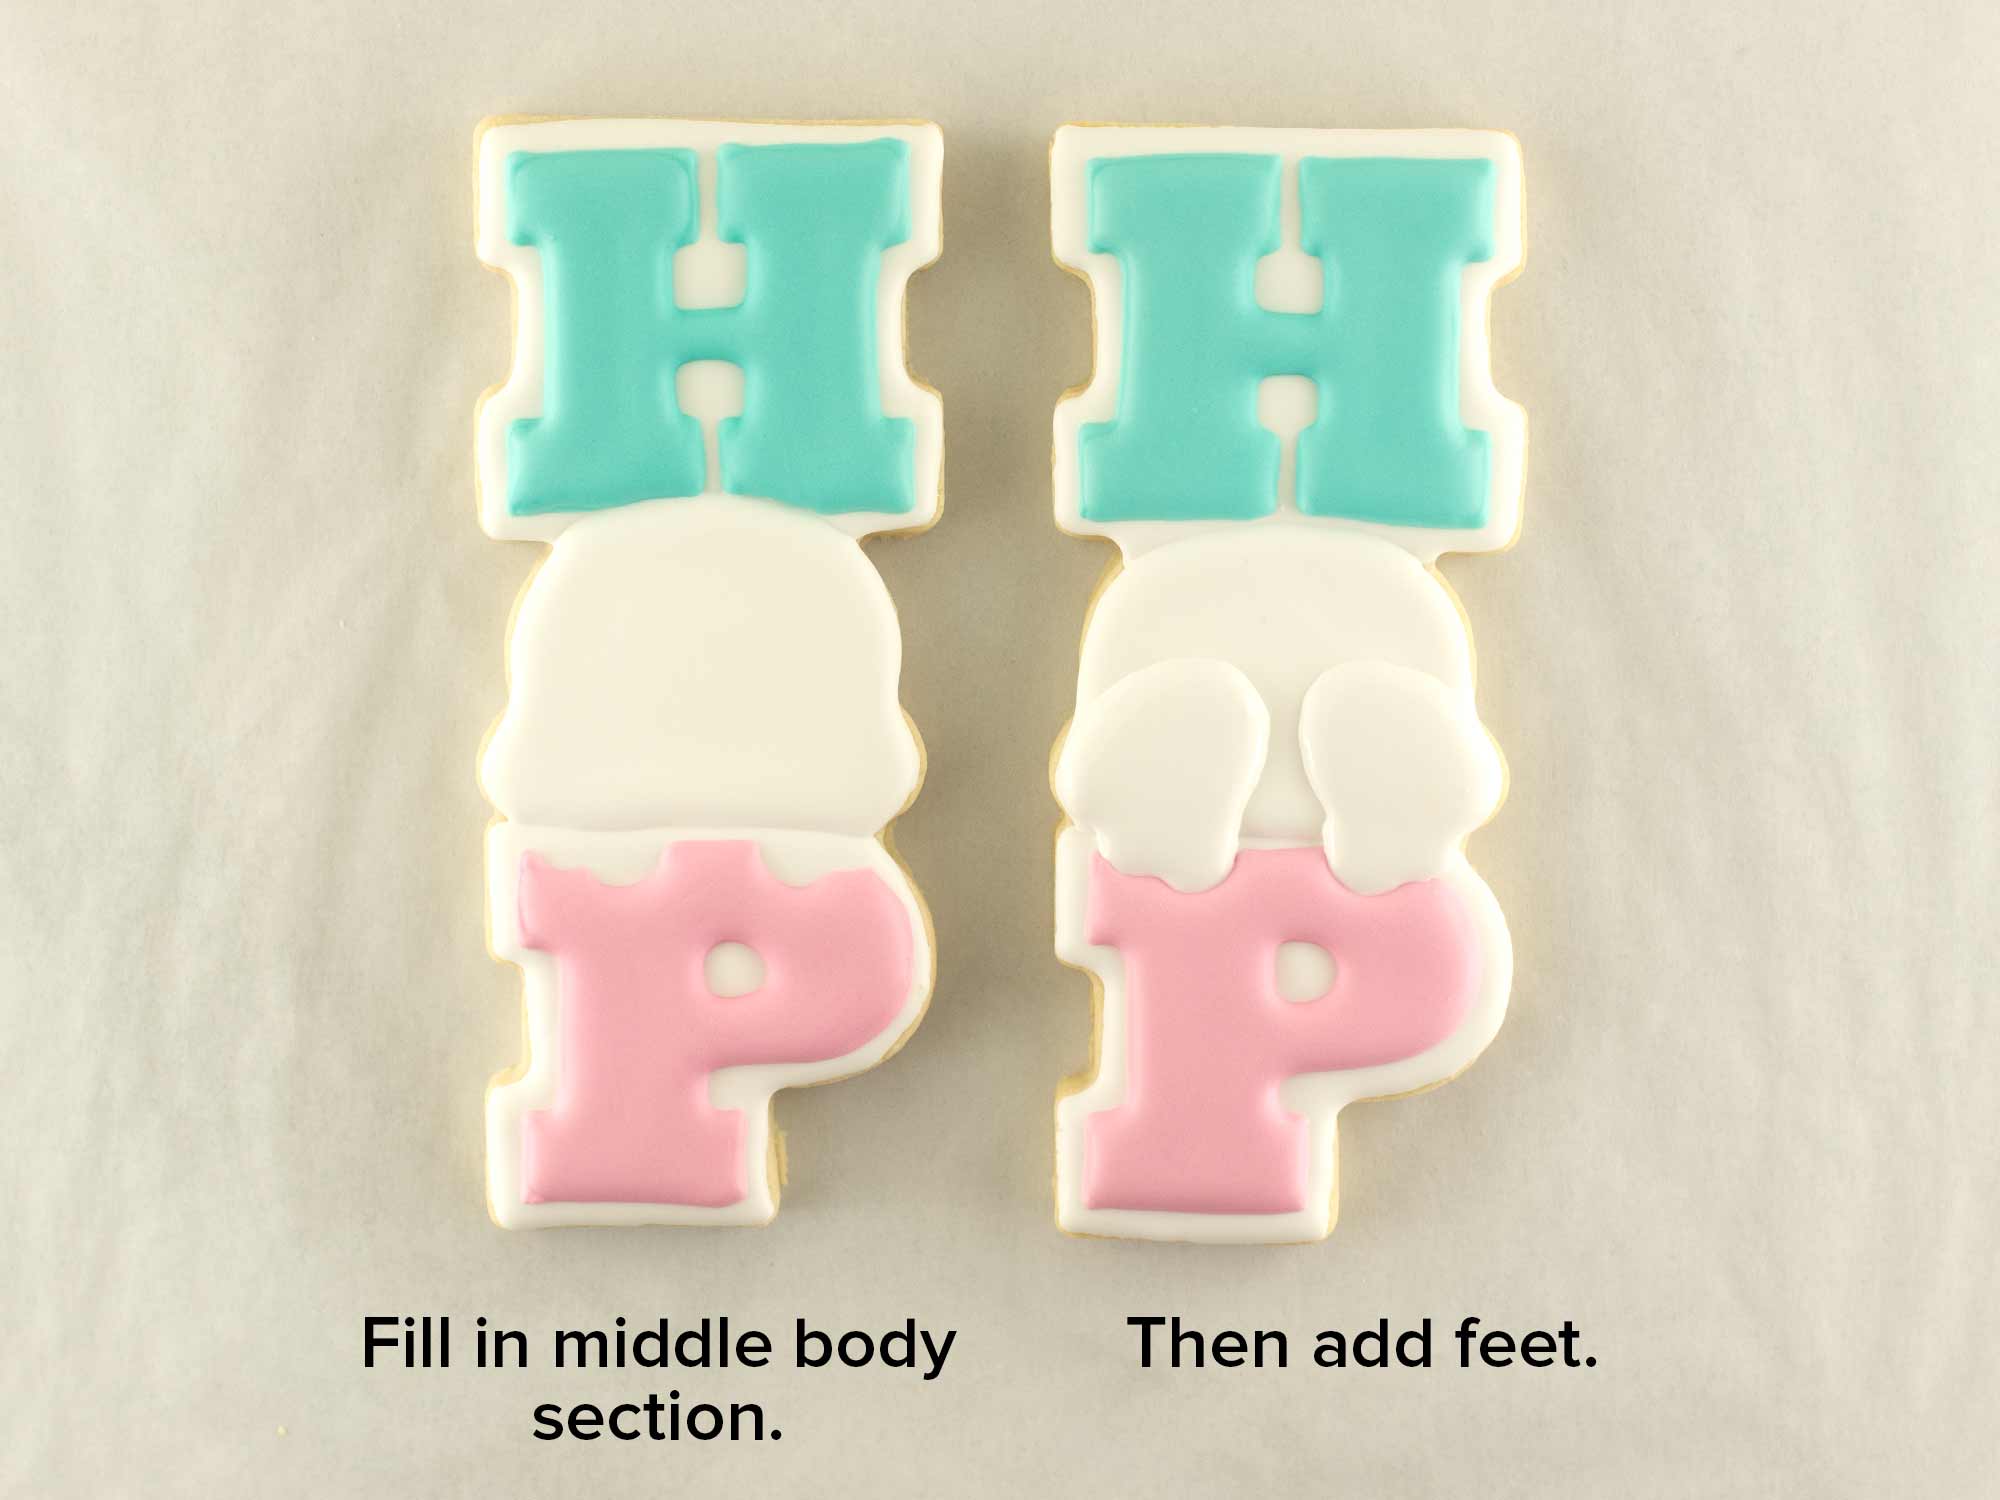
Step 3
Fill in the middle bunny butt body section. Let this icing set for about 30 minutes.
Then add the two white feet, as shown.
Step 4
For the finishing details, add the pink feet pads on the white feet. Let this icing dry for an hour.
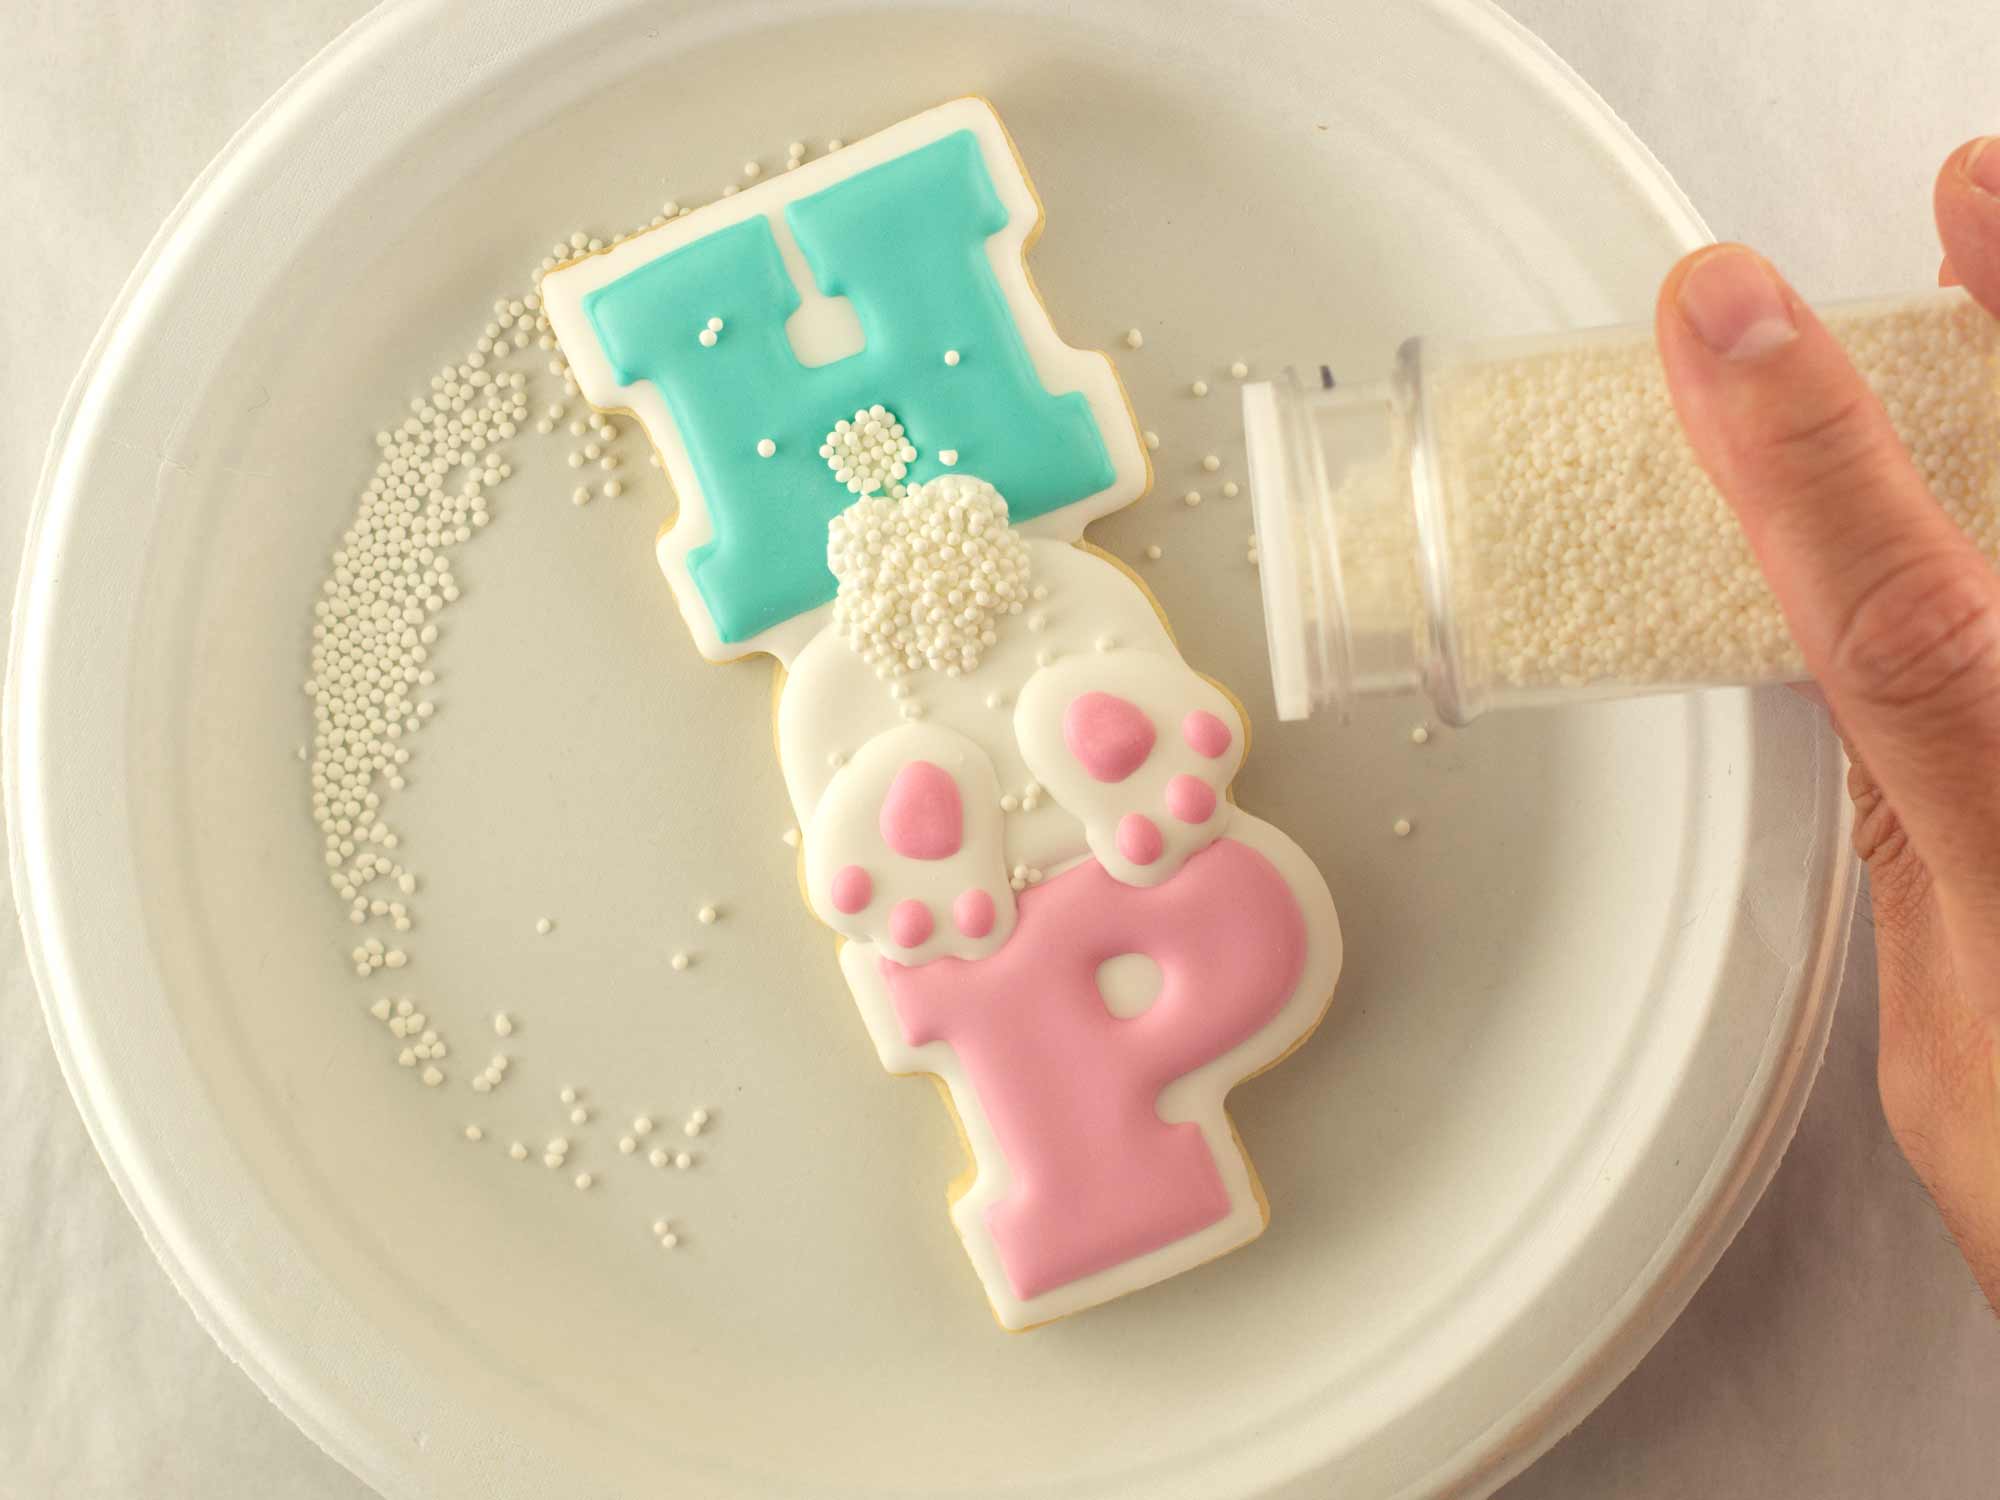
Then lastly, add the bunny tail detail. Pipe a bunny tail with white icing, then pour over white nonpareil sprinkles for the cottontail effect.
Easter Chick on Eggs Cookie Decorating Video Tutorial
The steps above are summarized in this time-lapsed video I put together below.
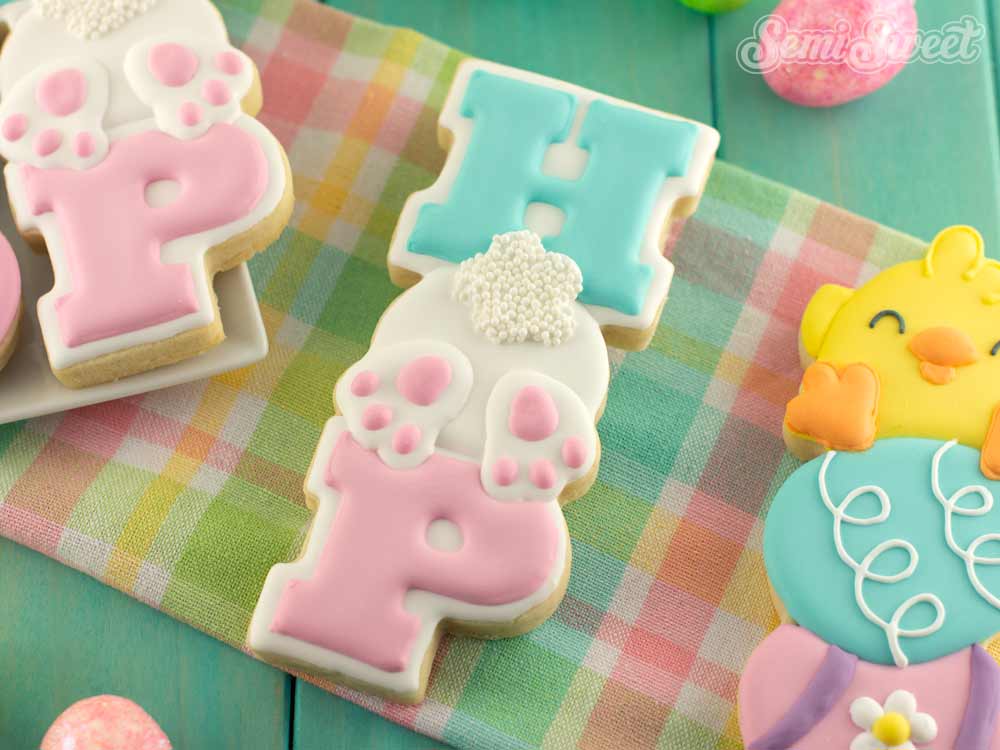
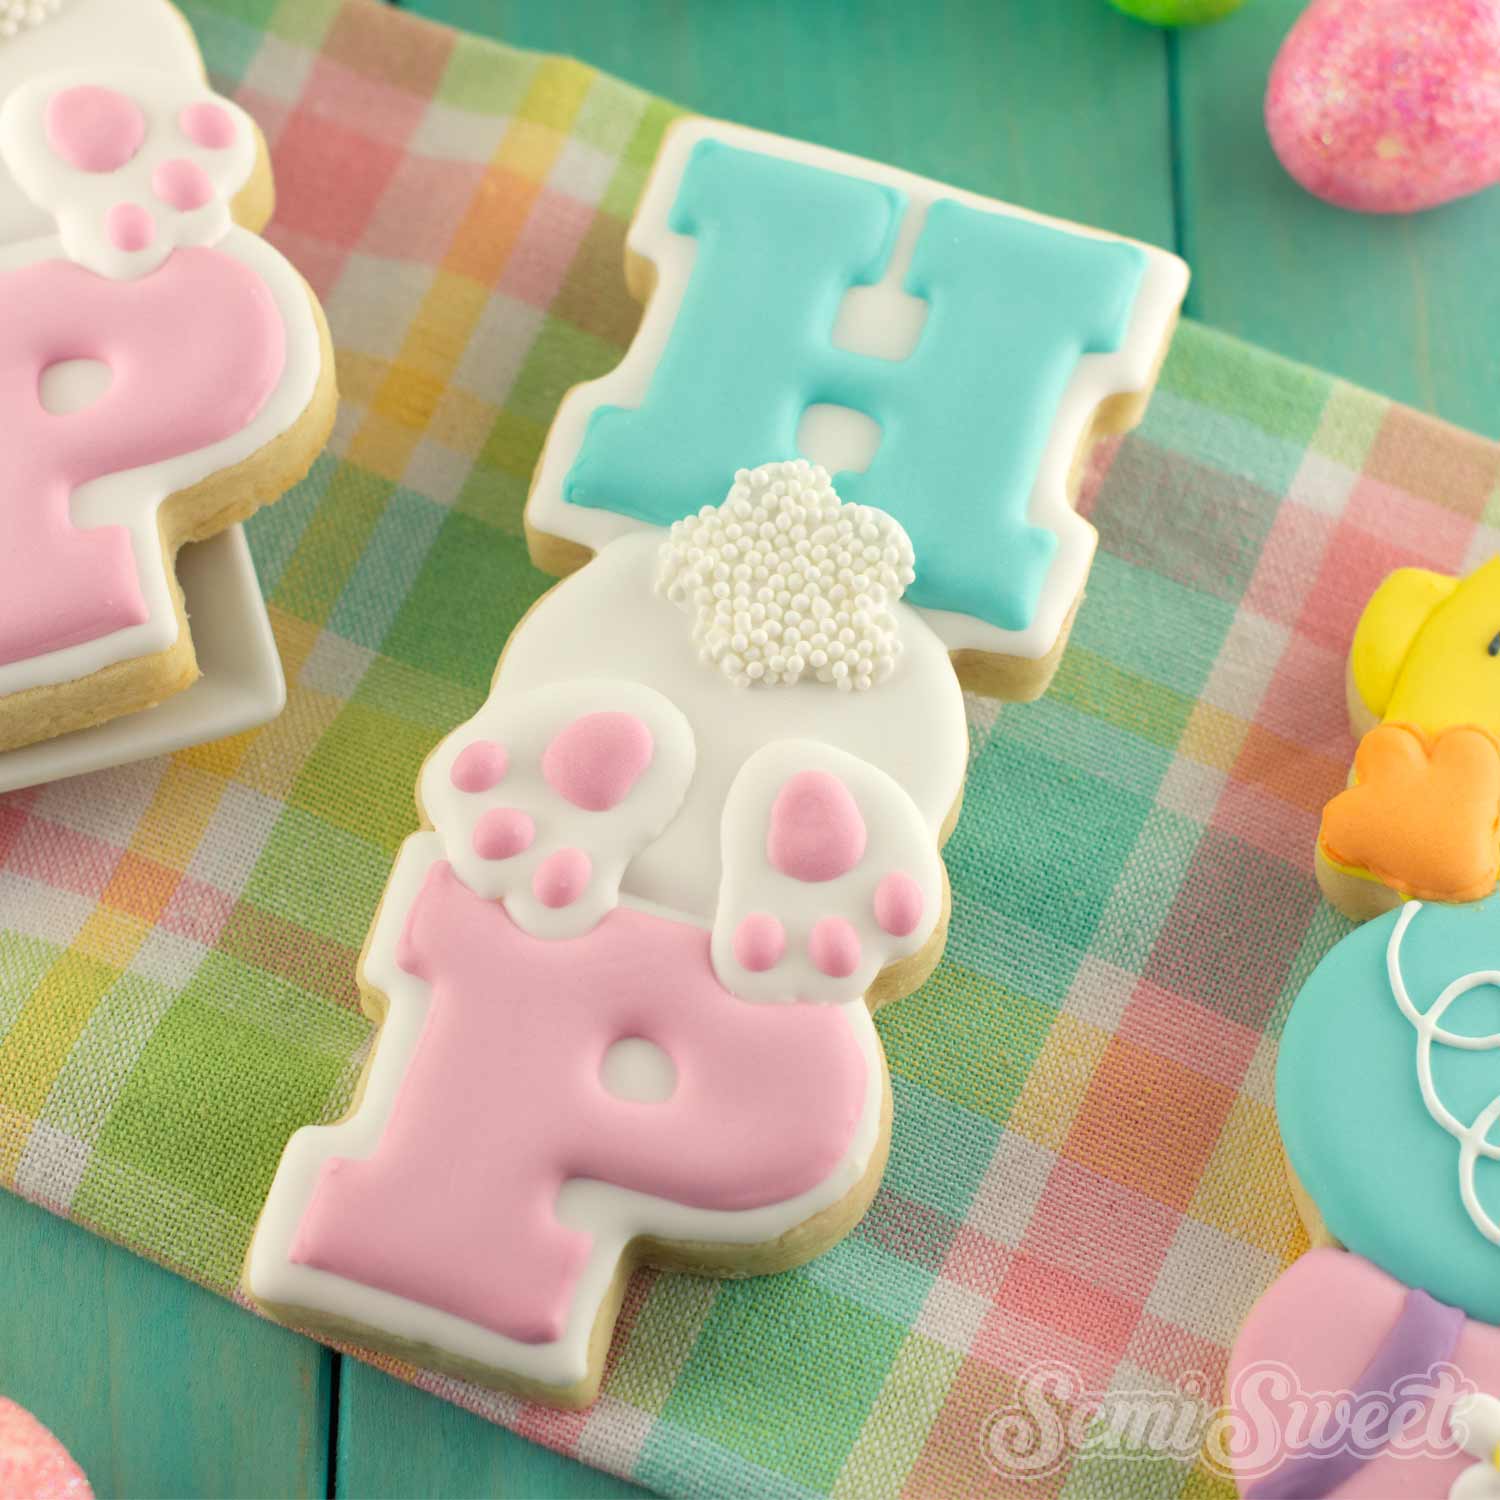
Here's the completed Easter HOP cookie! I love this cookie because its easy to decorate and people love the bunny butt detail when they first see it.
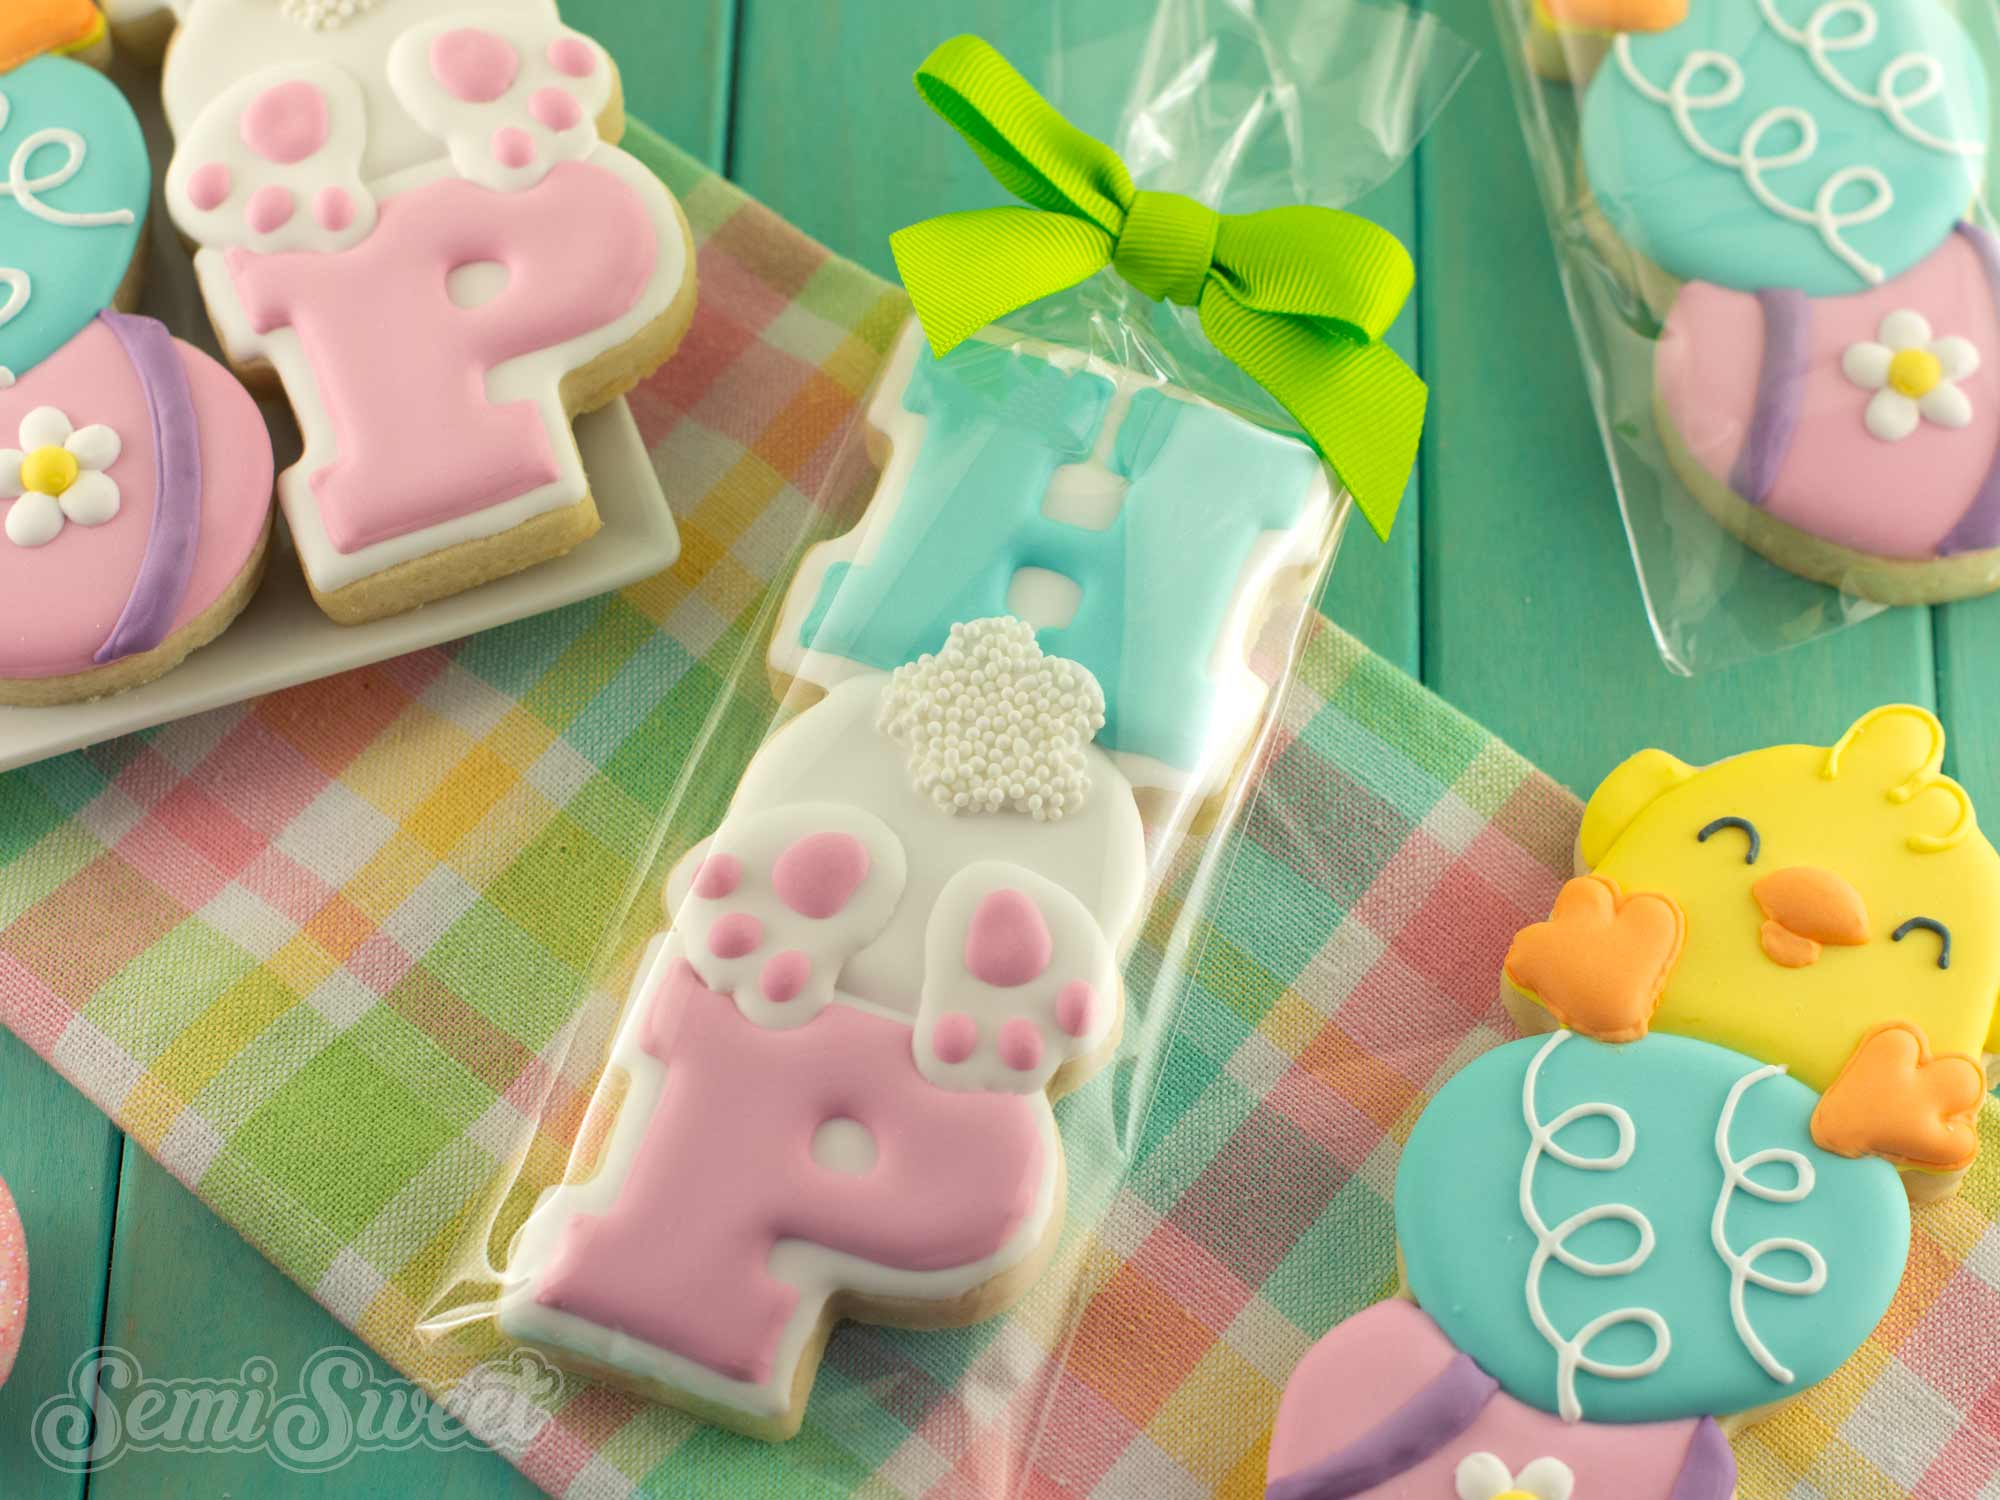
For packaging recommendations, I used our 3" x 12" cellophane cookie bags and tied off the top with a green pre-tied bow.
Now you have a fun and festive Easter cookie that’s sure to make people smile! This tall and skinny “HOP” design is simple to decorate but still full of personality, thanks to the adorable bunny butt detail in the center. It’s perfect for Easter cookie sets, baskets, or springtime treats. If you’d like to recreate this design, be sure to grab the matching cookie cutter from our cookie shop, and don’t forget to browse our full collection of Easter cookie cutters for even more decorating inspiration. Happy decorating!
Add Vibrant Colors with Americolor Food Coloring

To make your decorated cookies pop, use Americolor Food Coloring for bold, consistent colors. It’s my go-to brand for achieving vibrant shades without altering the consistency of the royal icing.
Buy NowTags:
You may also like...


Mike Tamplin
Hi, I’m Mike, the cookie decorator behind Semi Sweet Designs! Since 2011, I’ve been sharing recipes, tips, and tutorials to help beginners gain confidence and give experts fresh inspiration. Along with my brother, Billy, we design and offer hundreds of cookie cutters, stencils, and apparel—all made with decorators in mind.
Whether you're just starting or a seasoned pro, we’re here to make cookie decorating easier and more fun!
Read more


