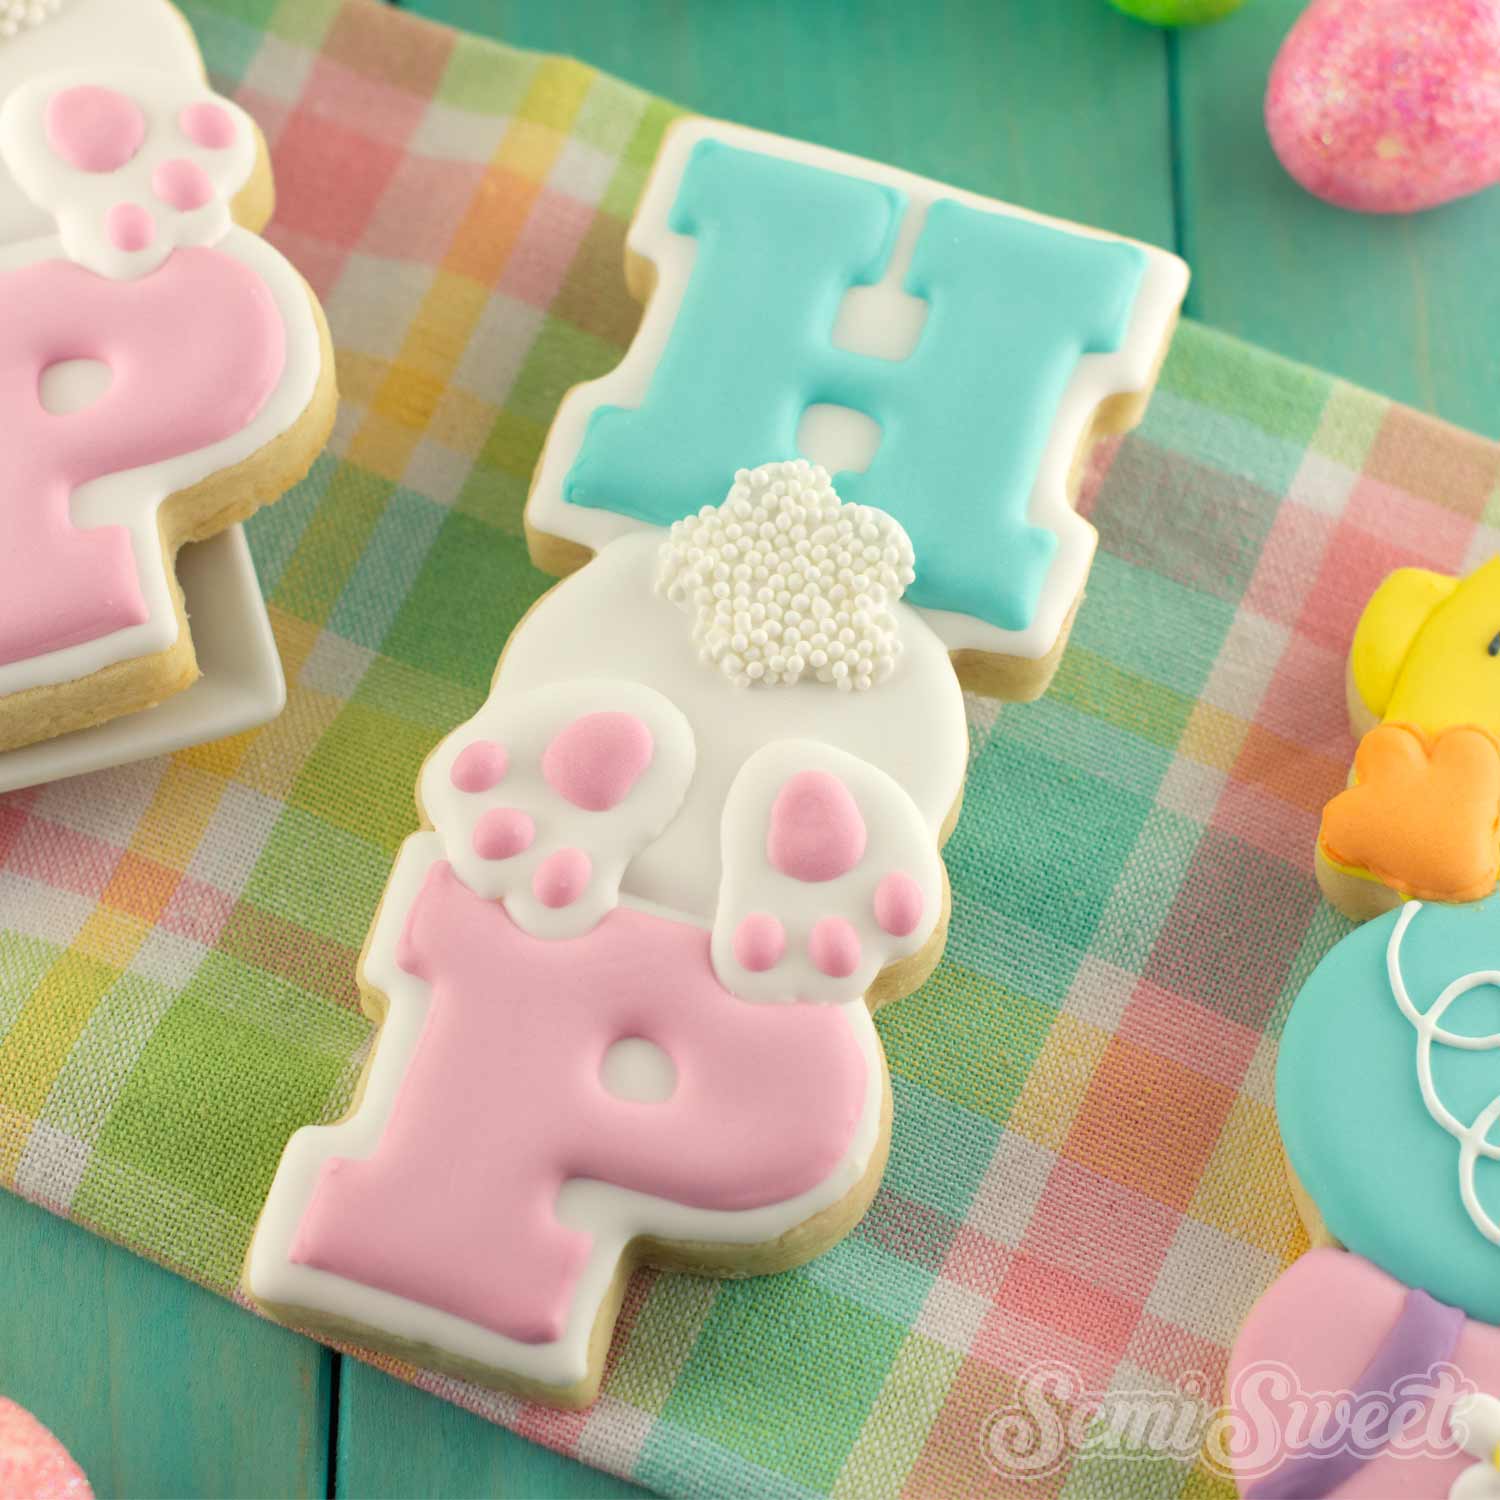
How to Make an Easter Basket Cookie Set


My Essential Cookie Tools for Cookie Decorating


My Essential Cookie Tools for Baking Cookies


My Essential Baking Tools for Royal Icing


Essential Decorating Tools for Royal Icing

This new Easter Basket Cookie Set is a 4-piece, cookie puzzle kids will love to piece together for Easter. Each cookie piece is a different part of the basket design, with room on the bottom basket for personalization.
The overall design may seem intimidating at first, but I promise it's super easy. The way I approached decorating this Easter basket cookie set is kind of like paint-by-number. Just fill in each section a little at a time. I'll breakdown this method in the steps below.
Easter Basket Cookie Cutter Set
This stackable Easter Basket Cookie Set includes 4 cookie cutters, each a different part of a complete Easter basket.
This cookie set will fit in this BRP cookie box (9.5" x 6" x 1.5").

Template for the Easter Basket Cookie Set
To help with the decorating process, I made a PDF template of all of the new Easter cookie cutters, including this Easter basket cookie set design.
You can download all the 2021 Easter cookie templates HERE.
If you have a Kopykake or Pico projector, just print it out (or pull it up on your mobile device) and you are good to go. For those without a projector, follow the suggested steps below by tracing the design onto the cookie with an edible food marker.
The Decorating Process
The colors for these Easter basket cookies can be customized to any colors you would like. However, for the exact colors I used, check out this post on a bright and cheery Easter color palette.
Step 1
For the bow, begin by filling one bow wing and its opposite tail. Let that icing set, then fill in the other wing and tail.

Step 2
Next, fill in the center knot area. Let the icing dry for about an hour.
Lastly, add the outline details, as shown. This is optional but it gives the bow nice definition.

Step 3
Moving on to the basket handle, fill in the middle area with a thin layer of white icing. Let the icing set.
Then fill in the top of the handle sections with brown icing. Let those sections crust over, then fill in the lower handle sections.

Step 4
For the eggs cookie, fill in the sections that don't touch each other first.
As each icing section dries, fill in the next non-adjacent sections until the whole cookie is completely iced.

Step 5
For the final bottom basket cookie, begin by flooding the lower section with brown icing. Let this icing set.
Then fill in the top rim section. Let this icing dry completely before moving on.

Step 6
Lastly, add an outline detail around the basket and rim for definition.
Then add a personalized message.

Video Tutorial
The steps above are summarized in this time-lapsed video I put together.
Here's the completed Easter basket cookie set with all the pieces in place.
When assembled together, all the pieces should fit nicely in this BRP cookie box (9.5" x 6" x 1.5").

Well there you have it! These Easter basket cookie sets are the perfect addition to your Easter celebrations. If you're looking for more ideas, be sure to visit other designs in our shop. And if you're really feeling crafty for Easter this year, don't forget to check out our complete collection of Easter cookie cutters. Thanks for reading and Happy Spring!
Add Vibrant Colors with Americolor Food Coloring

To make your decorated cookies pop, use Americolor Food Coloring for bold, consistent colors. It’s my go-to brand for achieving vibrant shades without altering the consistency of the royal icing.
Buy NowTags:
You may also like...


Mike Tamplin
Hi, I’m Mike, the cookie decorator behind Semi Sweet Designs! Since 2011, I’ve been sharing recipes, tips, and tutorials to help beginners gain confidence and give experts fresh inspiration. Along with my brother, Billy, we design and offer hundreds of cookie cutters, stencils, and apparel—all made with decorators in mind.
Whether you're just starting or a seasoned pro, we’re here to make cookie decorating easier and more fun!
Read more


