How to Make Butter Half Pun Cookies


If you're a butter lover, you've come to the right place.
This new butter cookie cutter design was based on our most popular lapel pin that sold out quickly. Because of its popularity, we thought it would be fun to make the design into a cookie cutter and use it as a pun for Valentine's Day.
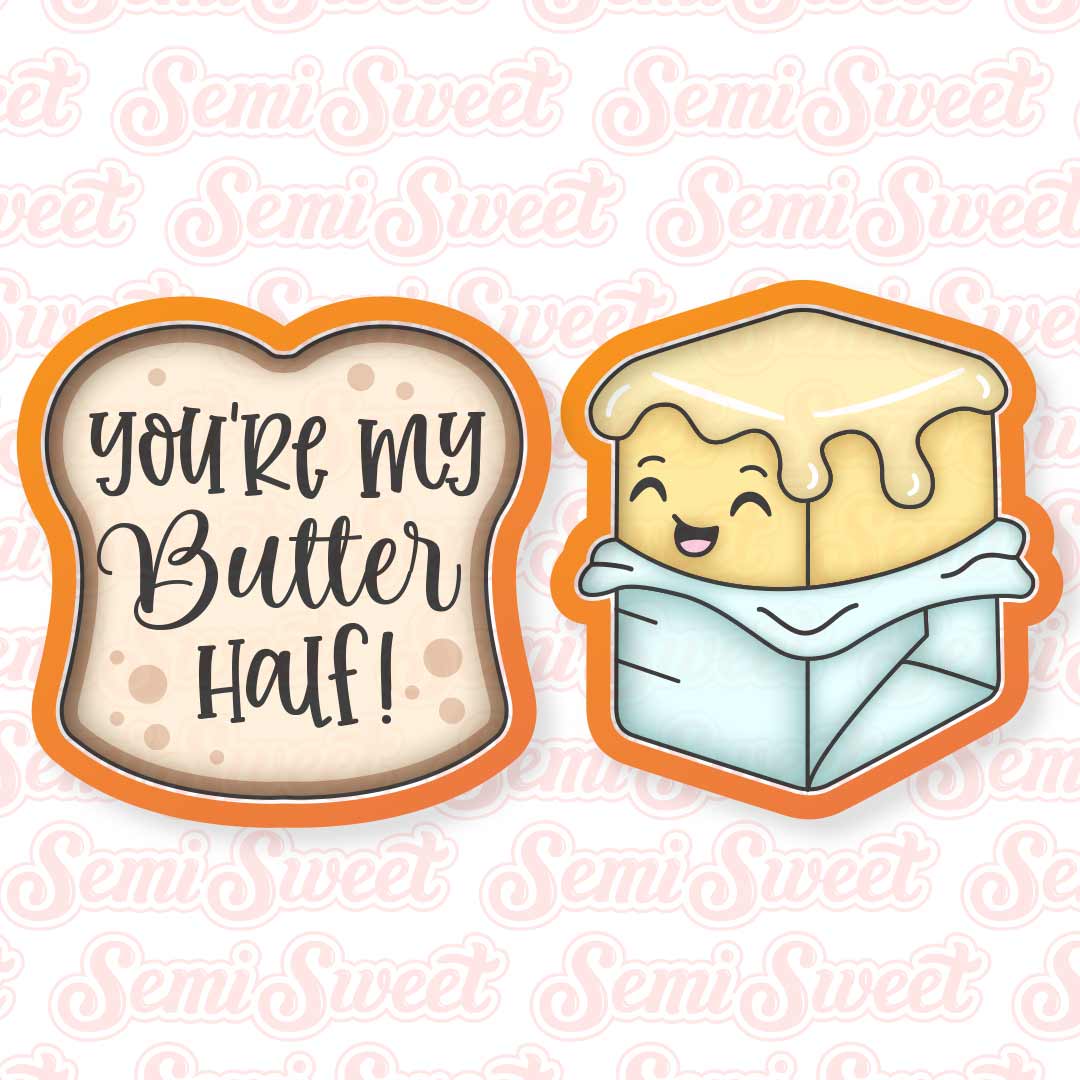
Pairing the butter with our existing bread cookie cutter, this set makes for a cute gift with the punny phrase, "You're my Butter half!"
Bread & Butter Cookie Cutter Set
Just added to the shop for the upcoming Valentine's Day season is this Bread & Butter Cookie Cutter Set.
You can purchase the two designs as a set, or as individual cutters.
The cookie cutters are available in Regular and Large sizes. However, for this tutorial, I'll be decorating the LARGE size.
For reference, you can see both sizes at the end of this tutorial, along with recommended gift box sizes.
Templates for the Butter Half Pun Cookies
To help with the decorating process, I made a PDF template available for all the new Valentine's Day cookie cutter designs, including this bread and butter set.
You can download these cookie templates HERE.
If you have a Kopykake or Pico projector, just print it out (or pull it up on your mobile device) and you are good to go. For those without a projector, follow the suggested steps below by tracing the design onto the cookie with an edible food marker.
The Decorating Process
For these bread & butter Valentine cookies, you will need the following suggested colors:
- Brown icing (I used Rainbow Dust Chestnut Brown.)
- Tan flood icing (I mixed Americolor Ivory with a touch of Chestnut Brown.)
- Darker Tan flood icing (I mixed a little more Chestnut Brown into the tan icing above.)
- Butter Yellow icing (I mixed two parts Americolor Lemon Yellow with one part Americolor Ivory.)
- Lighter Butter Yellow icing (I mixed the yellow icing above with a little more fresh white icing.)
- Black piping icing (I used Americolor Super Black.)
- Light Blue icing (I mixed just a tiny touch of Americolor Wedgewood with a touch of Super Black.)
- Darker Blue icing (I used a little more gel color of the Light Blue icing.)
Step 1
For the butter cookie, begin by filling in the lower wrapper section with the light blue icing. Let this icing set (about 15 minutes).
Then fill in the remaining top butter section with yellow icing. Give this icing time to dry (about an hour).

Step 2
Next, add the drip top layer and the wrapper flap layer, as shown. For the drips, quickly add the white shine accents while the icing is still wet.
Lastly, add the face and line details.

Step 3
Begin by flooding the middle area with tan icing. Then quickly add darker tan accent spots. Shake the cookie to smooth the icing if necessary. Let this icing set for 15 minutes.
Once that icing had time to set, fill in the "crust" border around the cookie with brown icing. Let the cookie dry about 1-2 hours.

Step 4
Once the base layer of icing has time to fully dry, it's time to add the lettering.
Stencil on the You're My Butter Half stencil with black icing. I used a Stencil Genie to hold the stencil in place while I swiped icing over the design.

Butter Half Cookie Set Video Tutorial
The steps above are summarized in this time-lapsed video.
Here are the two cookies all boxed up ready to be gifted to your "Butter Half!"

For packaging ideas, there's a few options I think would work. When assembled, this bread and butter set would fit nicely in:
For LARGE (shown at the bottom of the photo below.)
- these “7 3/8″ x 5 1/2” boxes from Paper Mart.
- Or, these 7 3/8″ x 5 1/2” boxes from ClearBags.
For REGULAR (shown at the top of the photo below.)
- These 7" x 4 3/8" boxes from BRP Box Shop.


