Decorate a St. Patrick's Day Cookie Platter

Add a touch of St. Patrick's Day magic to your festivities for the upcoming holiday with this St. Patrick's Day cookie platter!
In this tutorial, I'll guide you on how to turn ordinary Irish top hat and shamrock-shaped cookies into beautifully decorated treasures using royal icing. Let's dive in and bring a touch of Irish charm to your celebrations.
St. Patrick's Day Platter Cookie Cutters
This St. Patrick's Day cookie platter cutter set includes a top hat cookie cutter, a shamrock cookie cutter, and a center circle cutter. You can purchase cookie cutters together as a set, or as a pair of cutters without the center circle.
(This is the same circle cutter used in all my platter sets, like this Snowflake set, Spiral Platter, and Floral Wreath, etc.)
There are two sizes available. When arranged as a platter, as shown in the example picture, the platter measures:
LARGE- 12 inches in diameter.
SMALL- 9 inches in diameter.
For this tutorial, I'll be decorating the large size.

Template for the St. Patrick's Day Cookie Platter Set
To help with the decorating process, I made a PDF template of all the designs of this year's St. Patrick's Day cookie collection, including this cookie platter set design.
Click the link below for the downloadable template PDF file.
If you have a Kopykake or Pico projector, just print it out (or pull it up on your mobile device) and you are good to go. For those without a projector, follow the suggested steps below by tracing the design onto the cookie with an edible food marker.
The Cookie Decorating Process
To decorate these St. Patrick's Day cookies, you will need the following suggested colors:
- Yellow royal icing (I mixed equal parts Americolor Egg Yellow with a touch of Americolor Chocolate Brown.)
- Brown icing (I mixed Americolor Chocolate Brown with Americolor Super Black.)
- Dark Green icing (I mixed two parts Americolor Egg Yellow and one part Americolor Mint with a touch of Chocolate Brown.)
- Light Green icing (I mixed a little green icing from above with fresh white icing.)
- White icing (I used Americolor Bright White.)
Top Hat Cookie
Step 1
Begin by filling in the top and bottom green sections of the hat. Let that icing crust over.
Then add the brown band in the middle. Let this icing dry for about an hour.

Step 2
Next, add the square buckle detail with yellow icing. Let that icing set.
Then add the center buckle detail, as shown.

Shamrock Cookie
Step 1
After flooding a cookie with light green icing, it's time to add gingham stripes.
Using this wide stripes stencil, I airbrushed a light layer of green airbrush color. (This is succulent green from Cookie Countess.)

Step 2
After that airbrush had time to set, turn the stencil 90 degrees and add another light layer of stripes, as shown.

Step 3
I added an outline around the shamrock cookie for definition.

Center Cookie
For the center circle cookie, flood the entire cookie with white icing. Let this icing dry complete overnight.
To add the message, I used this new "Happy St. Patrick's Day" cookie stencil in my shop. I swiped stiff green icing over it to apply the message design.

St. Patrick's Day Cookie Platter Video Tutorial
The steps above are summarized in the time-lapsed video below.
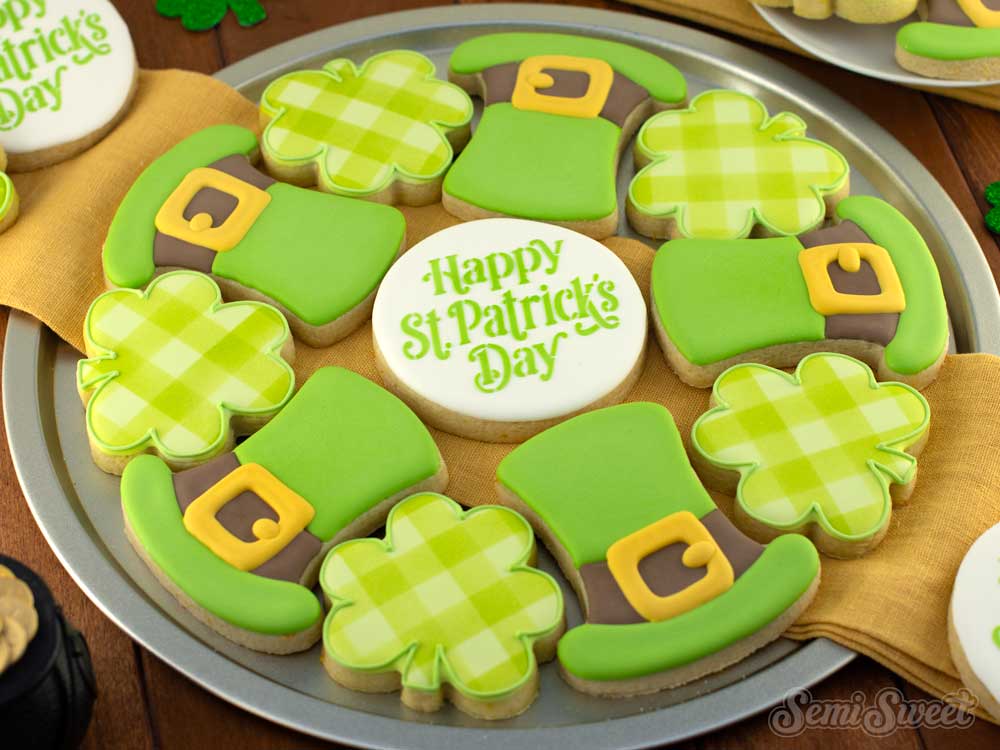
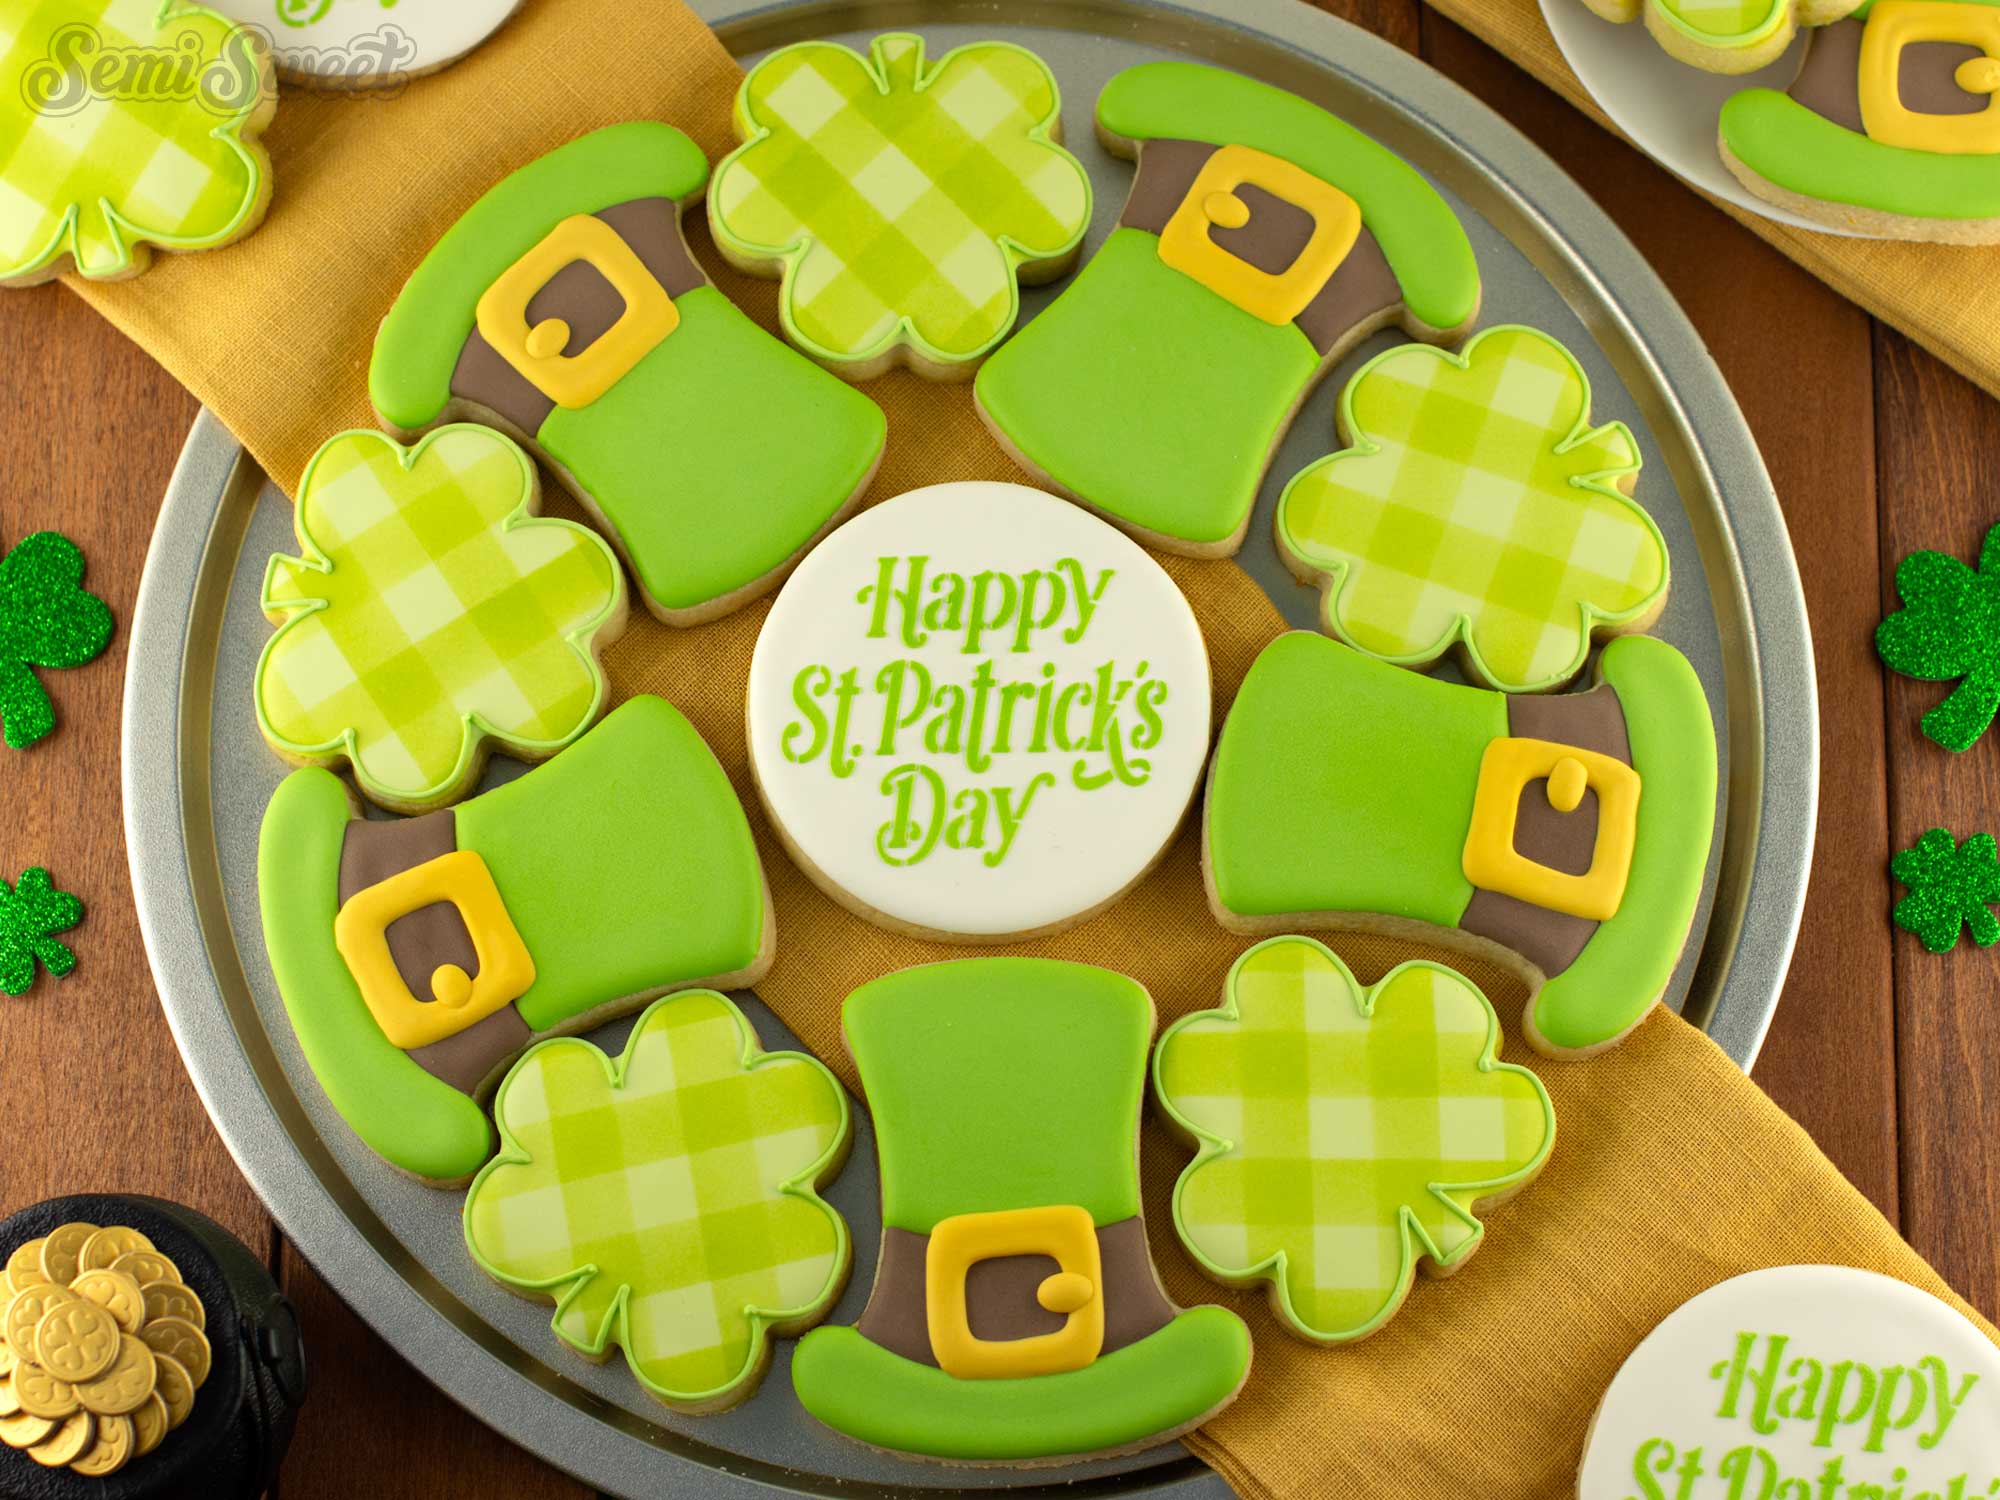
Here is the completed St. Patrick's Day cookie platter all assembled. To create this entire platter required 11 cookies-- 5 top hat cookies, 5 shamrock cookies, and 1 center circle cookie.
This is the large, 12" version. For the tray it's on, I like to use the 12" pizza pans from Dollar Tree. They are cheap and sturdy for transporting around.
If you enjoyed this tutorial and are looking for more St. Patrick's Day cookie cutters to decorate, visit our shop! We have a collection of leprechauns, rainbows, and pots of gold that will make your St. Patrick's Day celebrations magical.


